
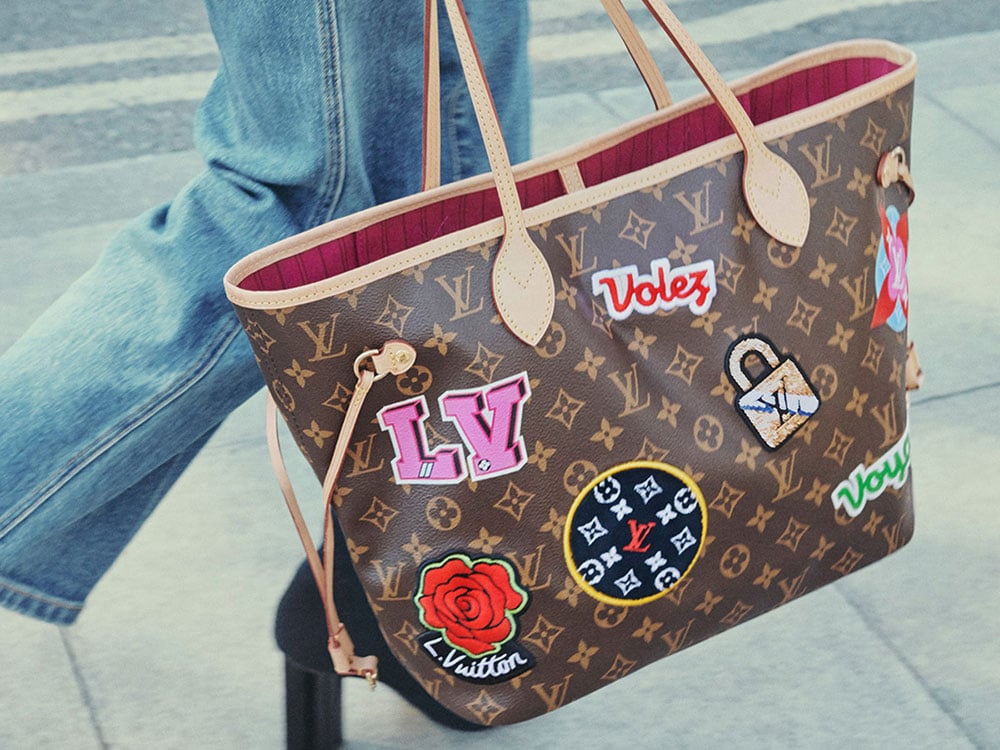
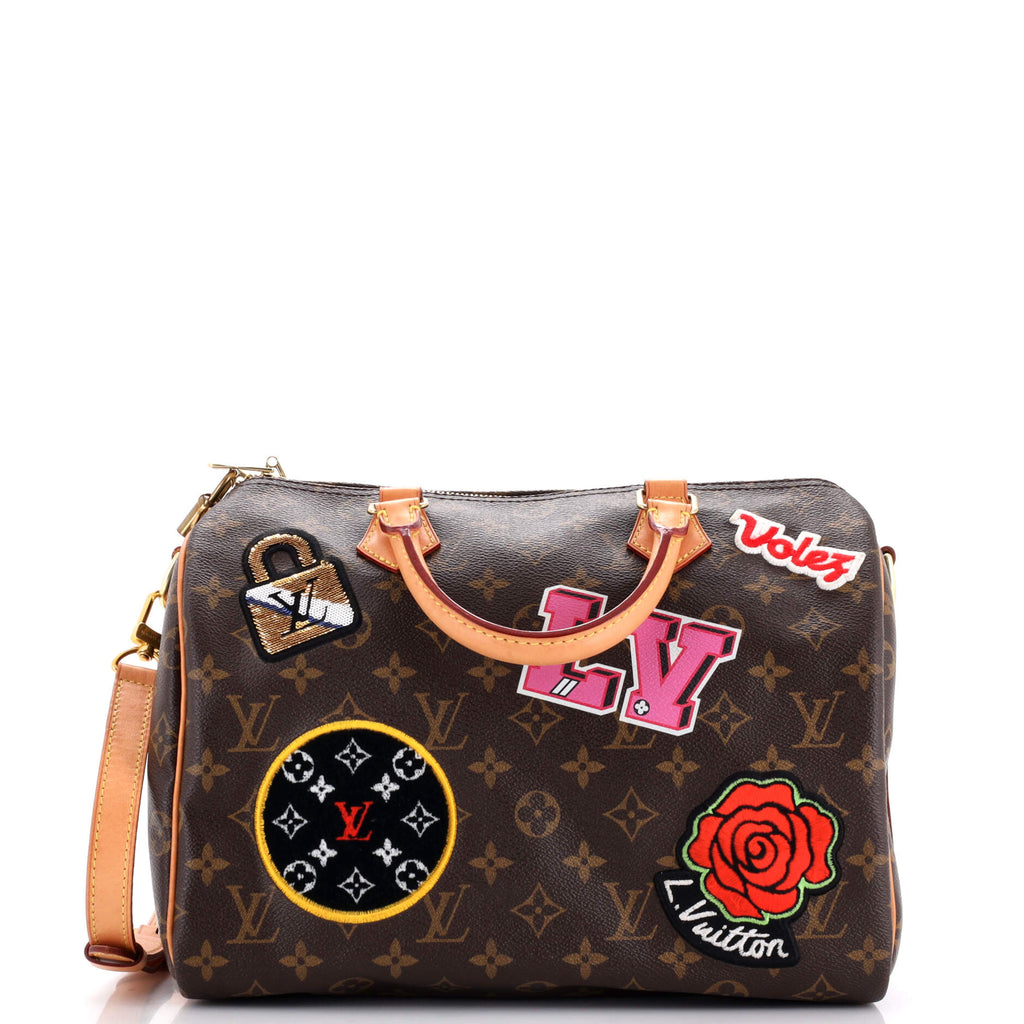
Okay, so I’ve been seeing these customized Louis Vuitton bags all over my Instagram feed, the ones with the cool patches. And I thought, “I can totally do that!” I’ve got this old Speedy bag that I don’t use much anymore, so it was the perfect candidate for a little DIY project.
Gathering Supplies
First things first, I needed to get my hands on some patches. I wanted a mix of fun, quirky stuff, and maybe a few that were a bit more, you know, “designer-inspired” without being straight-up knockoffs.
- Checked out some local craft stores. Found some cute ones, but nothing that really screamed “luxury.”
- Looked other platform. The selection was HUGE! It was almost overwhelming. Ended up finding a bunch that I loved – some vintage-looking ones, a few with cool text, and some embroidered flowers.
- Made sure everything was in my shopping cart!
Planning the Layout
Before I started sticking things on, I wanted to get a good idea of how it would all look. So, I laid my bag out on the table and started playing around with the patches. I tried a few different arrangements:
- Symmetrical: Tried putting matching patches on either side of the bag. It looked okay, but a little too… predictable.
- Clustered: Grouped a bunch of patches together in one area. This looked kinda cool, but left the rest of the bag looking a bit bare.
- Scattered: This is the one I ended up going with! I just kind of randomly placed the patches all over the bag, making sure there was a good mix of colors and sizes. It felt the most “me.”
And I took some pictures with my phone so I could remember the layout I liked best.
Attaching the Patches
This was the moment of truth! I was a little nervous about messing up my bag, to be honest.
- Make sure my hands were clean.
- Started peeling off the backs of the patches. Some of them were iron-on, which made things easier.
- For the iron-on ones, I used a thin cloth between the iron and the patch to protect the bag. Held the iron down for about 30 seconds, making sure to get all the edges.
- For the ones that weren’t iron-on, I just carefully peeled and stuck them on. They seemed pretty sticky, so I wasn’t too worried about them falling off.
- Checked everything was secure.
The whole process took longer than I thought! I’m a bit of a perfectionist, so I kept adjusting and re-adjusting until I was happy with how it looked.
The Final Result
And… I love it! It’s so much more fun and personal than it was before. It’s definitely a statement piece. I’ve already gotten a ton of compliments on it. It feels good to have taken something old and made it feel new and exciting again. I’m already thinking about what other bags I can customize… this could become an addiction!
