
Okay, so today I wanted to try something new with my nails, and I went for a white nail design. I’ve seen a lot of cool ideas online, and I figured, why not give it a shot?
First things first, I had to gather all my stuff. I dug through my nail polish collection and found a nice, creamy white shade and a sheer, milky white one too. I also grabbed my base coat, top coat, and some nail art tools – you know, just in case I felt extra creative.
I started by prepping my nails. I pushed back my cuticles, filed my nails into a nice shape, and buffed them a bit to make sure the polish would stick well. Then, I wiped them clean with some nail polish remover to get rid of any oils or dirt. That’s a must-do if you want your manicure to last.
Next up, the base coat. I applied a thin layer to each nail and waited for it to dry completely. This step is important because it helps protect your nails and makes the color go on smoother.
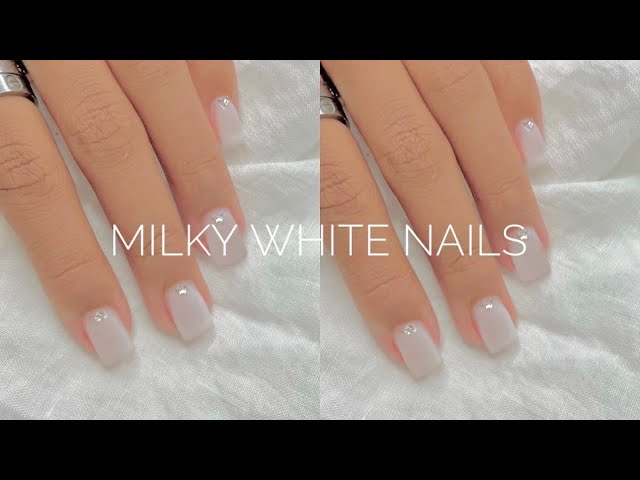
Now for the fun part – the color! I decided to go for that “creamy marshmallow” look I read about. So, I started with one coat of the solid white polish. I made sure to apply more polish on the brush and use fewer strokes, just like that pro, Remark, suggested. It’s like you’re floating the polish down the nail instead of pressing it on. It actually worked pretty well!
- Coat 1: Solid creamy white.
After the first coat was dry, I went in with the sheer, milky white. I applied two coats of this one, letting each coat dry in between.
- Coat 2 & 3: Sheer, milky white.
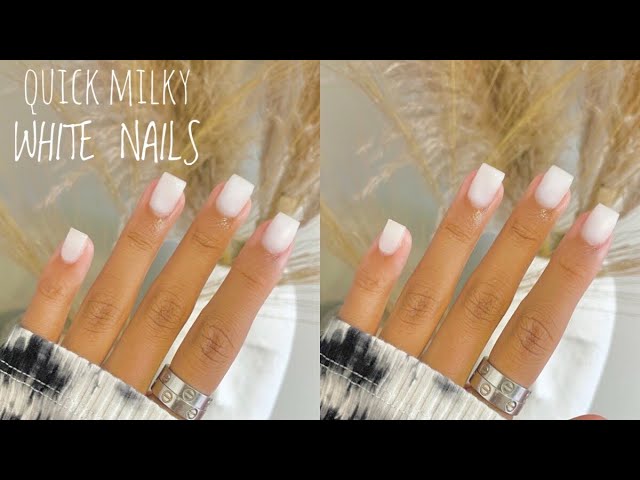
The combination of the two polishes really did give it that soft, creamy look I was going for. It’s like my nails were little marshmallows! It is really a fantastic idea!
Once everything was dry, I sealed it all in with a top coat. This helps prevent chipping and makes your manicure last longer. Plus, it gives it a nice, glossy finish. I waited a good while for everything to dry completely. Patience is key, my friends. You don’t want to smudge all your hard work!
And that’s it! My white nail design was complete. It turned out pretty good, if I do say so myself. It’s simple, but it’s also really chic and elegant. Plus, it was fun to do! I will try other colors next time.
