?")
Okay, so I’ve been on a bit of a nail polish kick lately, and I just had to share my experience with Essie polishes. I’ve always been a bit clumsy with painting my own nails, usually ending up with more polish on my skin than on the actual nail. But I was determined to get better, and Essie seemed like a good place to start since everyone raves about them.
My DIY Essie Manicure Journey
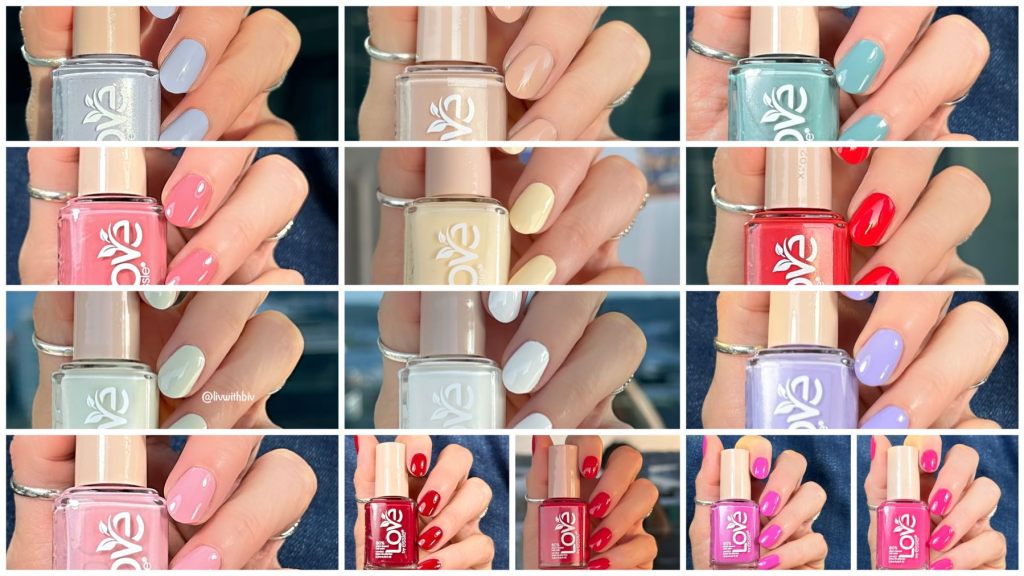
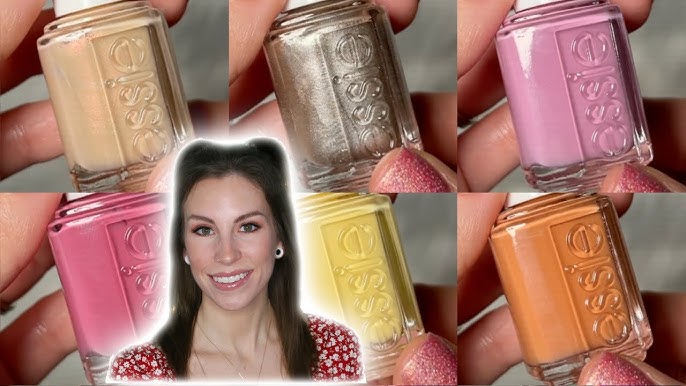
First, I picked out a few colors that caught my eye. I went for a classic red (“Really Red,” because, duh!), a pretty pastel pink (“Ballet Slippers,” which felt very elegant), and a fun, glittery top coat (“A Cut Above,” because sparkle makes everything better). I also grabbed a base coat and top coat from Essie, figuring I should go all-in on the brand.
I started by prepping my nails. This is key, and I used to skip this part all the time (big mistake!). I pushed back my cuticles, filed my nails into a nice shape, and then buffed them a little to smooth out the surface. I also swiped some nail polish remover over each nail, even though I didn’t have any old polish on, just to make sure they were super clean.
Then came the base coat. One thin layer, and I waited for it to dry completely. This is where patience comes in, something I’m not always great at. But I resisted the urge to rush things.
Next up, the color! I applied the “Really Red” first. The brush on the Essie polish is actually pretty good – it’s wide and flat, which makes it easier to get good coverage without making a huge mess. I did two thin coats, letting each coat dry before doing the next. I was actually impressed with how smooth the color went on. No streaks or clumps!
After the red, I tried the “Ballet Slippers” on my other hand. This one is a very sheer, light pink. I ended up doing three coats to get the color to show up the way I wanted. It’s definitely a more subtle look.
Finally, I added the “A Cut Above” glitter top coat to a few accent nails. Because, why not? It added a nice touch of sparkle without being too over-the-top.
And last but not least, I finished with a layer of the Essie top coat to seal everything in and add some shine. This also helps the polish last longer without chipping, which is a major win.
I will continue to practice and share my experience next time.
