")
Okay, here’s my blog post about making rhinestone ballerina flats:
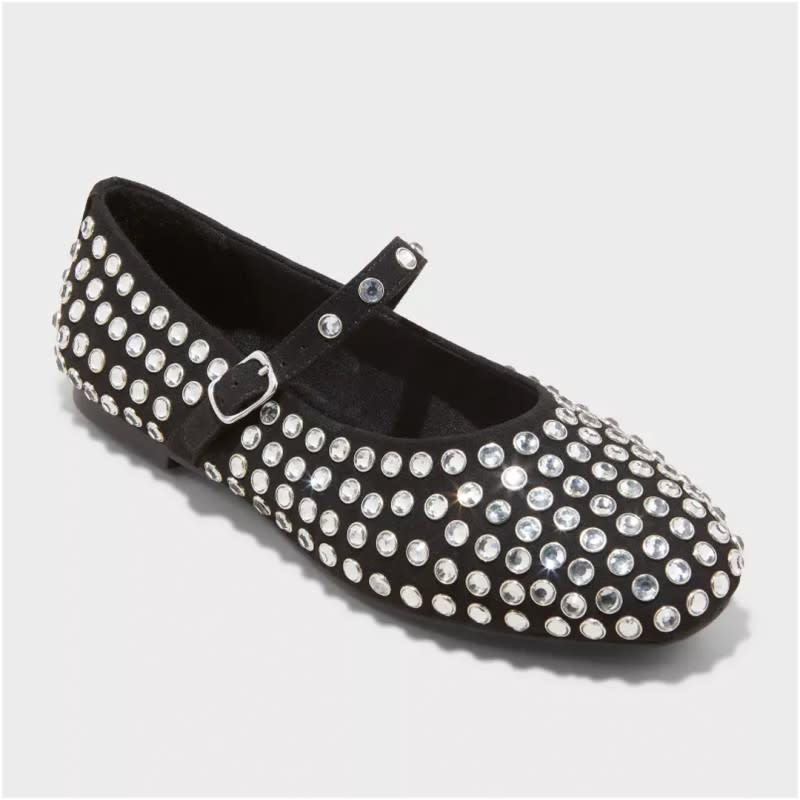
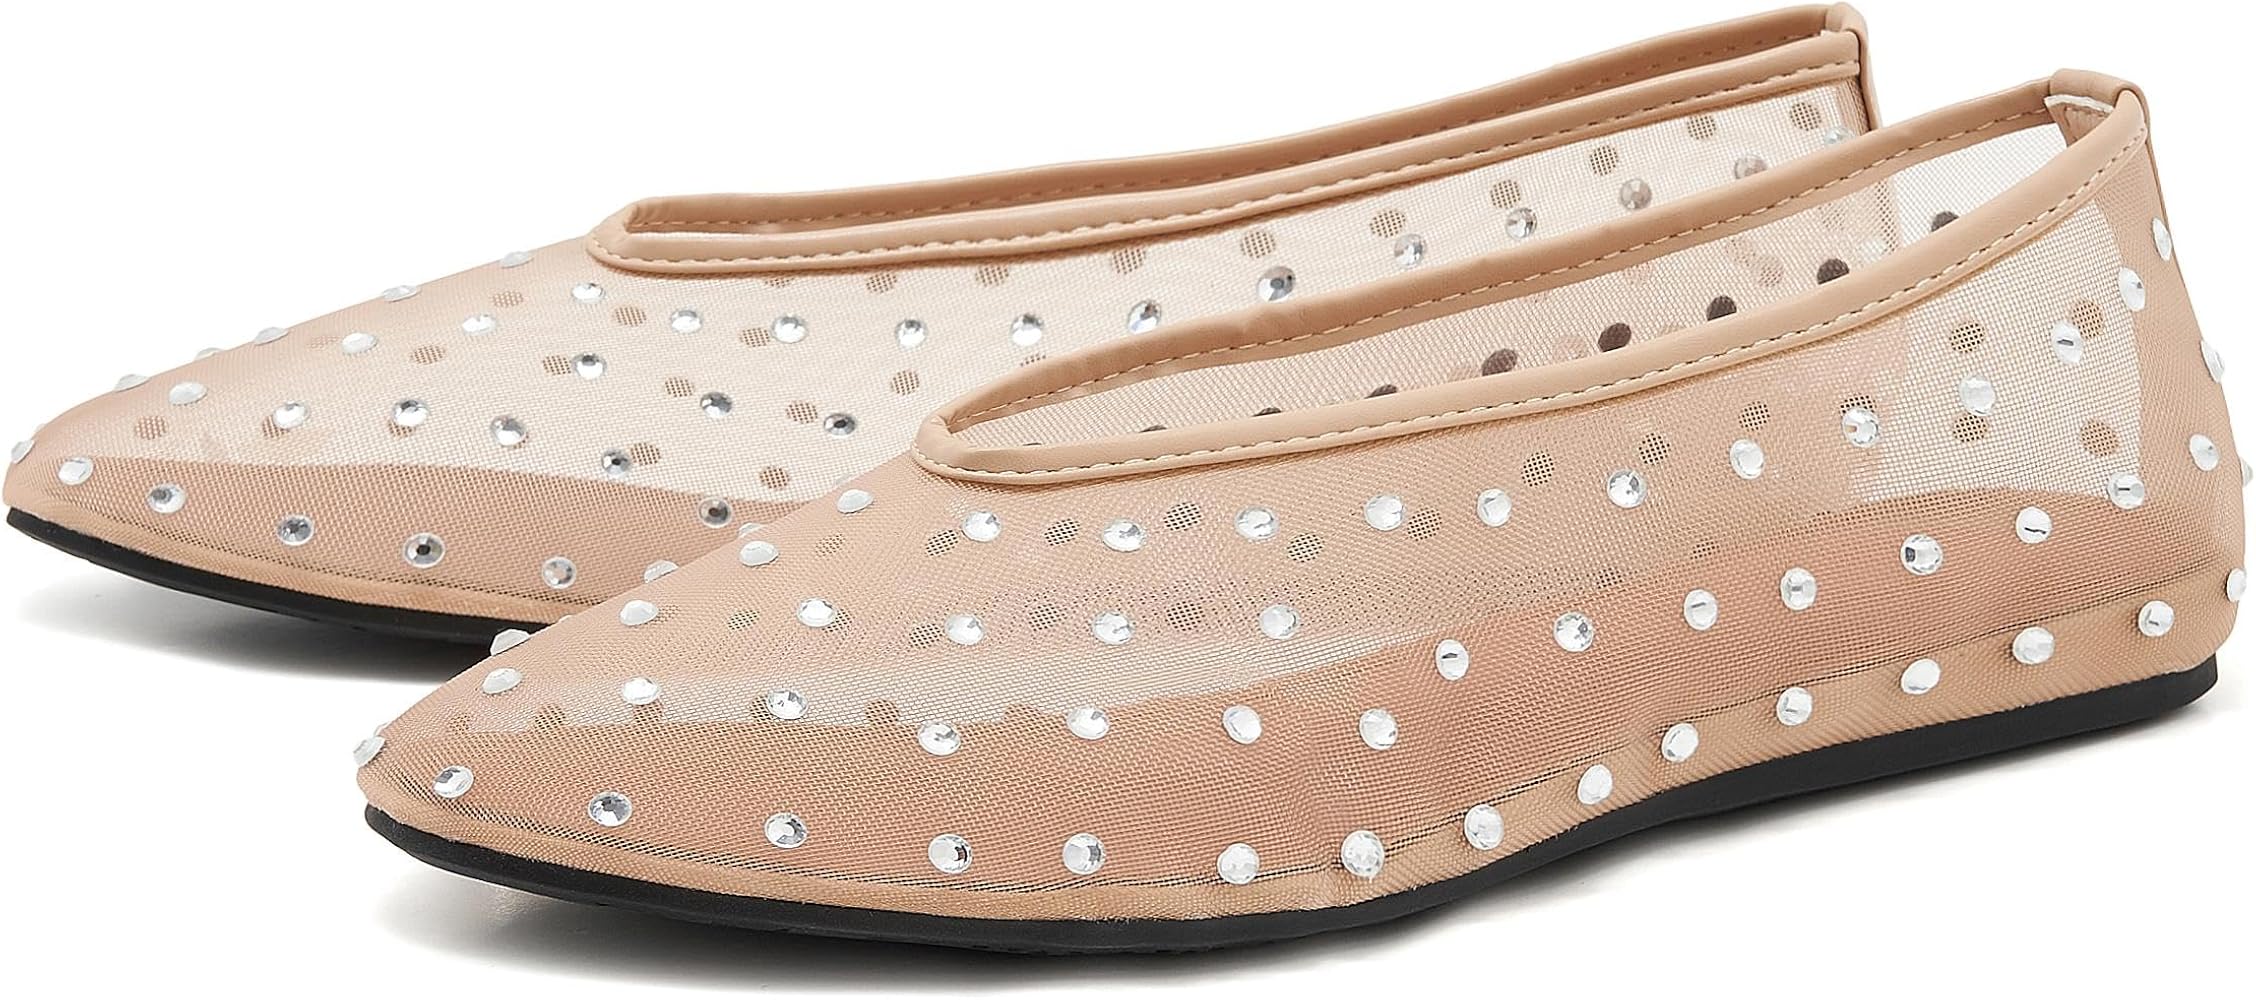
So, I saw these super cute rhinestone ballerina flats online, but they were, like, way too expensive. I figured, “Hey, I can totally make these myself!” And guess what? I did! It was surprisingly easy, and I’m gonna walk you through it.
Getting Started
First, I grabbed a pair of plain black ballerina flats. Nothing fancy, just a basic pair from a discount store. You can use any color, but I thought black would make the rhinestones really pop. Then, I headed to the craft store and picked up:
- A bunch of flat-back rhinestones in different sizes. I went with clear ones, but you do you!
- Some strong, clear-drying glue. I think the one I used was called “Gem-Tac” or something like that. Just make sure it’s good for fabric and gems.
- A pair of tweezers. These are super helpful for placing the tiny rhinestones.
- A toothpick or something similar. This is for applying the glue precisely.
- Optional: A small container or dish to pour out a little glue.
The Fun Part: Adding the Bling!
I started by planning out my design. I just kinda eyeballed it, but you could totally sketch something out beforehand if you want to be super precise. I decided to go for a scattered look, with more rhinestones clustered near the toe and then gradually decreasing towards the heel.
I poured a tiny bit of glue into my little container. Then, using the toothpick, I dabbed a tiny dot of glue onto the flat back of a rhinestone. The key here is tiny – you don’t want glue oozing out everywhere.
Using the tweezers, I carefully placed the rhinestone onto the shoe. I pressed it down gently for a few seconds to make sure it adhered properly. I repeated this process, rhinestone by rhinestone, gradually building up my design. I mixed up the sizes to make it look more organic and, well, sparkly!
It took a little while, but it was actually pretty relaxing. I just put on some music and got into the zone. Don’t rush it! If you mess up, you can usually carefully pry off the rhinestone with the tweezers before the glue fully sets. But it’s better to just take your time and get it right the first time.
Finishing Up
Once I was happy with the rhinestone placement, I let the shoes dry completely. I left them overnight, just to be sure. You don’t want any rhinestones falling off the first time you wear them!
And that’s it! Seriously. I was so thrilled with how they turned out. They look way more expensive than they were, and I get compliments on them all the time. Plus, I have the satisfaction of knowing I made them myself! It is definitely a satisfying D.I.Y project!
