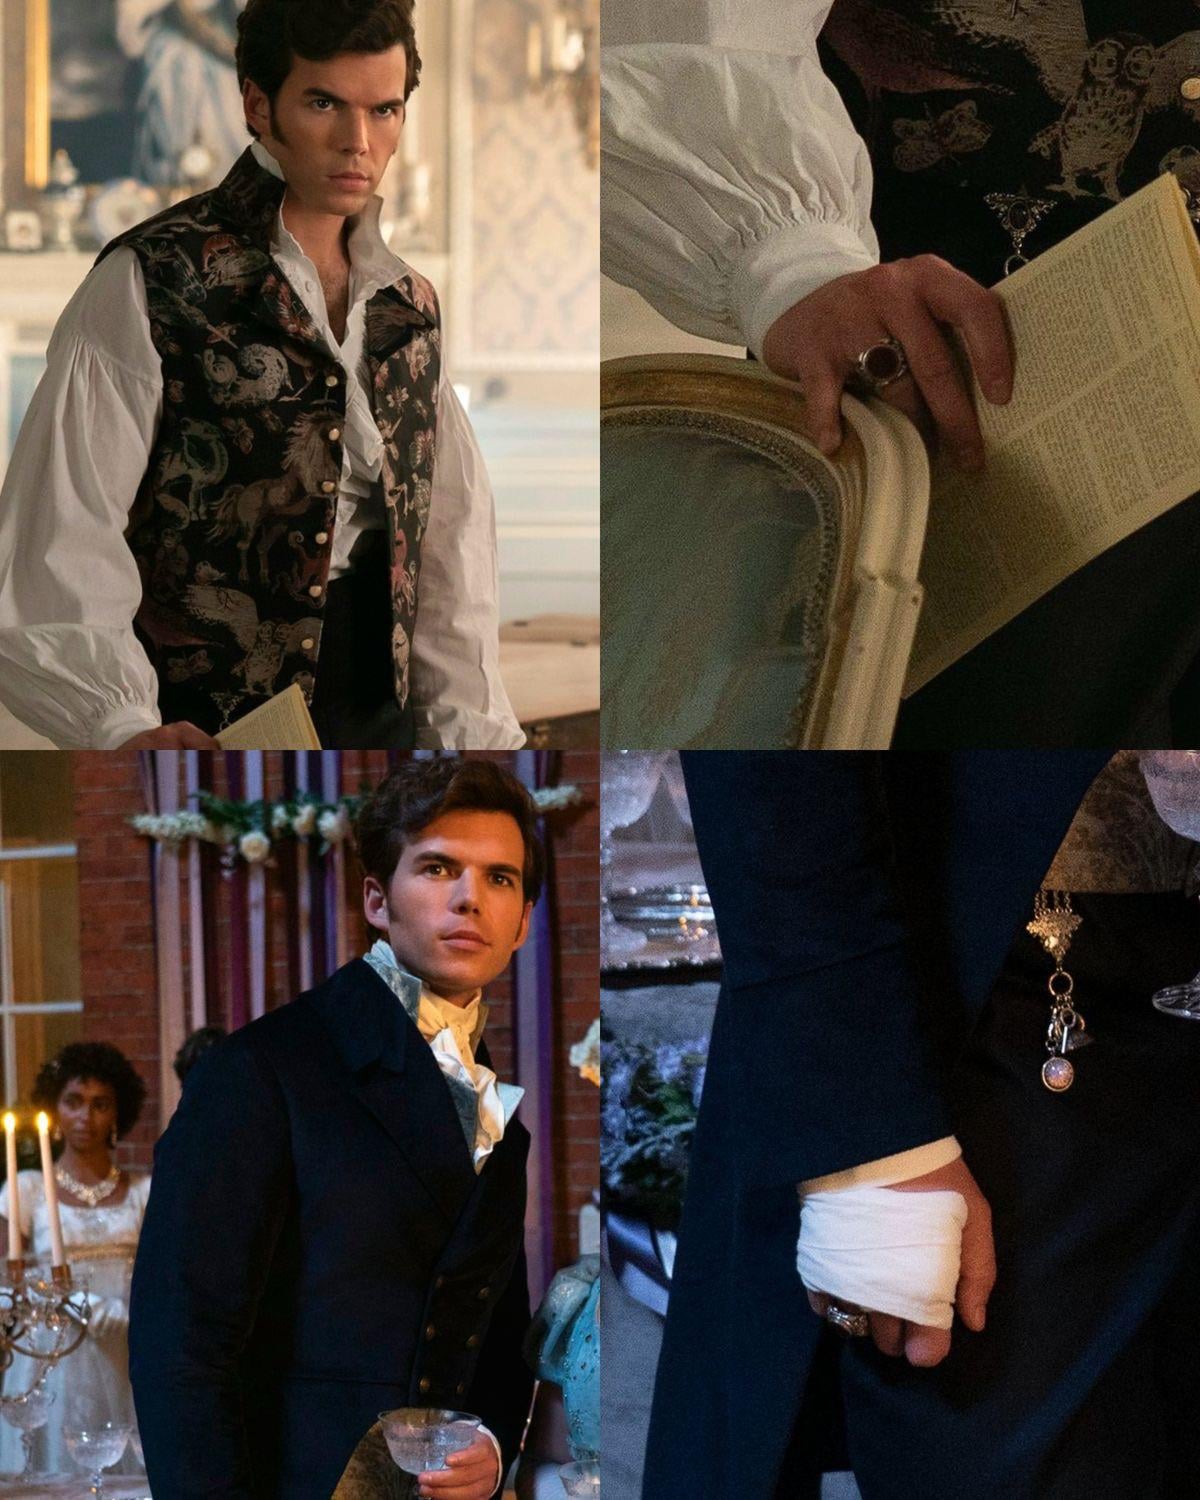
Okay, so I decided I was going to make this Colin Bridgerton ring. You know the one. Been seeing it all over the place, and I thought, “Yeah, I could probably do that.” I’m not some fancy jeweler, mind you, just someone who likes to tinker with things. And honestly, I needed a new little project to keep my hands busy.

Getting Started – What a Mess
First thing, I had to figure out what this thing actually looked like up close. Watched a bunch of show clips, squinted at photos online. It’s got that kind of old-timey, signet ring vibe, but a bit more, I don’t know, distinctive. So, I jotted down some notes, made a few rough sketches. Looked like a bird’s nest at first, my sketches, not the ring.
Then came gathering the stuff. I didn’t want to spend a fortune, so I went digging through my craft boxes. Found some old bits of metal – nothing fancy, probably some kind of craft wire. And I needed a base, something round. Thought about using an old button, but then I found a cheap, plain band ring I bought ages ago and never wore. Perfect! For the main bit, the “stone,” I wasn’t about to buy a real gem. I had some polymer clay, the kind you bake in the oven. Figured I could shape that and maybe paint it.
Putting It All Together – The Fun Part (Mostly)
So, the first real step was tackling that main piece. I took a chunk of black polymer clay. Kneaded it, rolled it, tried to get that sort of smooth, slightly domed shape I saw. This took a few tries, let me tell you. My first attempt looked like a squashed bug. Seriously. But I got there. Baked it in my little toaster oven, watched it like a hawk so it wouldn’t burn.
Once that cooled, I had to attach it to the band. This is where things got a bit sticky. Literally. I used some super strong glue. Got more on my fingers than on the ring, I think. Had to hold it in place for what felt like an eternity. My back was aching. But it stuck! That was a win.
Next up, the details. Colin’s ring has that sort of engraved look on the stone, right? I didn’t have engraving tools. So, I got creative. I used a sharp pin, one of those sturdy sewing ones, and carefully, very carefully, scratched a design into the cooled clay. I based it on some patterns I’d seen. It wasn’t perfect, not by a long shot, but it gave it that kind of handmade, slightly rugged feel. I actually kind of liked that it wasn’t too neat.

- Shaped the clay piece.
- Baked the clay piece.
- Glued it to the band. This was the tricky bit.
- Scratched in the design.
Then I thought, it needs a bit more. The metal band was too plain. So I took some of that craft wire, a thinner kind, and wrapped it around the base of the clay “stone,” where it met the ring band. Just a simple wrap, to give it a bit more texture and hide any glue oopsies. That actually worked out pretty well. Made it look a bit more finished.
The Grand Finale – Well, It’s a Ring!
So, after all that fiddling, gluing, and a bit of cursing under my breath, I had something that, you know, looked like a ring. Is it an exact movie prop replica? Absolutely not. But does it have that Colin Bridgerton vibe? I think so! It’s got character. My character, mostly, from all the fumbling.
I wore it around the house for a bit. Felt kind of cool, actually. Like I’d accomplished something. It’s not something I’d wear to a fancy ball, but for a bit of fun, and as a reminder of an afternoon spent making something with my own hands, it’s pretty neat. I’m glad I gave it a go. Even if my fingers were sticky for a day.


