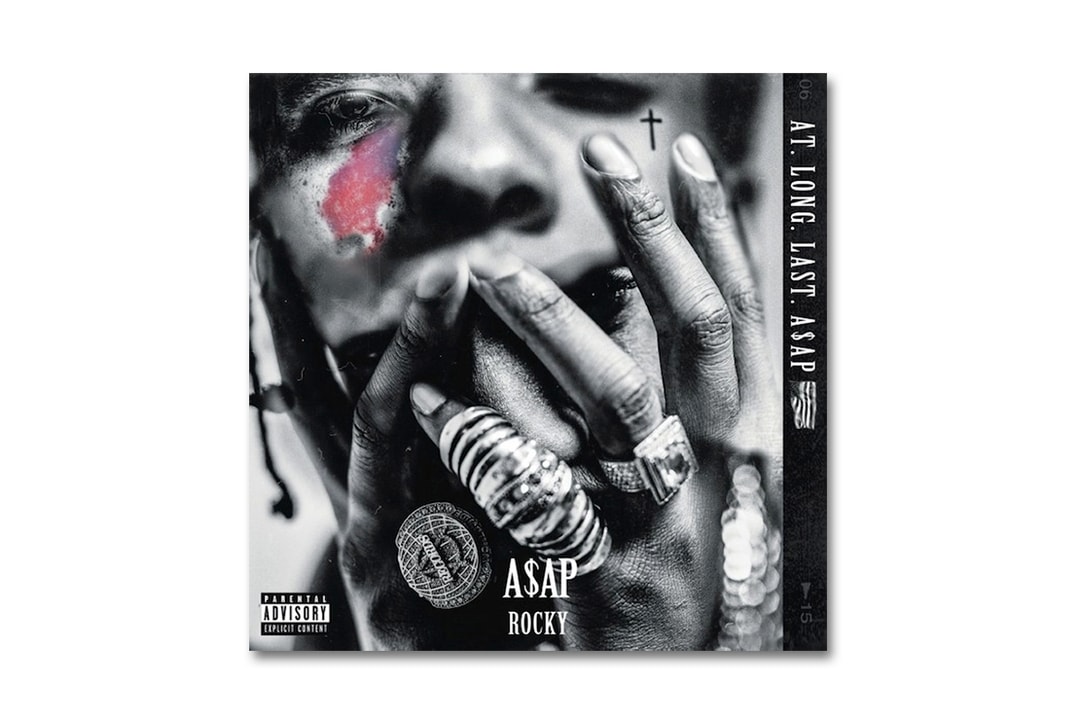
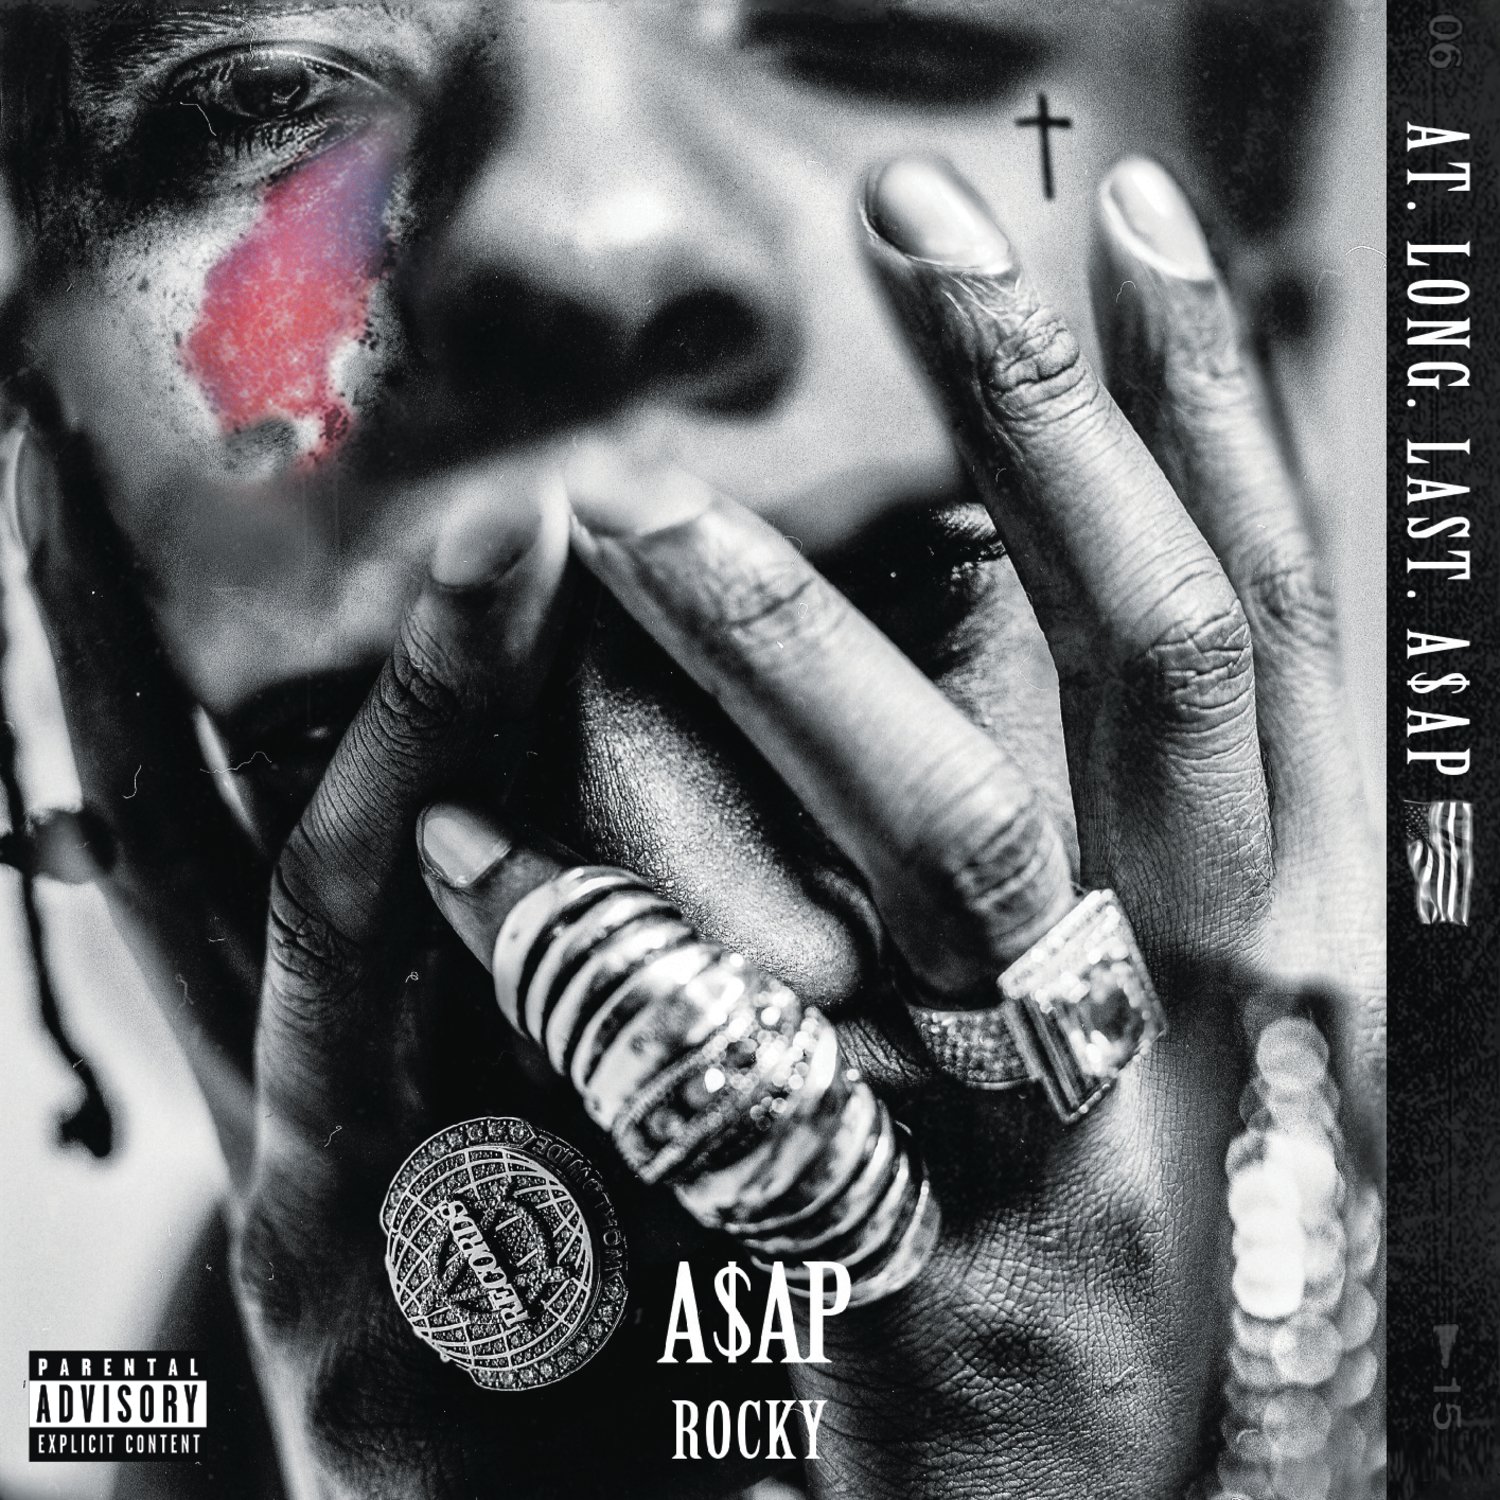
So, I finally got around to tackling that ASAP album cover idea I’d been mulling over. You know, the “At Long Last A$AP” one. It’s iconic, and I just had this itch to see if I could put my own spin on it, just for kicks really. Didn’t have any grand plans, just wanted to mess around and see what happened.

Getting Started – The Blank Canvas
First thing, I fired up my usual design software. Nothing fancy, just the one I’m most comfortable with. Stared at the blank screen for a bit, as you do. I knew I needed a solid base image of Rocky. Spent a good while scrolling through pictures, trying to find one with the right mood. You’d think it’d be easy, but nope. Some were too grainy, others the lighting was all wrong. Finally found one that felt right, kinda thoughtful, you know?
The Nitty-Gritty – Layers and Fonts
Then came the layering. I started playing with textures. I wanted something that felt a bit gritty, a bit raw, true to the album’s vibe. Tried a few overlays, some worked, some looked like a complete mess. It’s always a bit of trial and error, isn’t it? You have an idea in your head, but getting it onto the screen is another story.
Fonts, oh man, fonts. That was a whole other battle. I needed something that screamed ASAP but also had that “At Long Last” feel – kinda classic but still modern. I must have tried, like, twenty different fonts for the title. Some were too clean, some too unreadable. Eventually landed on something that felt like a decent compromise. Then placing it, nudging it pixel by pixel. That stuff takes time.
The Key Element and Some Frustration
And of course, the most important part for this specific album – the tribute to Yams. That birthmark. I wanted to get that right. It’s not just a graphic element; it means something. So, I was pretty careful with how I incorporated that. Didn’t want it to look tacked on or disrespectful. That took a few attempts, adjusting the opacity, the blending, trying to make it look integrated.
There was this one point where I almost gave up. I’d been staring at it for so long that nothing looked good anymore. You know that feeling? Where you’ve tweaked something so much you can’t even tell if it’s better or worse? Yeah, that was me. Took a break, made some coffee, came back with fresh eyes. That usually helps.

Pulling It All Together
After the break, I started looking at the colors. The original has a very specific palette. I didn’t want to copy it exactly, but I wanted to capture a similar feel. Played around with saturation, contrast, added a bit of a color wash. Little adjustments here and there. It’s funny how small changes can make a big difference.
I remember I was also trying to do this cool blending thing with another image in the background, something subtle. But my software started acting up. Kept crashing. That was super frustrating. I swear, sometimes technology just wants to test your patience. Had to simplify that idea a bit, but maybe it was for the best. Kept it cleaner.
The “Is It Done Yet?” Moment
Finally, after a few hours of fiddling, tweaking, and a little bit of swearing at the screen, I got to a point where I thought, “Okay, this is it. I think I like this.” It wasn’t perfect, not like a professional designer would make, obviously. But for a personal project, just messing around, I was pretty happy with how it turned out.
Here’s what I ended up with, basically:
- Found a decent base photo of Rocky.
- Layered some subtle textures for that gritty feel.
- Spent ages on font selection and placement for “At Long Last A$AP.”
- Carefully integrated the Yams tribute.
- Adjusted colors and tones to get the mood right.
- Fought with my software a bit, as usual.
It’s now sitting on my desktop. Every time I see it, I kinda remember the process, the little frustrations, and the satisfaction of actually finishing something I set out to do. Good times, mostly. And hey, I learned a few new tricks along the way, which is always a bonus.