
Hey everyone, it’s your boy back again with another project. Today, I’m diving into something a little different – a love bracelet. Yeah, you heard that right. I know, I know, it sounds kinda cheesy, but trust me, it’s been a pretty cool journey.
Getting Started
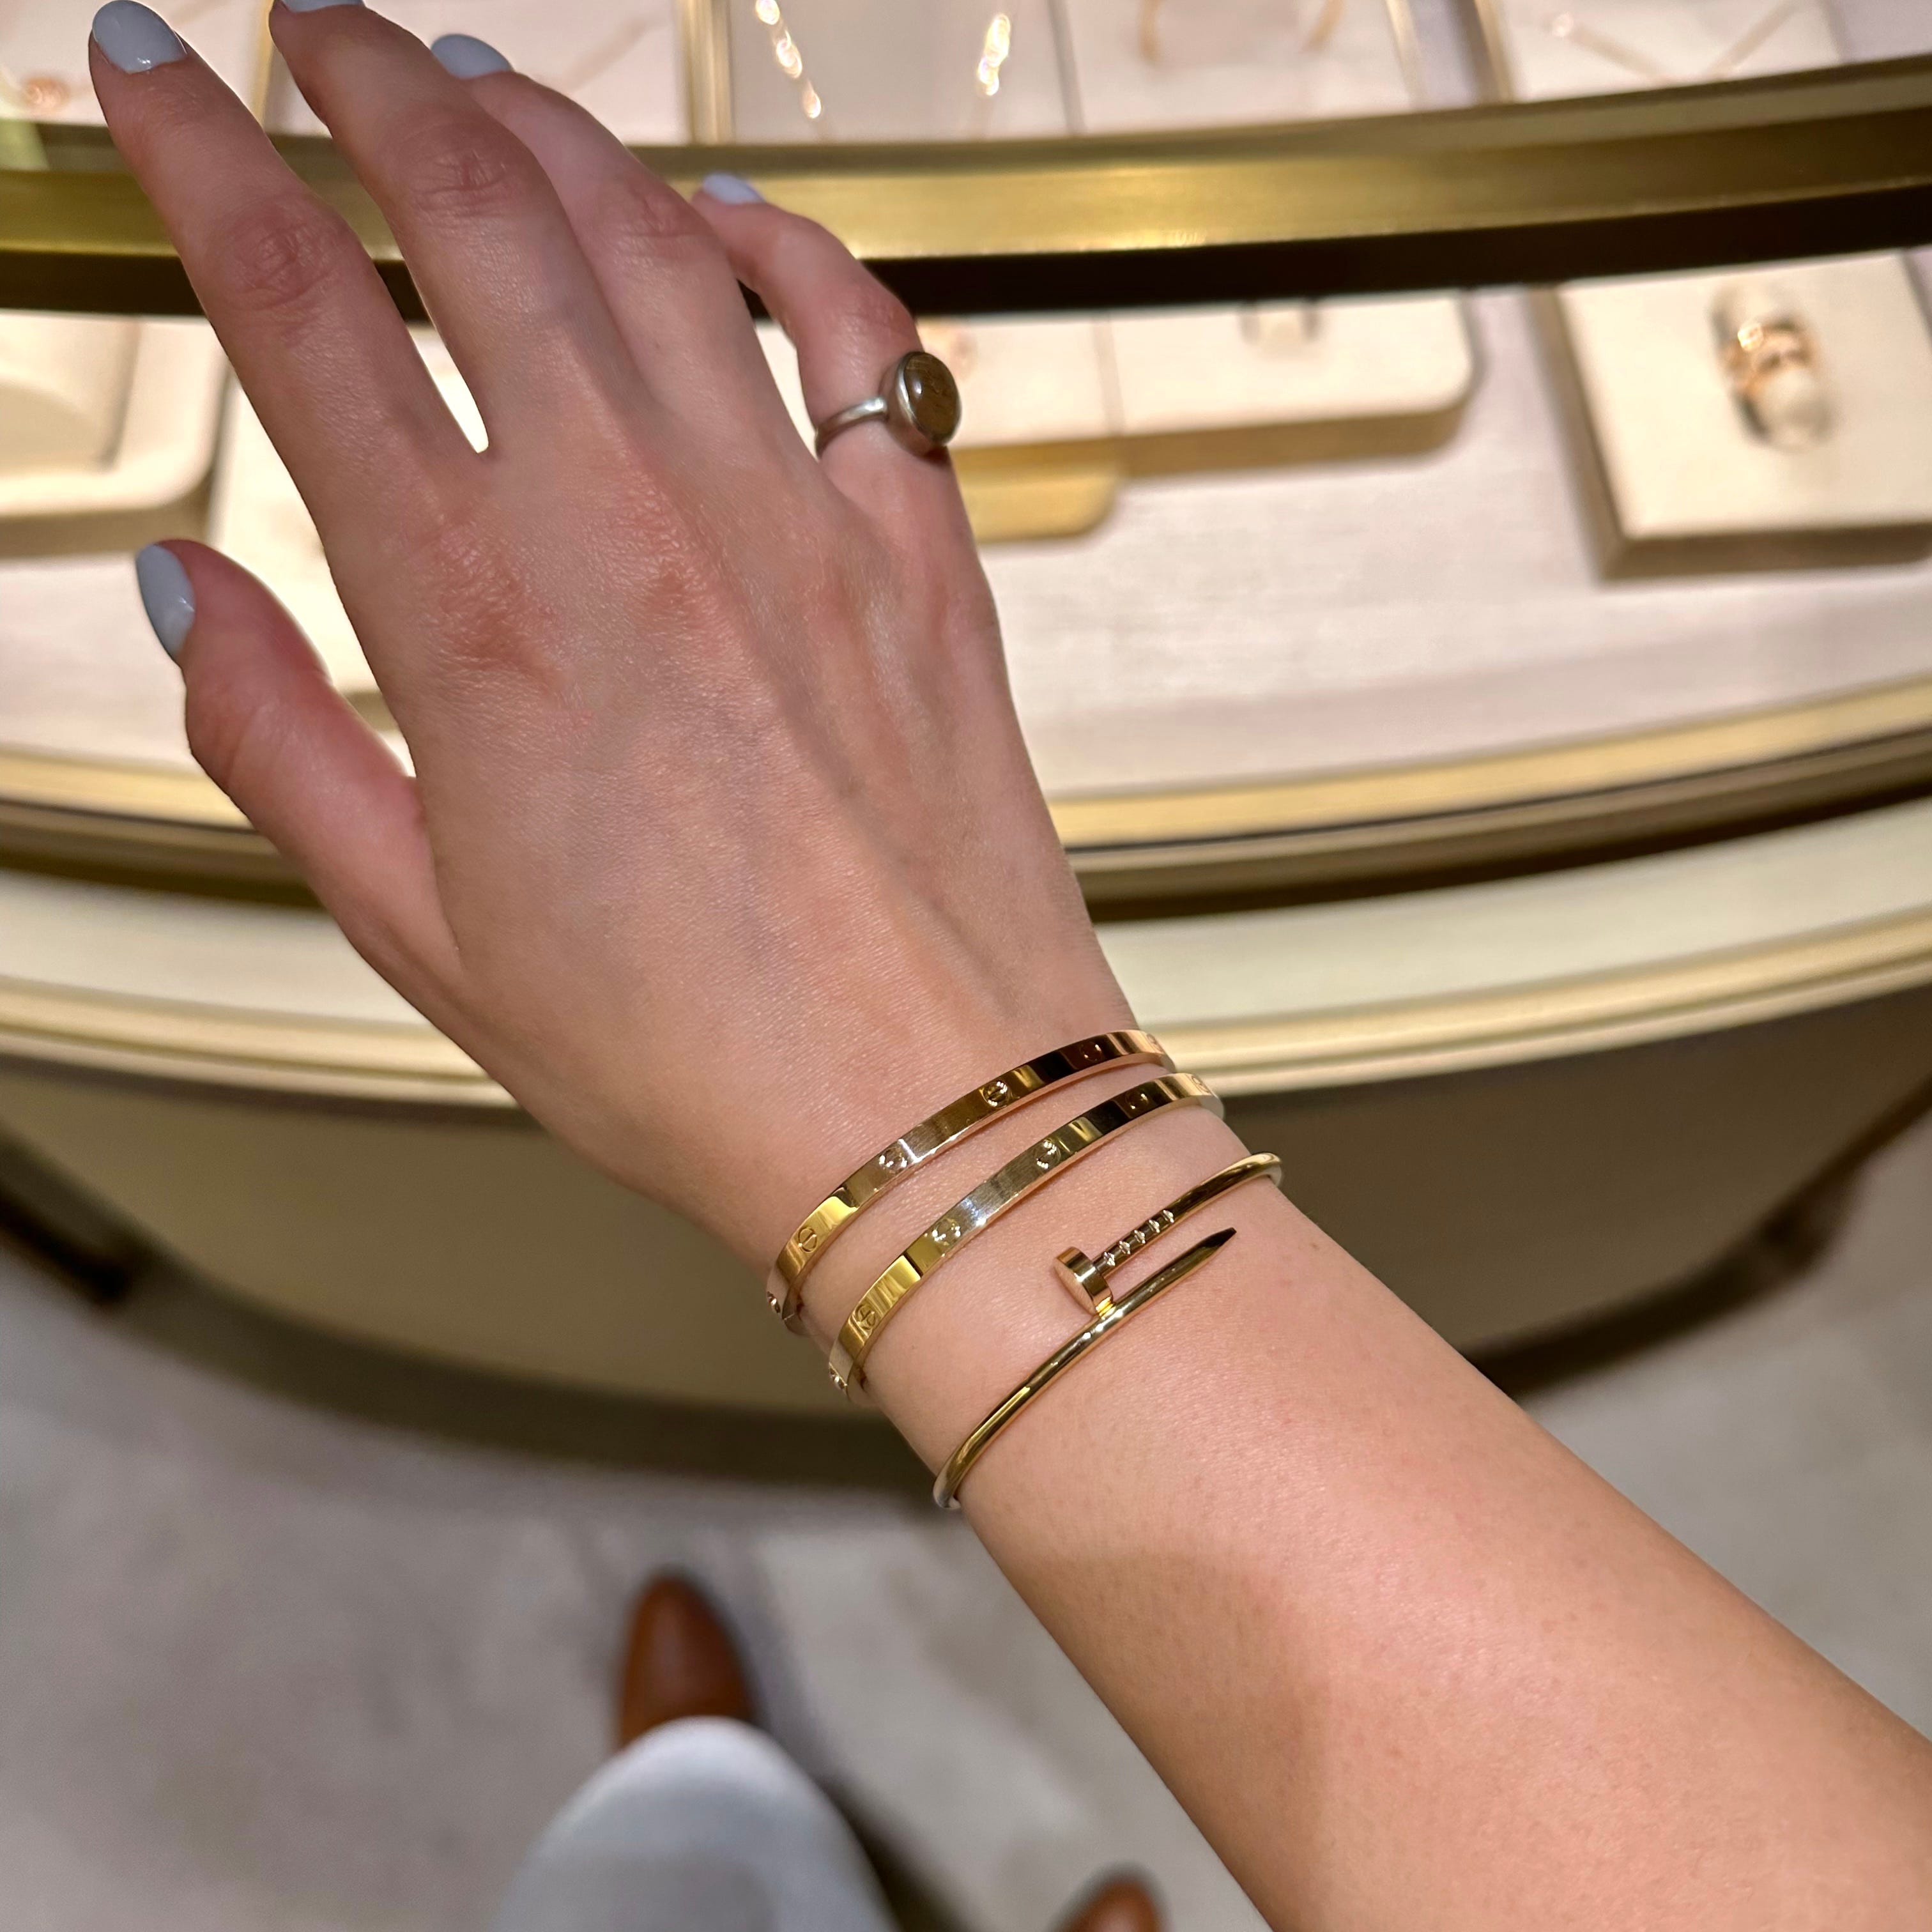
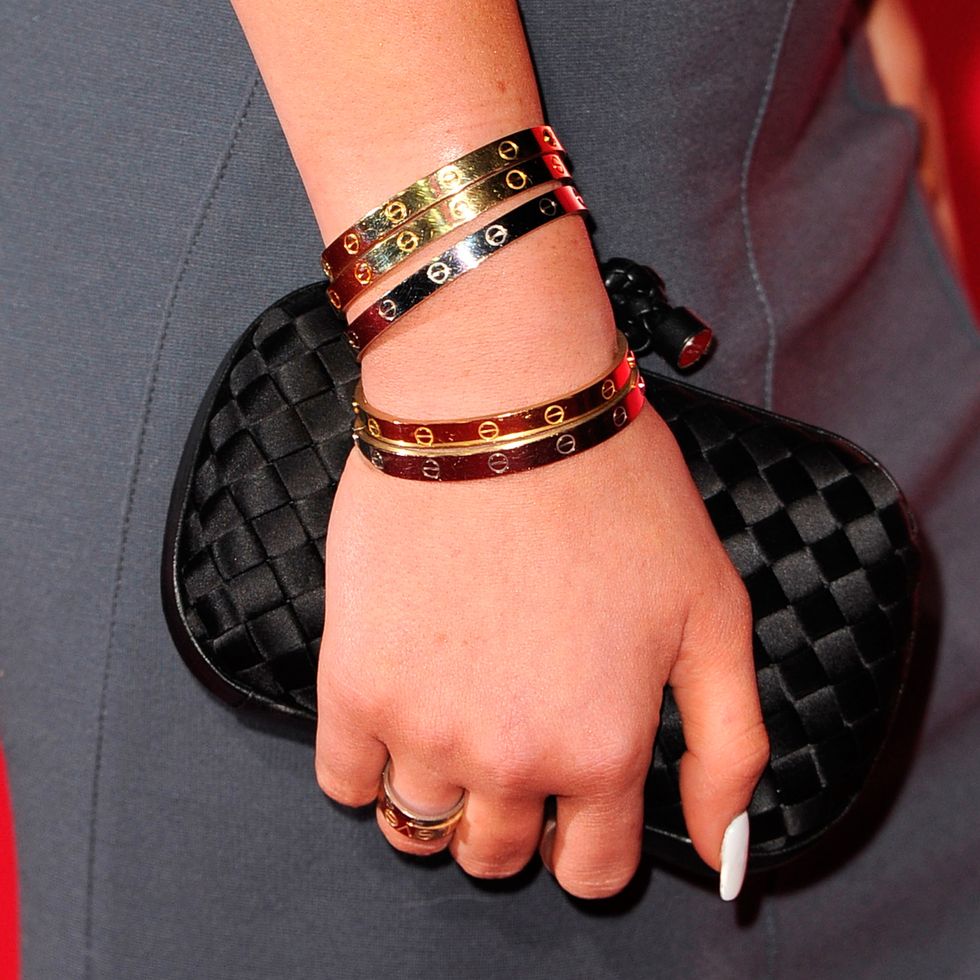
So, first things first, I had to figure out what this whole “love bracelet” thing was about. Turns out, it was created by this dude named Aldo Cipullo, and it’s supposed to be all about love and commitment. Interesting, right? The idea is that you’re basically “locked” into a relationship when you wear one of these. Cartier, the brand behind these bracelets, even used to say that only couples could buy them. No solo purchases allowed!
The Design
I started digging into the design. It’s pretty simple, really – a sleek band with these little screw motifs all around it. It’s not like your typical bracelet that you can just slip on and off. This one’s got a whole mechanism. You need a special little screwdriver to open and close it.
Making It Happen
Alright, time to get my hands dirty. I gathered all the materials. I decided to go with a simple metal band. Then, I had to figure out the screw situation. I got these tiny screws and started to work them into the bracelet. It was a bit of a pain, but after some trial and error, I got them in there. Trust me, my fingers were not happy with me after that.
The Locking Part
Now for the tricky part – making it so that you need a screwdriver to open and close it. I messed around with a few ideas, but I finally figured out a way to make it work. I made these little notches inside the bracelet that lined up with the screws, so you had to use the screwdriver to get it open. It wasn’t perfect, but hey, it worked!
The Final Touches
After I got the locking mechanism down, it was all about making it look decent. I polished it up, made sure all the screws were secure, and voila! My very own love bracelet. It’s not exactly Cartier quality, but I’m pretty proud of it.
The Verdict
So, there you have it – my adventure in making a love bracelet. It was a fun little project, and I learned a lot along the way. It’s definitely a unique piece of jewelry, and I can see why it’s become such a symbol of love and commitment. Would I make another one? Maybe. It was a good challenge, but my fingers might need a break first!
- Materials used: Metal band, tiny screws.
- Tools used: Special screwdriver (that I made), polishing tools.
- Process: Designed the bracelet, secured the screws, created a locking mechanism, polished the final product.
Hope you enjoyed this little story. Let me know what you think, and I’ll catch you all in the next one!
