")
Getting Started with QR Code Jewelry
So, I was fiddling around the other day, thinking about unique little projects, and this idea popped into my head: QR code jewelry. Sounds a bit techy, maybe, but trust me, it’s easier than you think and kinda cool. I figured, why not share how I went about it?
First Things First: The QR Code Itself
Alright, before you can even think about jewelry, you need the QR code. This was my first step.
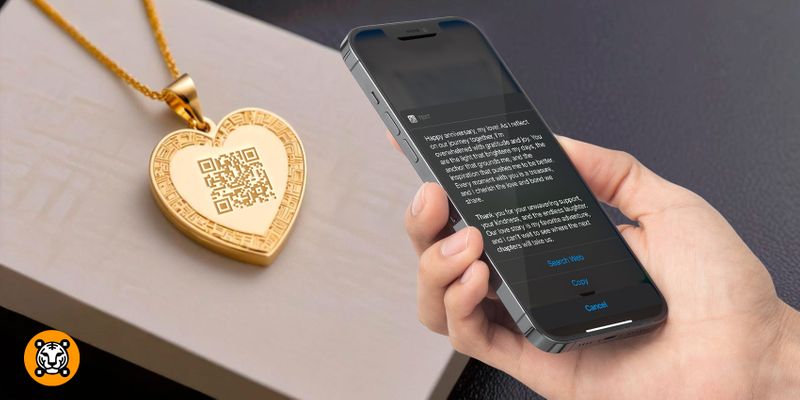
- What’s it gonna say? I spent a bit of time pondering what info I wanted this tiny square to hold. A secret message? A link to a favorite song? My emergency contact? The possibilities are endless, really. I decided to start simple with a short text message.
- Making the code: Then, I just hopped online. There are tons of free QR code generator websites out there. Seriously, just search for “QR code generator” and pick one. I typed in my message, and boom, it spat out a QR code image. I made sure to download it as a picture file, like a PNG or JPG. Something clear.
Turning Code into Bling: My Experiments
Okay, so I had my digital QR code. Now, how to get it onto something wearable? This is where the fun, and a bit of trial and error, came in. I tried a couple of methods.
Method 1: The Shrinky Dink Route
Remember Shrinky Dinks? That plastic stuff you draw on, cut out, and bake, and it shrinks down and gets hard? Yeah, that stuff! I thought, “Hey, this could work!”
- Printing and Cutting: I printed my QR code onto a sheet of Shrinky Dink paper. Not too big, because it was gonna shrink. Then I carefully cut it out. Made sure to punch a hole for a jump ring before baking – very important, that.
- Baking Time: Popped it into the oven, following the instructions on the Shrinky Dink packet. It’s pretty neat to watch it curl up and then flatten out.
- Finishing Touches: Once it cooled, it was a hard little plastic charm with my QR code on it! I thought about sealing it with some clear nail polish or a spray sealant, just to protect the print a bit. Then, just added a jump ring through the hole and put it on a necklace chain I had lying around. Easy peasy.
Method 2: Getting Fancy with Resin
The Shrinky Dink version was cool and quirky, but I also wanted to try something a bit more polished-looking. So, I decided to mess with resin.
- Prepping the Base: I got some small metal pendant bezels – those little tray things. For the QR code itself, I printed it really small on transparency film this time, so it would be clear. You could probably use paper too, but you’d need to seal it well before putting resin on it, or it might bleed.
- Mixing and Pouring: Resin usually comes in two parts that you have to mix together. Read the instructions carefully, wear gloves, and maybe work in a well-ventilated area ’cause some of it can be a bit stinky. I placed the tiny QR code print into the bezel, then carefully poured the mixed resin over it, making sure it was all covered and there weren’t too many bubbles.
- The Waiting Game: Then, you just gotta let it cure. This usually takes a day or so. Patience is key here. Don’t poke it!
The Big Test and Some Thoughts
So, after all that, the most important part: does it actually work?
I grabbed my phone, opened the camera app, and pointed it at my new creations. And you know what? Success! Both the Shrinky Dink one and the resin one scanned perfectly. It was pretty satisfying, I gotta say.
Here are a couple of things I learned along the way:
- Size and Clarity are King: If your QR code is too tiny, or if the lines get smudged or distorted when you make the jewelry, your phone won’t be able to read it. So, it’s a good idea to test scan it at various stages if you can.
- Contrast Helps: The classic black QR code on a white or very light background works best for scannability. I wouldn’t get too wild with colors for the code itself, might make it hard to read.
- Durability: The resin ones feel more durable, obviously. The Shrinky Dink one is more of a fun, novelty thing but still holds up okay if you seal it.
And that’s pretty much it! It was a fun little project. Think about the cool things you could do with this – a super personal gift, a unique way to share your contact info, or just a quirky piece of jewelry that’s a conversation starter. Give it a go, it’s not as complicated as it sounds!
