
Alright, so I’ve been meaning to share my experience with doing gel short nails at home. You see all these super sleek, perfect manicures online and think, “Yeah, I can do that.” Spoiler: it’s a bit of a ride, but here’s how my attempts usually go down.
My Journey into Short Gel Nails
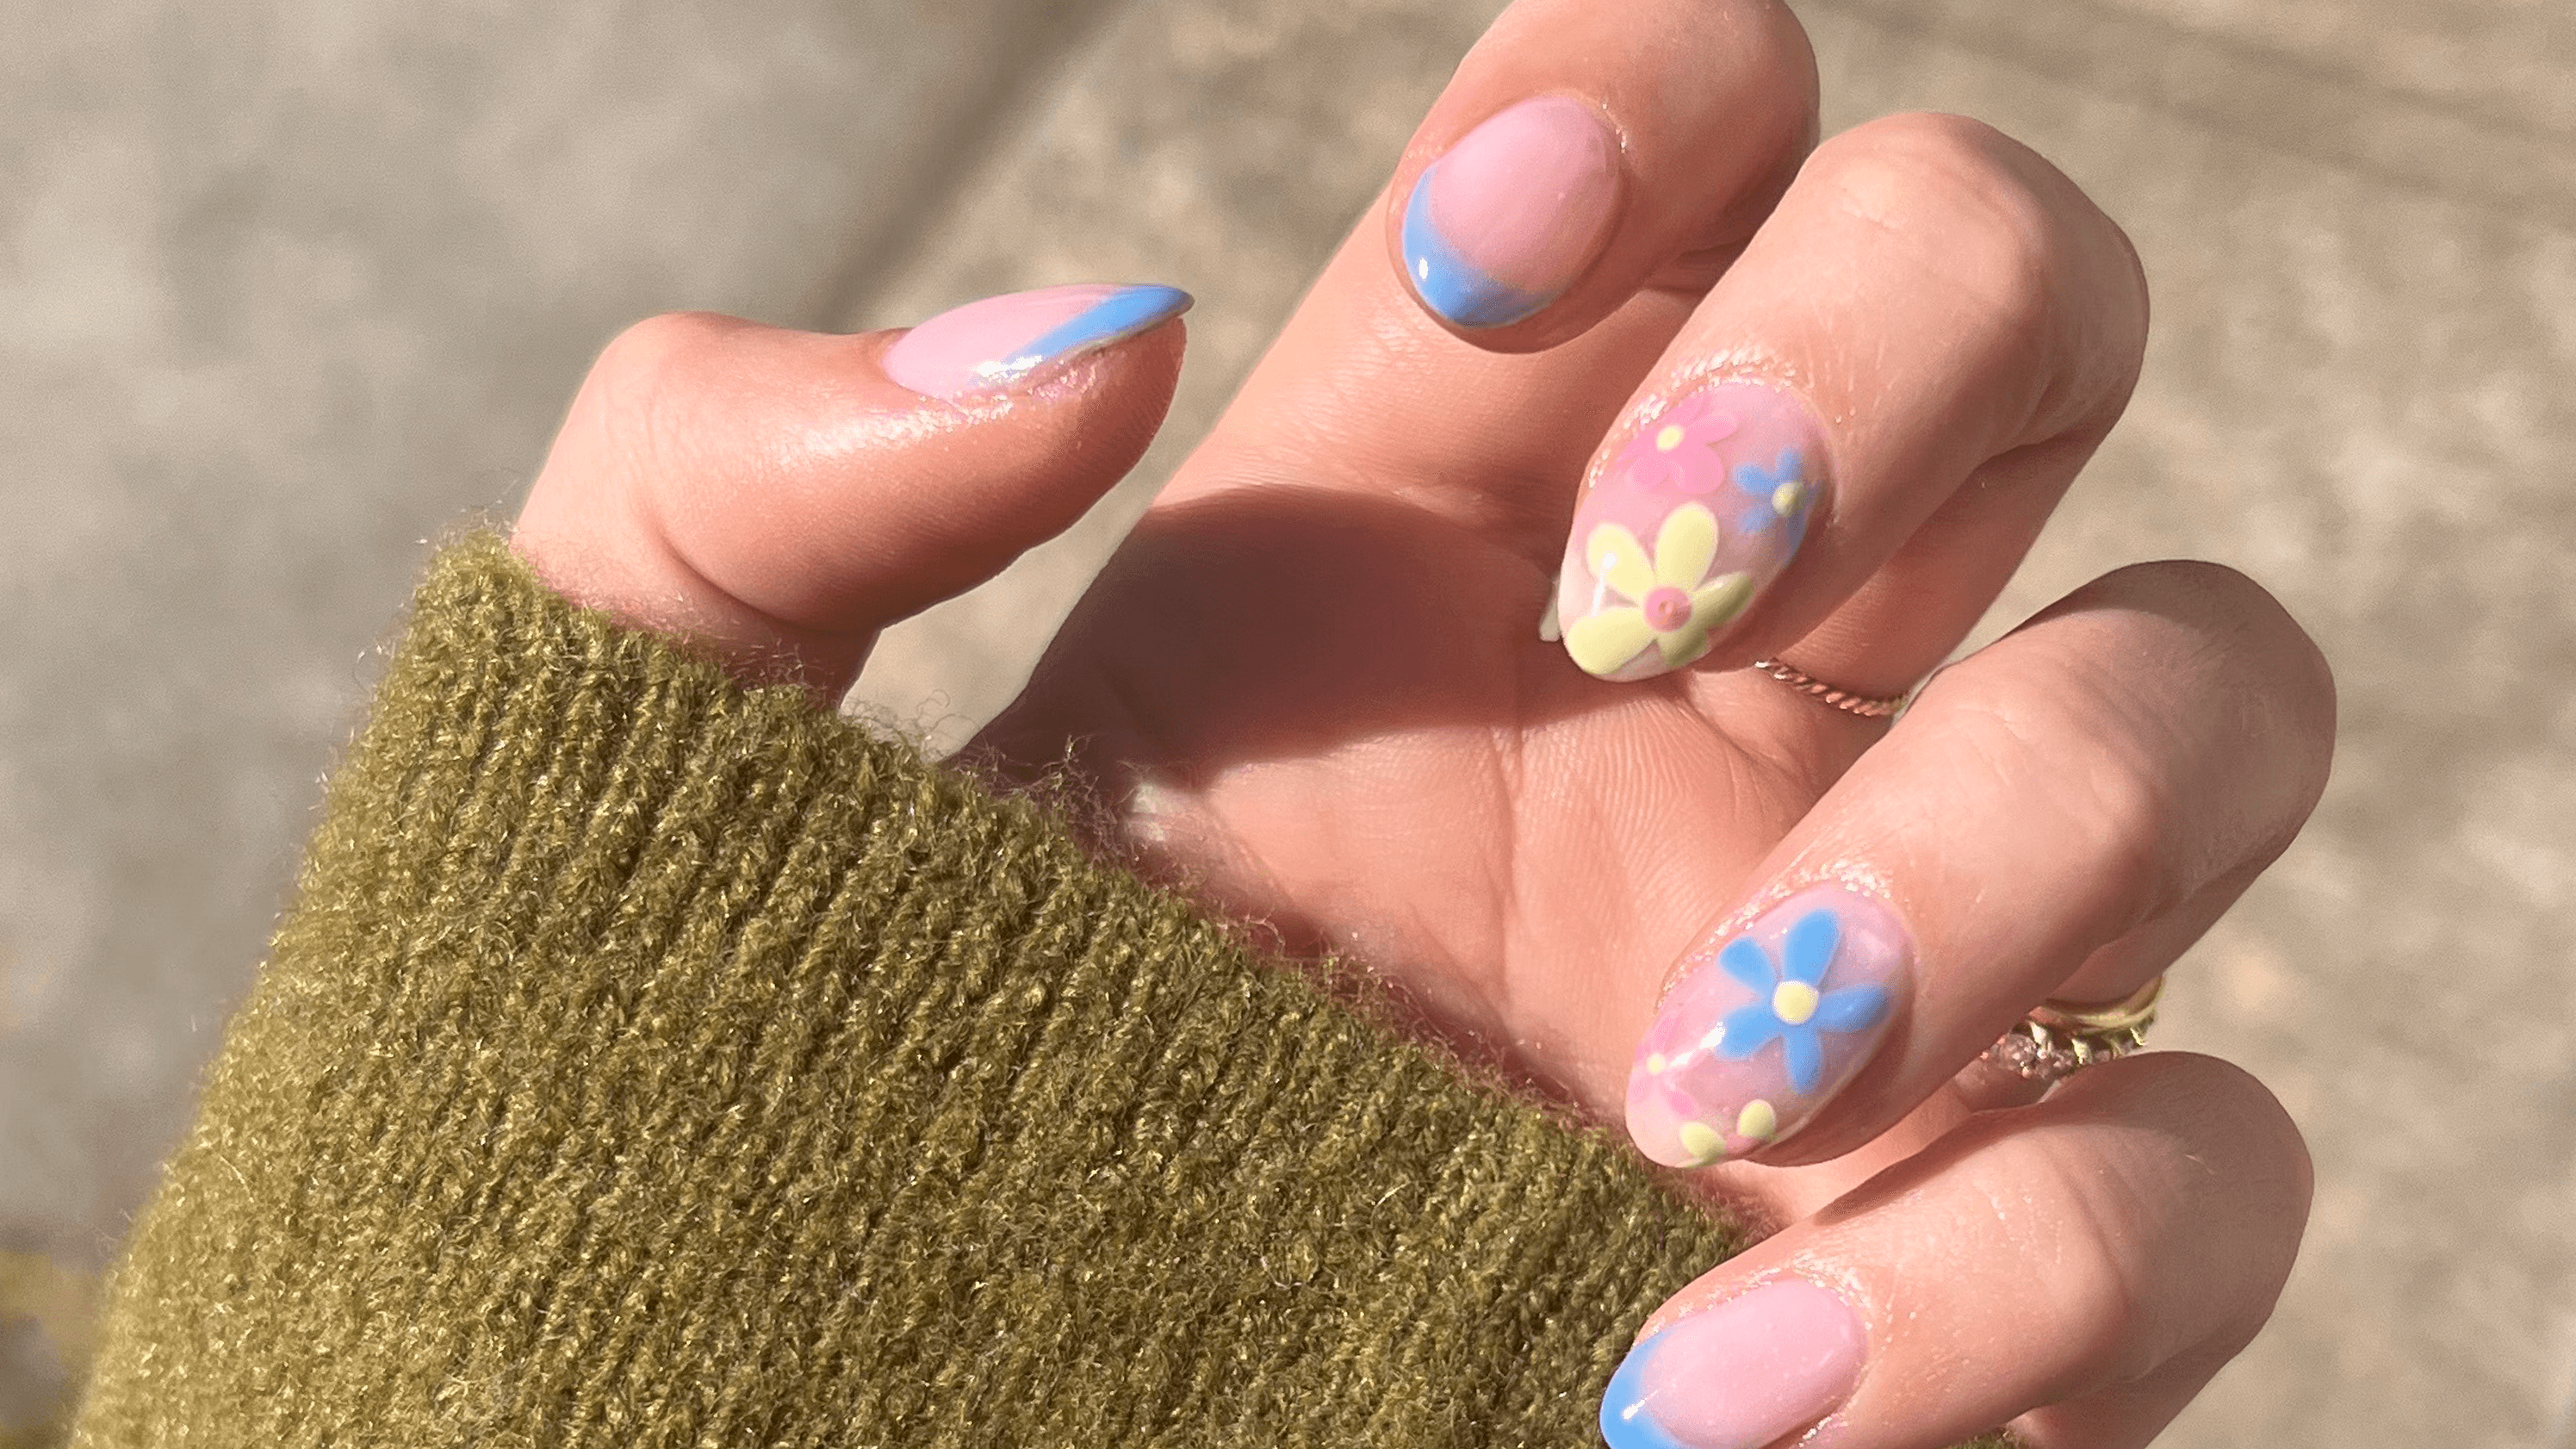
First off, why short? Honestly, I got tired of my nails constantly breaking or just getting in the way. I wanted something neat, clean, and practical, but still with that gel shine that lasts. So, I decided to give it a proper go myself.
The very first thing I do, and trust me, I learned not to skip this, is the prep. Oh, the prep work! You can’t just slap this stuff on and hope for the best. My first few tries were a disaster, peeling off in days. So now, I’m meticulous.
- I start by pushing back my cuticles. Really get them out of the way. Makes a huge difference to how neat it looks.
- Then, I file my nails down to the short length I want. I try to get them all even, which is harder than it sounds.
- Next, I gently buff the surface of each nail. Just enough to take the shine off. This helps the gel actually stick. Without this, it’s like trying to get paint to stay on glass.
- Finally, I wipe them down with an alcohol wipe or a special nail prep solution to get rid of any dust or oils. Super important.
Once that’s done, I gather my little arsenal of supplies. This usually means:
- My UV/LED lamp. I started with a tiny, cheap one, but quickly realized I needed something a bit more powerful if I wasn’t going to spend all day curing.
- A base coat. This is the foundation.
- The gel color itself. I’ve built up a small collection, some hits, some definite misses.
- And a top coat, for that shine and protection.
Okay, application time. I start with the base coat. I learned pretty fast that thin coats are key for everything. So, I apply a thin, even layer of base coat to each nail, making sure not to get it on my skin. Then, into the lamp it goes for curing. My lamp usually beeps when it’s done for that layer.
Next up is the color. This is where it gets fun, or frustrating, depending on the day. Again, thin coats! I usually do two coats of color. Sometimes a third if it’s a particularly sheer shade.

- I paint one thin coat, trying my best to get it smooth and avoid flooding my cuticles. It’s a real test of coordination, especially doing my dominant hand with my non-dominant hand.
- Then, I cure that coat under the lamp.
- Then I repeat with the second coat of color, and cure that too. I remember one time I smudged a nail right after the second coat and before curing – had to wipe that whole nail clean and start over. So annoying.
After the color is all cured and looking good (hopefully), it’s time for the top coat. This is what seals everything in and gives that lovely glossy finish. I apply a thin layer, making sure to “cap the free edge” – that means swiping the brush along the very tip of the nail. I heard this helps prevent chipping. Then, it’s one final cure under the lamp. This cure always feels the longest because I’m just eager to be done!
Once the top coat is fully cured, some of them have a sticky inhibition layer. I just take a lint-free wipe with some isopropyl alcohol and give each nail a quick wipe. And voilà! Shiny, hard, short gel nails.
So, the big question: how long do they last? Well, they say gel nails can last anywhere from two to three weeks. In my experience, if I’ve done my prep really well and I’m not too rough with my hands, I can get a good two weeks out of them. Sometimes longer, especially on my toenails, but who’s counting those as “short” in the same way? I’ve also read that reapplying a top coat every few days can help maintain the shine and extend the life. It sounds like a good tip, but honestly, I rarely remember to do that. I’m usually just happy if they look good for a solid week or two without any major chips.
It definitely took me a few tries to get the hang of it. It’s not as simple as painting on regular polish, that’s for sure. There’s a learning curve with getting the coats thin and avoiding the skin. But, when it works out, it’s pretty satisfying to have nice-looking nails that don’t chip the next day. Plus, doing it myself saves a bit of cash, most of the time. It’s become a bit of a routine now.
