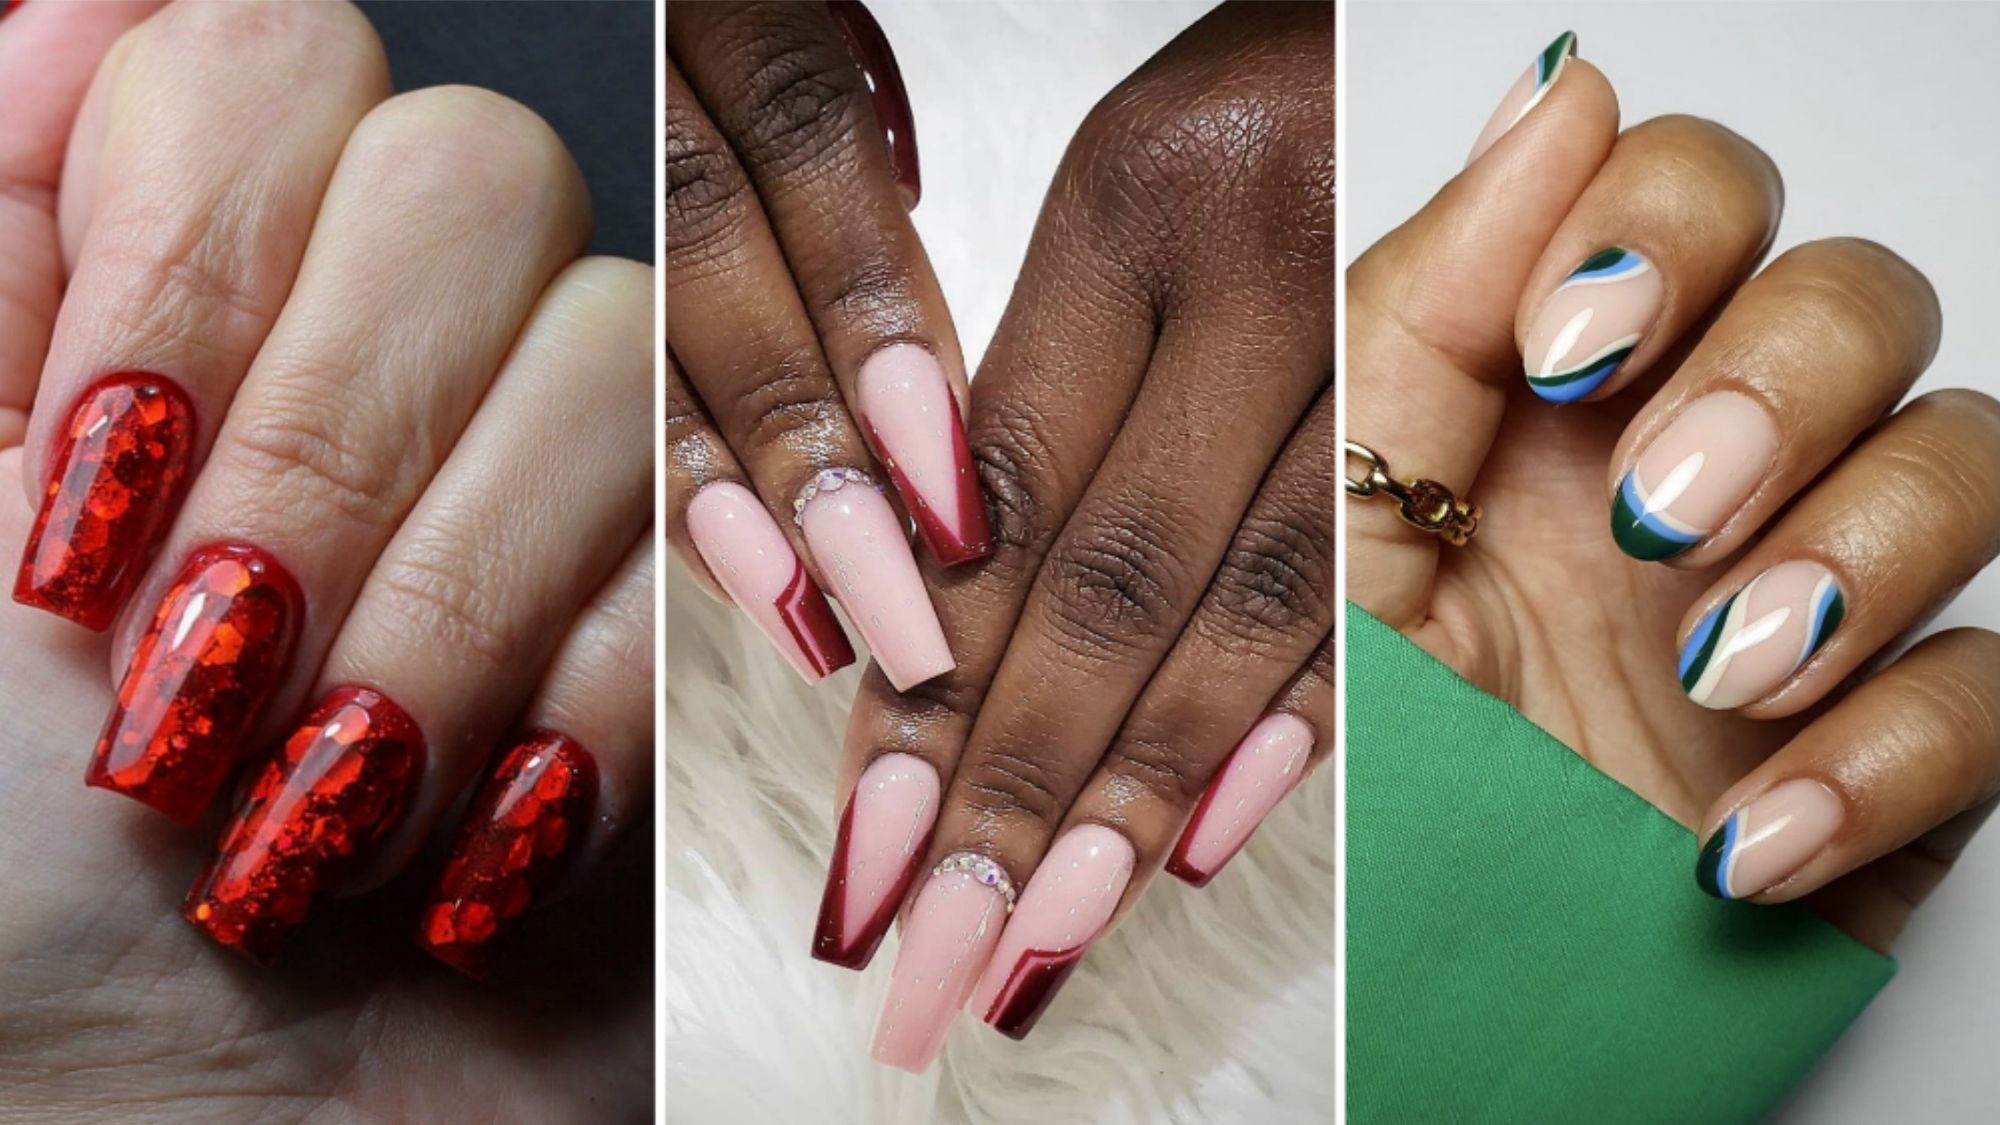
Okay folks, grab a coffee and settle in, ’cause today I got my hands dirty (literally!) trying out those super trendy Christmas ombre nails everyone’s raving about. Wanted something festive but not too over-the-top, you know? Saw a pic online and thought, “Yeah, I can maybe do that.” Famous last words, right?

The Plan (Or Lack Thereof)
So, the idea was a red-to-white ombre sparkle thing, classic Christmassy. Didn’t overthink it, just grabbed my stuff: a sheer pinkish base (had some leftover stuff), a proper bright red gel, a sheer white gel, some fine silver glitter powder, and a sponge. And obviously, base coat, top coat, the usual suspects. Lights on, nail drill ready to clean up the inevitable mess.
Getting Down to Business
First things first: prepped the nails like always. Filed, buffed, pushed the cuticles back gently. Wiped ’em down super clean – dust is the enemy! Applied a thin coat of that sheer pink base gel. Cured that bad boy under the lamp. Figured it might help blend the colours nicer later.
Now, the fun/scary part: the ombre. Took my little makeup sponge, the triangular kind. Painted thin lines right onto the sponge: red gel at the tip end, then blended into the sheer white gel towards the middle. Got messy real quick! Pressed the sponge gently onto the nail tip, rocking it a bit to smoosh the colours together. Held it there for a second. Peeked… looked kinda blobby and uneven. Sigh.
Cured it halfway – just to lock that messy blend in place a bit. Went in with the sponge again on the same nail, trying to build up the colour and make the blend smoother, focusing mostly on the tip and that red-to-pink transition zone. Still looked patchy, especially near the cuticle where the white was supposed to fade. This blending thing is trickier than it looks on Insta! Cured fully this time.
Repeated this nail agony on the other nine fingers. My thumb looked particularly tragic, like I’d attacked it with a red marker. Kept telling myself “Trust the process, it’ll get better.” (Did I believe it? Not really.)

The Sparkle Salvation
Time for the glitter! Hoped this would hide a multitude of sins. Dabbed some top coat just on the tips where I wanted the most sparkle – mostly the red part fading up a bit. Sprinkled that fine silver glitter powder all over the wet top coat, pressed it in gently. Blew off the excess. Already looked better! The glitter kinda masked the patchiness and added that party vibe. Cured it.
The Finishing Touches (And Honest Thoughts)
Applied a nice thick layer of no-wipe top coat over everything. Made sure to cap those tips for durability. Cured for the final time.
Flipped on the big light to get a good look. So… my verdict?
- The Good: That glitter top? Chef’s kiss! Absolutely saved it. From a distance, or in dim party light? Looks festive and kinda cool. The red-to-pink part blended okay, kinda coral-y.
- The Bad: That “ombre” to white near the cuticle? Yeah, barely happened. Mostly just looks like a sheer pink base with a glittery red tip. Not a smooth fade at all. My thumb is still kinda a disaster zone. Also, glitter. Got. Everywhere. Like, everywhere.
Was it exactly like the dreamy picture I saw? Heck no. Was it fun to try something different and get messy? Absolutely. Will it do for hitting the Christmas parties? Sure, with dim lighting and maybe gloves until I get to the door! Practice makes… maybe not perfect, but definitely less messy next time.

