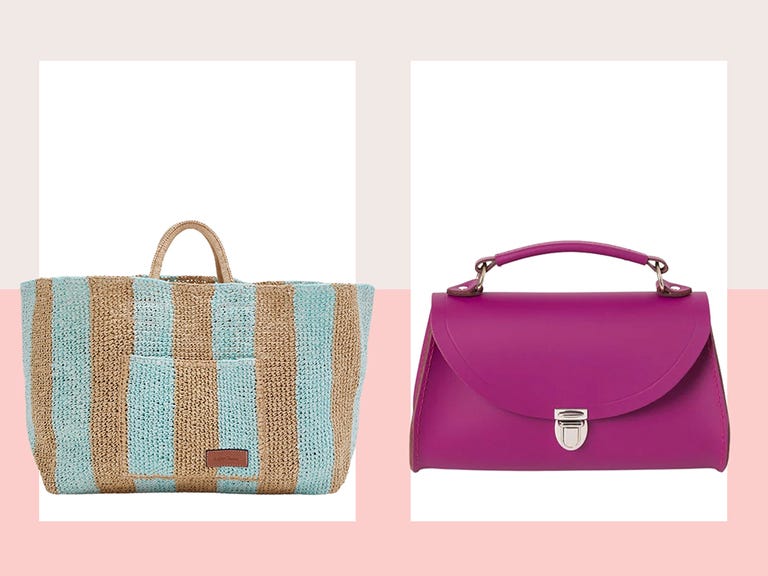
Okay, so I’ve been seeing these super cute summer bags everywhere lately, and I decided I had to make my own. I mean, who doesn’t love a good DIY project, especially when it can save you some serious cash?

Getting Started
First things first, I gathered my materials. I already had a bunch of fabric scraps lying around from previous projects (I’m a bit of a fabric hoarder, don’t judge!). I picked out some bright, summery colors and patterns – think florals, stripes, and maybe a little bit of gingham. You’ll also need some basic sewing supplies:
- Sewing machine (or you could hand-sew, but that’ll take a while!)
- Needles
- Thread (matching your fabric)
- Scissors
- Pins
- Measuring tape or ruler
- Optional: Some cute buttons or embellishments
The Process
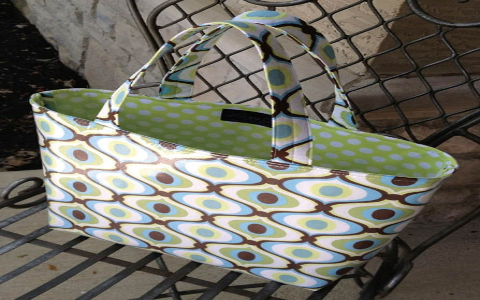
Next, I figured out what kind of bag I wanted. I decided on a simple tote bag because it seemed like the easiest option for a beginner like me. I found a basic tote bag pattern online. You could also just freehand it if you’re feeling confident. I cut out two large rectangles for the main body of the bag, and then two long strips for the handles. I made sure to add a little extra fabric for the seams – about half an inch on each side.
Then, I pinned the two main pieces together, right sides facing each other. I sewed along the two sides and the bottom, leaving the top open (obviously!). I did a double stitch just to make sure it was super sturdy. I did the same thing with the handles, sewing them into long tubes, then turned them right-side out. This part was a little tricky, I’m not gonna lie.
After that, I pinned the handles to the top edge of the bag, making sure they were evenly spaced. I sewed them on, going over them a few times to really secure them. I also added a little pocket inside the bag using some leftover fabric – perfect for my phone and keys!
Finally I ironed all my work.

The Finishing Touches
Now for the fun part – decorating! I dug through my button collection and found some adorable flower-shaped buttons that matched the fabric perfectly. I sewed them onto the front of the bag for a little extra flair. You could also add some embroidery, patches, or even paint the bag if you’re feeling artsy.
And that’s it! My very own, handmade summer bag. It’s not perfect, but I’m pretty proud of it. Plus, it cost me practically nothing to make, which is always a win. I can’t wait to take it to the beach, the park, or just out and about. If you’re looking for a fun and easy summer project, I definitely recommend giving this a try!


