Alright, so today I decided I needed something bright, you know? Just felt like it. Went digging through my polish stash and landed on this super vibrant hot pink. Haven’t used it in a while, figured why not.
First things first, had to get my nails prepped. Nothing fancy. Just grabbed my file, shaped them up a bit, mostly just evening out the edges. Pushed back my cuticles gently – hate dealing with messy cuticles later. Then I wiped each nail down with a bit of remover on a cotton pad, just to make sure they were clean, no oils or leftover anything. Gotta have a clean slate, right?
Getting the Pink On
Okay, base coat time. Always do a base coat. Helps the color stick better, I think, and maybe stops the bright pink from staining my nails too much. Put on a thin layer, let it dry properly. You gotta wait for it to dry, otherwise everything gets gummy. Learned that the hard way ages ago.
Then came the main event – the hot pink. Shook the bottle well. The first coat went on, and wow, it was bright! Pretty thin though, could still see my nail underneath a bit. So, definitely needed a second coat. Waited for that first layer to get mostly dry. Patience is key here, really. Rushing it just makes a mess.
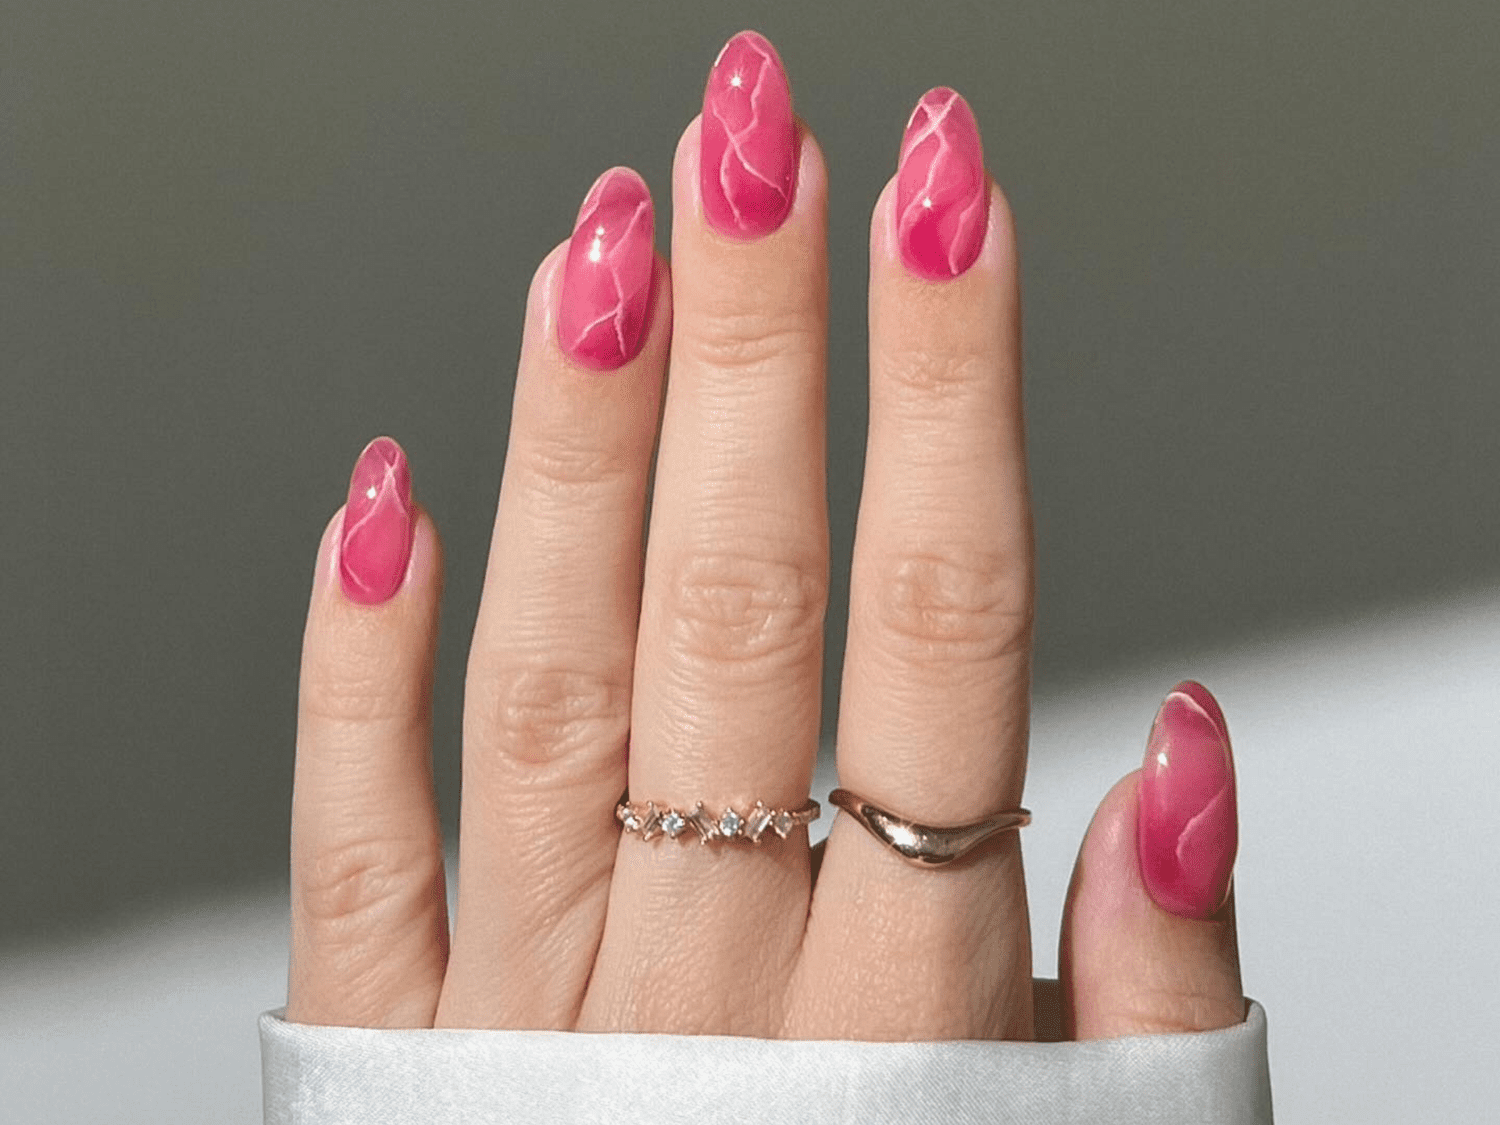
Put on the second coat of pink. Ah, much better. Nice and opaque, super bold color. Exactly what I was going for. Just kept it simple, plain hot pink on all nails. Thought about maybe doing a dot or something on one finger, but honestly, just felt like keeping it straightforward today. Sometimes simple is best.
- Checked for any smudges around the edges.
- Cleaned up tiny bits with a small brush dipped in remover.
- Made sure the coverage was even.
Finishing Up
Once that second coat felt dry to the touch – not completely cured, but dry enough – I reached for my top coat. A good shiny top coat makes all the difference. Seals everything in, adds that nice gloss, and hopefully makes it last a bit longer before chipping. Put that on carefully, capping the tips of the nails too.
And then… the waiting game. Trying not to touch anything. Waving my hands around a bit, probably looks silly. But yeah, just let them air dry for as long as I could stand it. It’s always the drying part that tests my patience.
So, that was my little hot pink nail session. Pretty happy with how they turned out. Super bright, definitely noticeable. A nice little mood booster right there on my fingertips. Job done.
