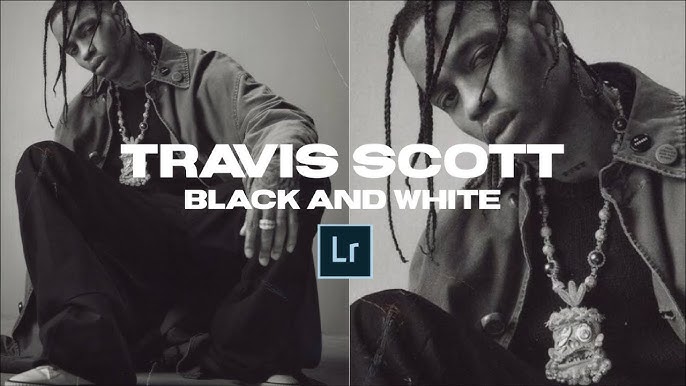
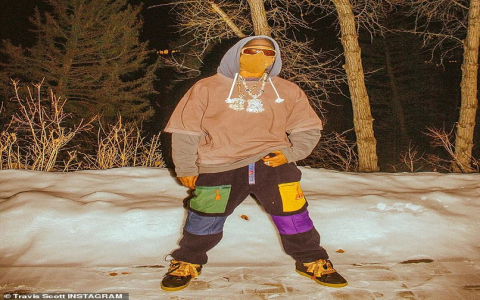
Alright folks, let me walk you through how I finally nailed those super clean, eye-catching white backgrounds for Travis Scott-style photoshoots. Took some messy trial and error, but here’s the whole thing from setup to shoot.

Gathering the Basics (And Making Mistakes First)
Started simple, figured I’d just grab my usual gear. Big mistake. Used my regular white backdrop – that cheap paper roll kind. Soon as we tried some dynamic poses, guess what? Footprints everywhere. Total mess. Realized fast I needed something more heavy-duty. Switched to this thick canvas one I found tucked away. Much better.
Lighting was my next headache. Pulled out my two softboxes, set ’em up at 45 degrees like always. Looked okay through the viewfinder, but the first few test shots? Shadows looked weird, kinda muddy, not that crisp white I wanted. Felt like I was missing something.
Figuring Out the Lights and Whites
So I started moving the lights around. Turned them way up higher than normal. Aimed them almost directly at the backdrop, but just slightly towards the sides. Played with the angles for a solid 20 minutes, taking test shot after test shot. Finally got it! The background went pure white, no grey spots, no weird shadows. The key was overpowering the backdrop with bright light.
Then came the clothes prep. Travis’s fits are wild, right? Wanted that really bright white tee to pop. Pulled a fresh one out of the bag. Looked white… until I held it next to my perfectly lit background. Suddenly it looked kinda… off-white? Yellowish even? Couldn’t believe it. Dug out a different one, same brand supposedly. Yep, slight difference. Learned that night: not all “white” clothes are created equal under bright light. Picked the brightest one I could find, no compromises.
Getting the Look Right During the Shoot
Okay, gear sorted. Time to shoot. Important thing I learned real quick: distance matters. If the model got too close to the backdrop? Bam! That perfect white light started spilling onto them too much, washing out their features. Pushed the chair or the stool way further forward, kept a solid gap between the person and the white wall. Made all the difference.

Stick figure poses didn’t work here. Needed that Travis energy. Made sure we had props ready – simple things like a chair or a bottle. Just something to interact with, break up the pose naturally. Told them to move their head a lot, change hand positions constantly between shots. Captured tons of little moments. The awkward ones usually looked the coolest later!
My Quick Cheat Sheet For Next Time
So after sweating through that, here’s my go-to list now:
- Background: Skip thin paper. Heavy canvas or thick vinyl holds up.
- Clothes Check: Compare whites under the bright lights BEFORE starting. Seriously.
- Space: Keep the subject well away from the background. Prevent light spill.
- Shooting: Encourage constant small movement. Change head angles, shift weight, play with props. Ditch the stiffness.
Lighting: Two bright lights directly on the backdrop. Overpower it!
It felt like a battle getting everything lined up just right, but seeing that final shot with that crisp, pure white and clean, dynamic subject? Totally worth the chaos. Now I smash these shoots way quicker.


