The whole setup mess
So I needed new ID photos yesterday, thought hey why not DIY? Pulled out my DSLR thinking how hard could it be? Set up a tripod in my living room, pinned a white bedsheet to the wall. Grabbed a desk lamp for lighting like an absolute genius. Started snapping away with timer mode.

Absolute disaster from shot one. First batch came out with crazy shadows all over my face, like prison mugshot vibes. Moved the lamp, tried again. Now my forehead looked oiled like I ran a marathon. Background wrinkles showed up like mountain ranges behind me. My so-called neutral expression looked like I smelled something rotten.
-
Biggest screw-ups:
- Tripod wasn’t level so all photos tilted 5 degrees
- Sheet kept sagging after each shot
- Camera flash made me look like a ghost
- Neck looked nonexistent in half the shots
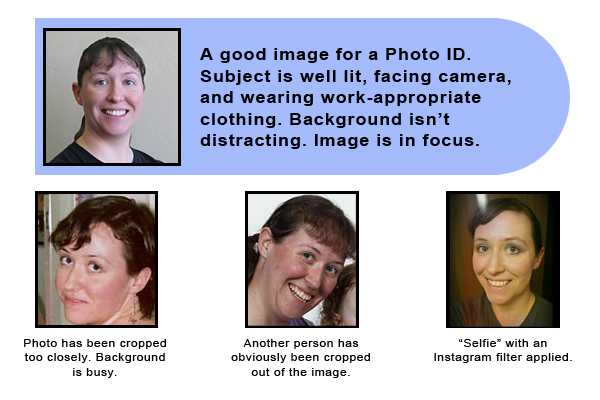
After fifty failed attempts, finally ditched the bedsheet idea completely. Found a blank grey wall instead. Turned off the flash and dragged a stool near the window around 3PM. Natural light works magic – face looked human again. Straightened my collar, kept shoulders back like my army uncle taught me. Cropped exactly to passport specs using free software.
What actually worked
Printed four copies at Walgreens photo kiosk just now. Worker lady actually complimented how it turned out! Shocked considering earlier shots made me look like a suspect sketch. Key takeaways:
-
Idiot-proof fixes:
- Morning/afternoon window light beats artificial crap
- Plain wall beats wrinkled fabric every time
- Solid colored dark shirt hides neck issues
- Slightly open mouth stops serial killer face
Total time invested? Like three freaking hours for what professionals do in minutes. But saved thirty bucks and actually learned stuff. Next time I’m just paying the photo booth guy though, my pride ain’t worth this stress.


