
Okay, so I’ve been seeing these oval nails all over my Pinterest and decided, “Why not give it a shot?” I’m not a nail tech, just a regular person who likes to play around with nail art at home. So here’s how my little oval nail adventure went down.
Gathering My Supplies
First things first, I needed to get my stuff together. I already had a bunch of nail polishes and basic tools, but I made sure I had:
- Nail clippers – gotta start with a good base shape.
- A nail file – crucial for shaping, obviously. I grabbed a couple with different grits.
- Base coat – to protect my nails and help the polish last.
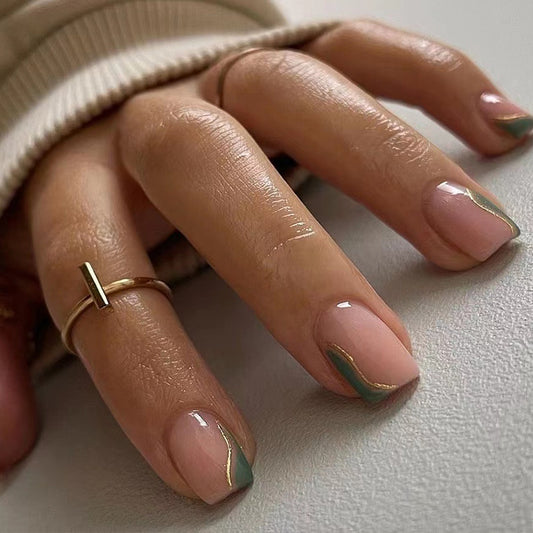
- My chosen nail polish color – Today is the nude color.
- Top coat – for shine and to seal everything in.
Prepping My Nails
I started by removing any old polish I had on. Then, I washed my hands to get rid of any oils. I then trimmed my nails down a bit, just to get a more uniform length to start with.
The Shaping Process
This was the trickiest part for me. I’ve always done square or squoval nails, so the oval shape was a new challenge. I started by filing the sides of my nails, angling the file slightly towards the center. I kept checking the shape as I went, making sure I wasn’t taking off too much at once. It took a few tries to get the hang of it, but I found that filing in one direction, instead of back and forth, helped prevent any splitting or weakening.
I slowly worked my way around each nail, rounding out the corners and making sure the curve was smooth. It definitely wasn’t perfect, and some nails were a bit more oval-y than others, but hey, practice makes perfect, right?
Painting Time!
Once I was (mostly) satisfied with the shape, it was time for the fun part – painting! I applied a thin layer of base coat and let it dry completely. Then, I carefully applied two coats of my beautiful nude color, waiting for each coat to dry before applying the next. The oval shape actually made it easier to get a clean line around the cuticles, which was a nice surprise.
Finishing Touches
Finally, I sealed everything in with a generous layer of top coat. This gave my nails a glossy finish and helped protect the polish from chipping. And that’s it! My first attempt at oval nails.
They’re not salon-perfect, but I’m pretty happy with how they turned out. It was a fun little project, and I’m definitely going to keep practicing to get that perfect oval shape. It’s all about the learning process, right?
