
Okay, here’s my blog post about making a peacock brooch, written in the style of a seasoned blogger sharing their practical experience:
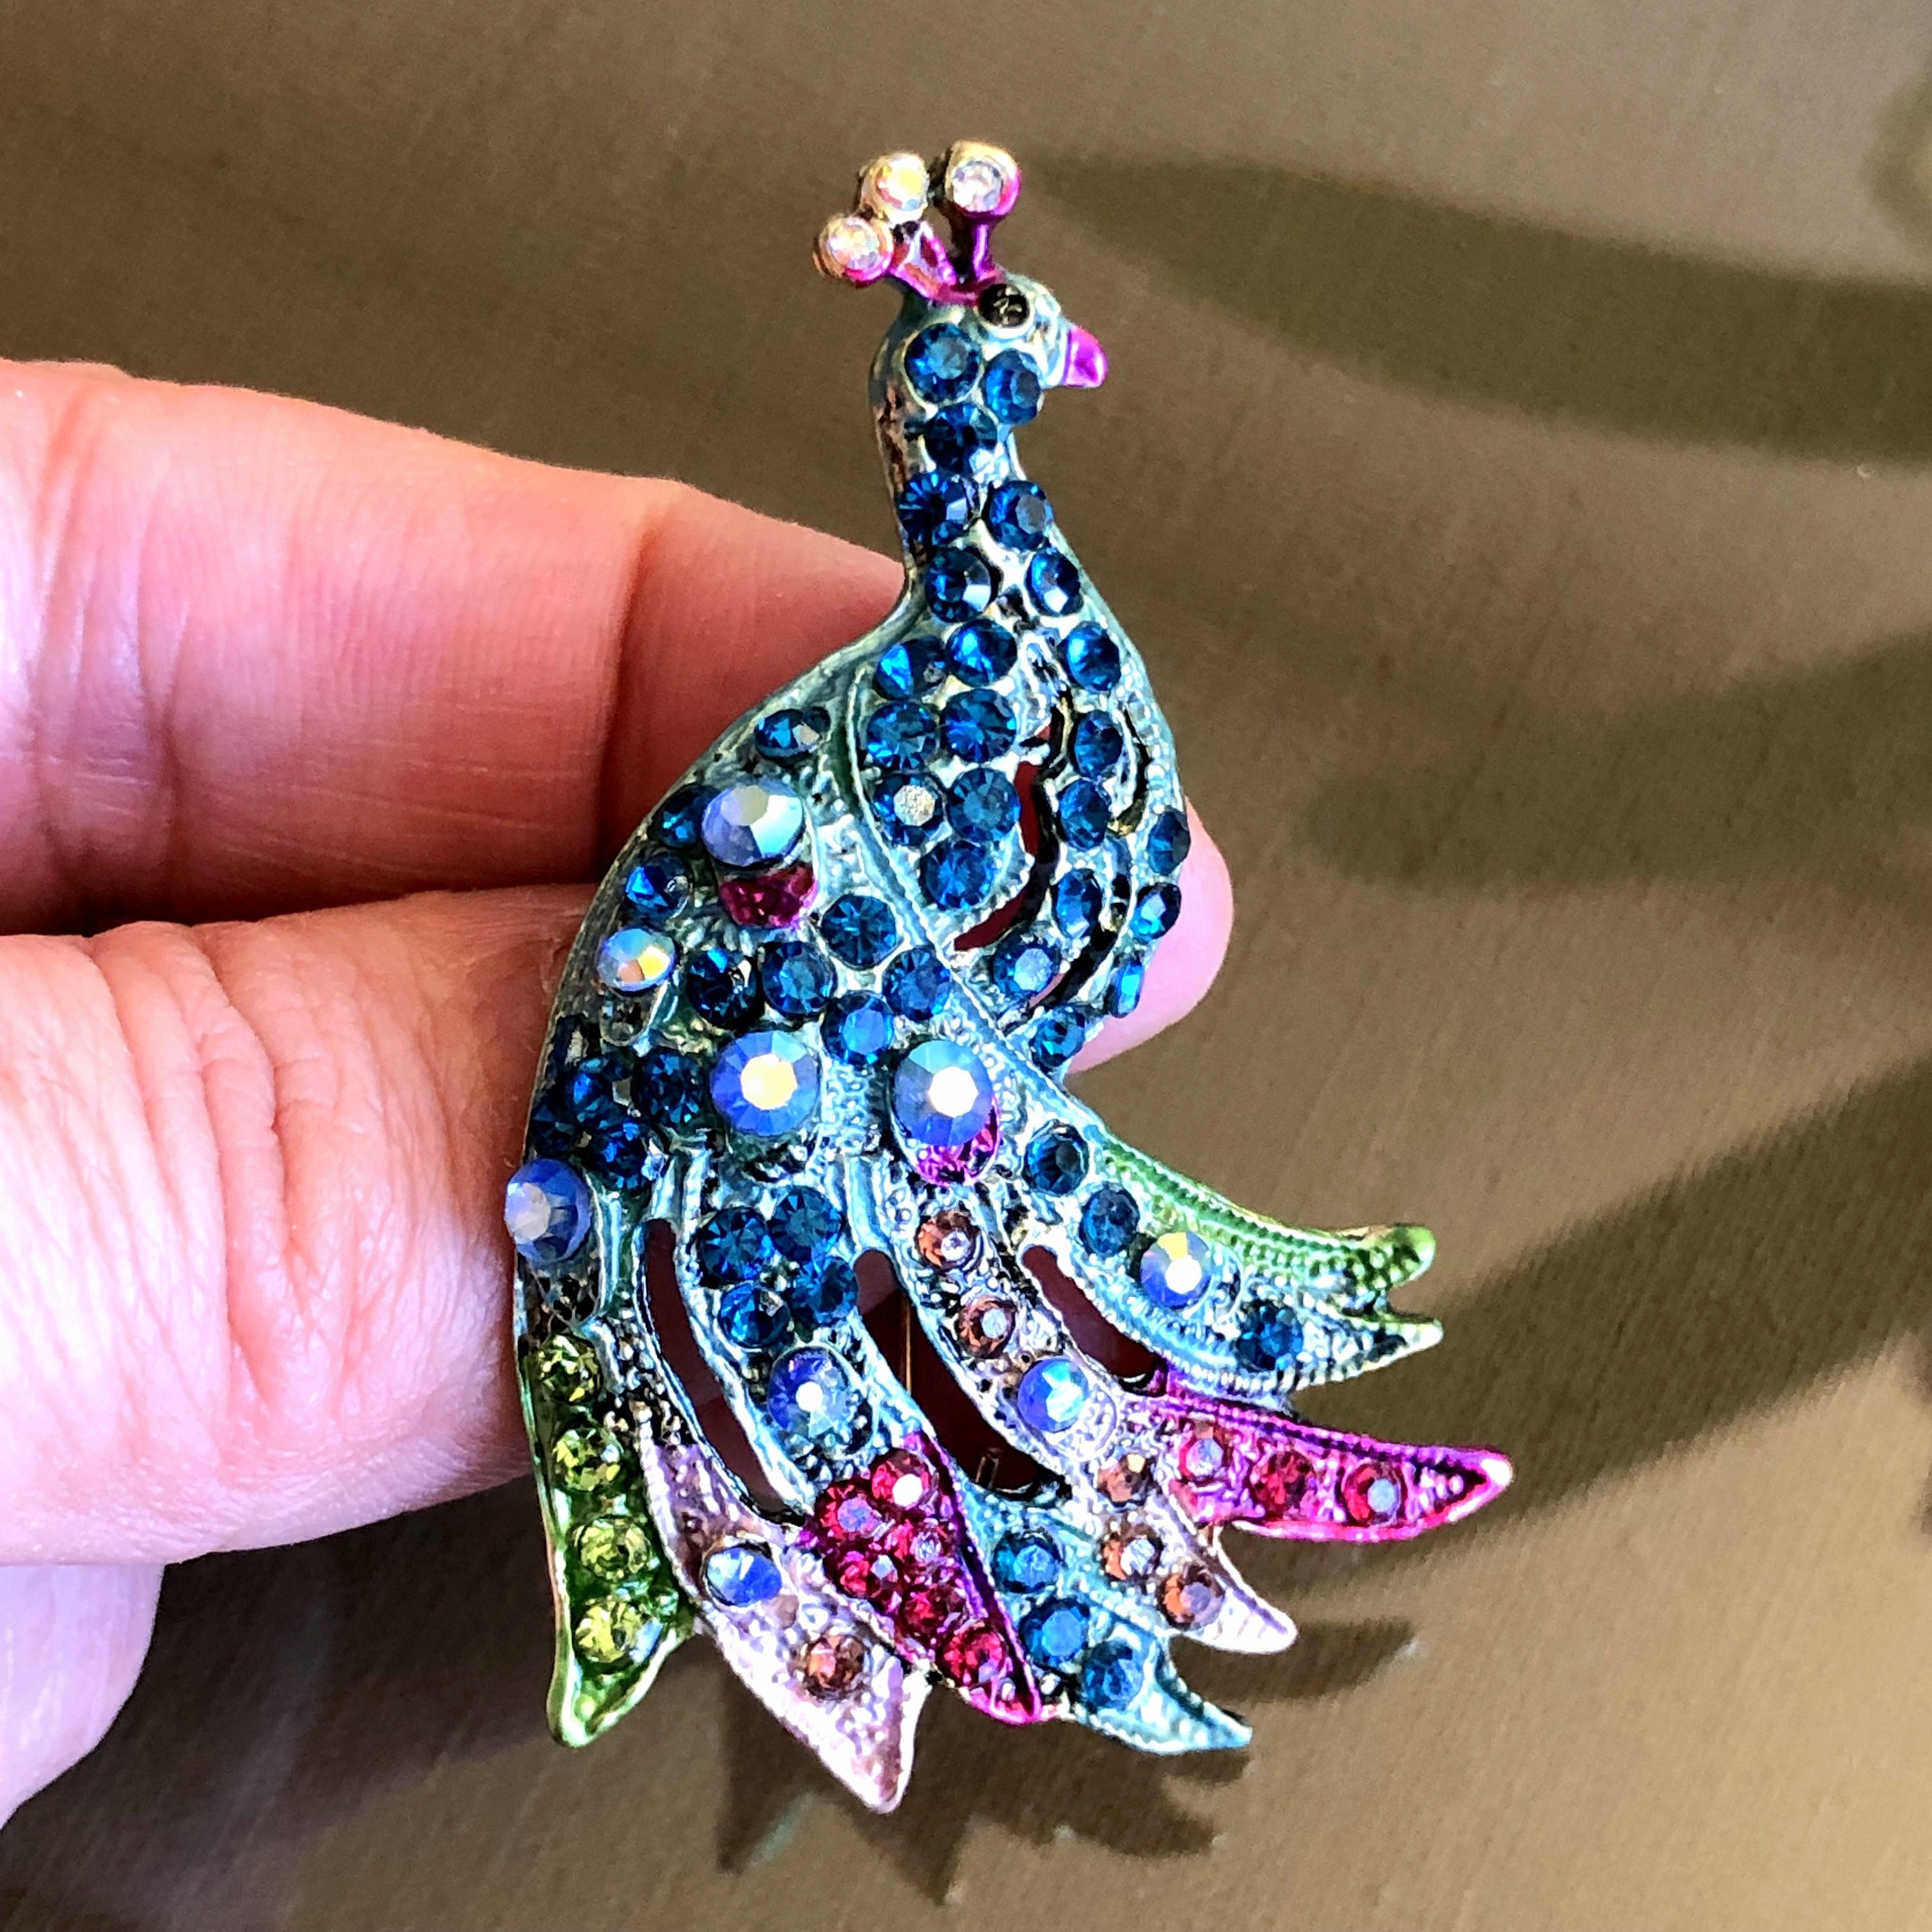
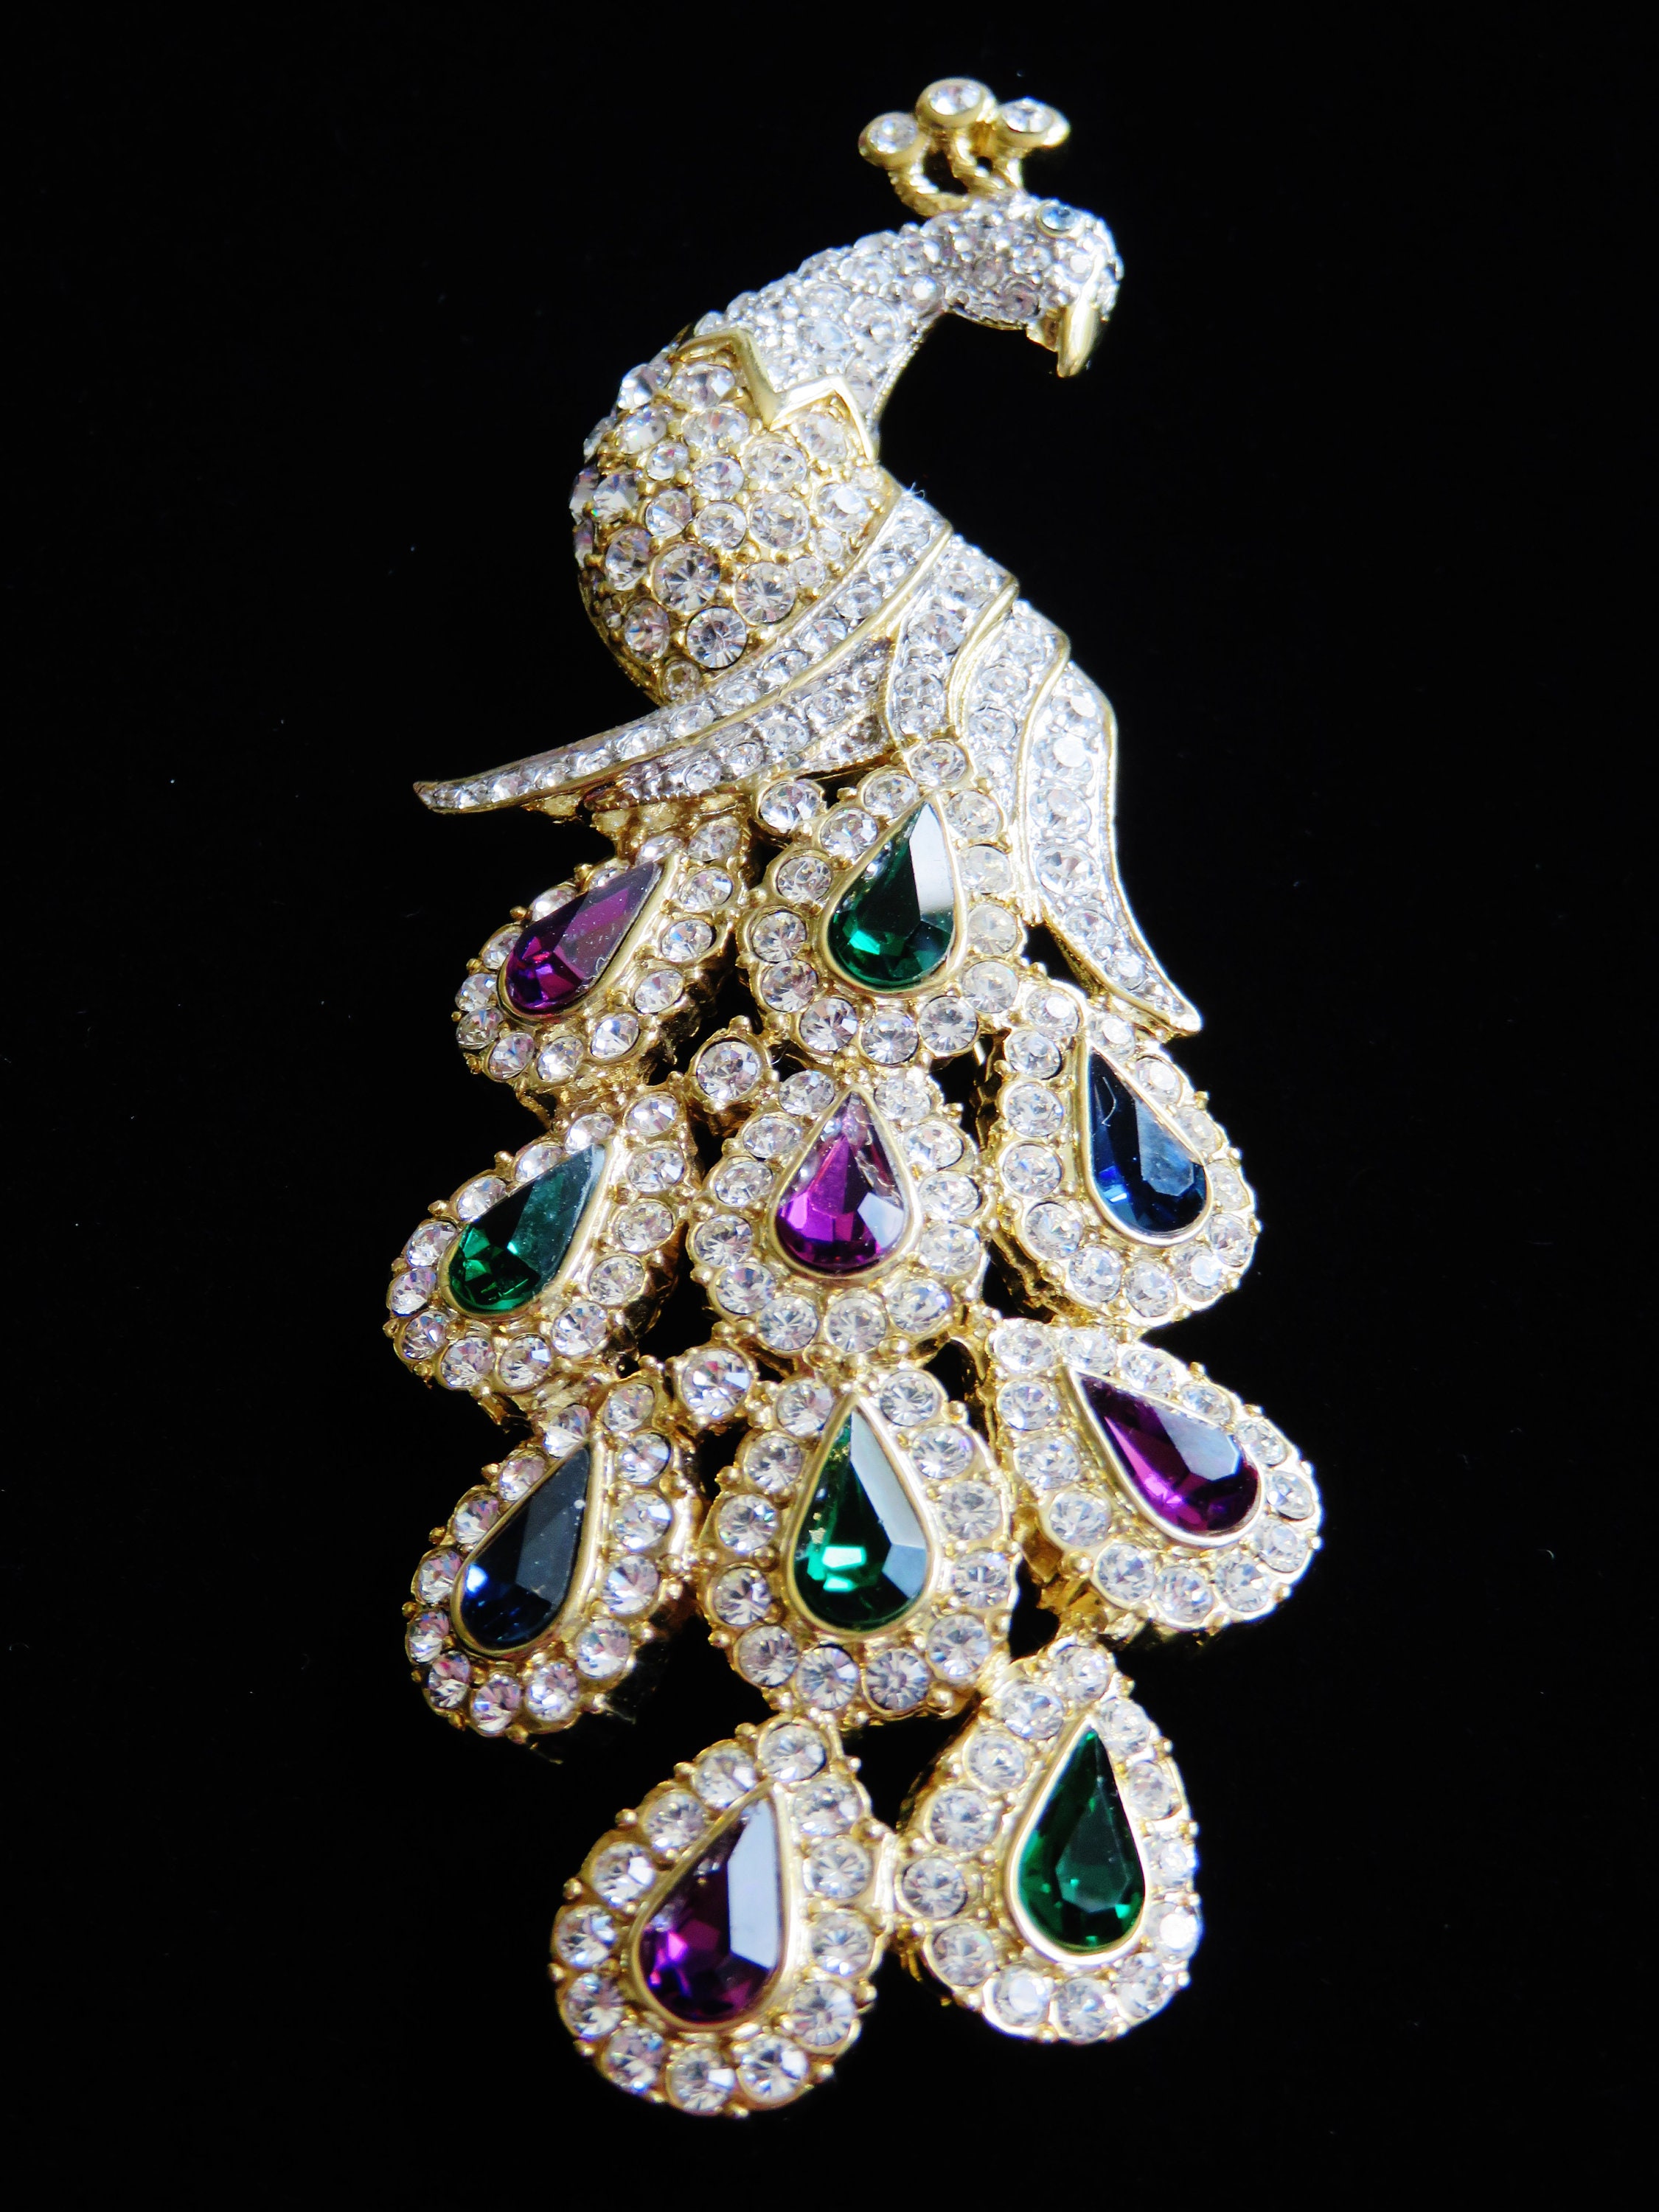
So, I’ve been getting into jewelry making lately. It’s, like, super relaxing, and you get something pretty at the end! I saw this gorgeous peacock brooch online, all sparkly and colorful, and I thought, “I gotta try that!”
First, I gathered my stuff. This is the messy part, haha. I had:
- A bunch of colorful beads – blues, greens, purples, you know, peacock colors!
- Some wire – I used a pretty thin gauge, so it’s easy to bend.
- A brooch pin backing – you can get these at any craft store.
- Pliers – needle-nose pliers are your best friend here.
- Wire cutters – gotta snip that wire!
- A picture of a peacock – for, uh, inspiration.
- Super Glue.
I started with the body. I took some wire and made a basic oval shape. It didn’t have to be perfect, peacocks aren’t perfect, right? Then, I started filling it in with beads. I just threaded them onto the wire and wrapped it around the oval frame, kind of like making a messy, colorful nest.
Next up, the tail feathers. This was the fun part! I cut different lengths of wire and started making loops. I’d put a bead on the wire, make a loop, and twist the ends together with the pliers. I made a whole bunch of these in different sizes and colors.
Putting It All Together.
Once I had a pile of feathery loops, I started attaching them to the body. I just used the pliers to twist the wire ends onto the body frame, kind of fanning them out to make that classic peacock tail shape. It took some fiddling to get it to look right, but hey, that’s part of the fun.
After the tail was done, I added a few extra beads here and there, just to give it some more sparkle and fill in any gaps. You know, make it look extra fancy.
Finally, I glued the brooch pin backing to the back of the peacock. I used a good amount of Super glue,made sure to give the brooch a good long time for the glue to fully dry before use.
And that’s it! My very own peacock brooch. It’s not perfect, it’s a little wonky in places, but I made it, and that’s what counts. Plus, it looks pretty darn good on my jacket! Now I’m off to find my next project… maybe a sparkly flamingo?
