
Alright, so you wanna know how I get my nails looking kinda decent with designs? Lemme tell ya, it wasn’t some magic trick I learned overnight. It all started because, honestly, I was tired of shelling out cash at the salon, or worse, ending up with something I didn’t even like after an hour of sitting there.
My First Awful Attempts
So, I decided, “How hard can it be?” Famous last words, right? I grabbed a few bottles of polish I had lying around. My first attempt, I think I was going for some simple stripes. Disaster. Absolute disaster. Looked like a spider crawled through wet paint on my nails. My cuticles were a mess, the lines were wobbly, and it chipped within, like, five hours. I almost gave up right then and there. I remember thinking those people on social media with perfect tiny art must have some superpower, or maybe just way too much free time.
I kept seeing all these amazing designs, and a part of me, the stubborn part, just wouldn’t let it go. So, I went back to the drawing board, which in this case was my own fingernails, again and again.
Figuring Things Out (The Hard Way)
Here’s what I slowly, painfully, figured out through sheer trial and error, and a lot of nail polish remover:
- Prep is everything. Seriously. I used to just slap polish on. Big mistake. Now, I always make sure my nails are super clean. I push back my cuticles (gently!), buff the surface just a tiny bit so the polish has something to grip onto. This one step made a huge difference in how long my designs lasted.
- Thin coats are your friend. I used to glob on the polish, thinking it would be quicker. Nope. It just becomes a goopy mess that never truly dries and smudges if you so much as breathe on it. Two or three thin coats are way better than one thick one. Patience, I learned, is key. So much patience.
- Simple tools can be amazing. I bought a set of those fancy nail art brushes once. Honestly? Most of them just sit there. For dots, a toothpick or the end of a bobby pin works wonders. For straight lines, sometimes a thin piece of tape (like striping tape, or even carefully cut regular tape) is my best bet. I’d lay it down, paint over it, and peel it off before the polish fully dried.
- Don’t be afraid to cheat. What I mean is, nail stickers or decals? Lifesavers! Especially when I’m short on time or feeling lazy. Some of them look pretty darn good, and nobody needs to know it wasn’t freehand.
- Top coat is non-negotiable. A good, quick-drying top coat seals in your design, makes it shiny, and helps it last so much longer. I used to skip this, and my nails would chip like crazy. Never again.
Where I’m At Now
So, after a lot of practice, and a lot of messy fingers, I finally got to a point where I can do some simple designs that I actually like. I’m not saying I’m a pro, far from it. My lines still get a bit wonky sometimes, and I definitely have days where nothing seems to go right. But it’s fun! And it’s mine. I usually just pop on some music or a podcast and take my time. I learned that trying to rush nail art is a recipe for frustration.
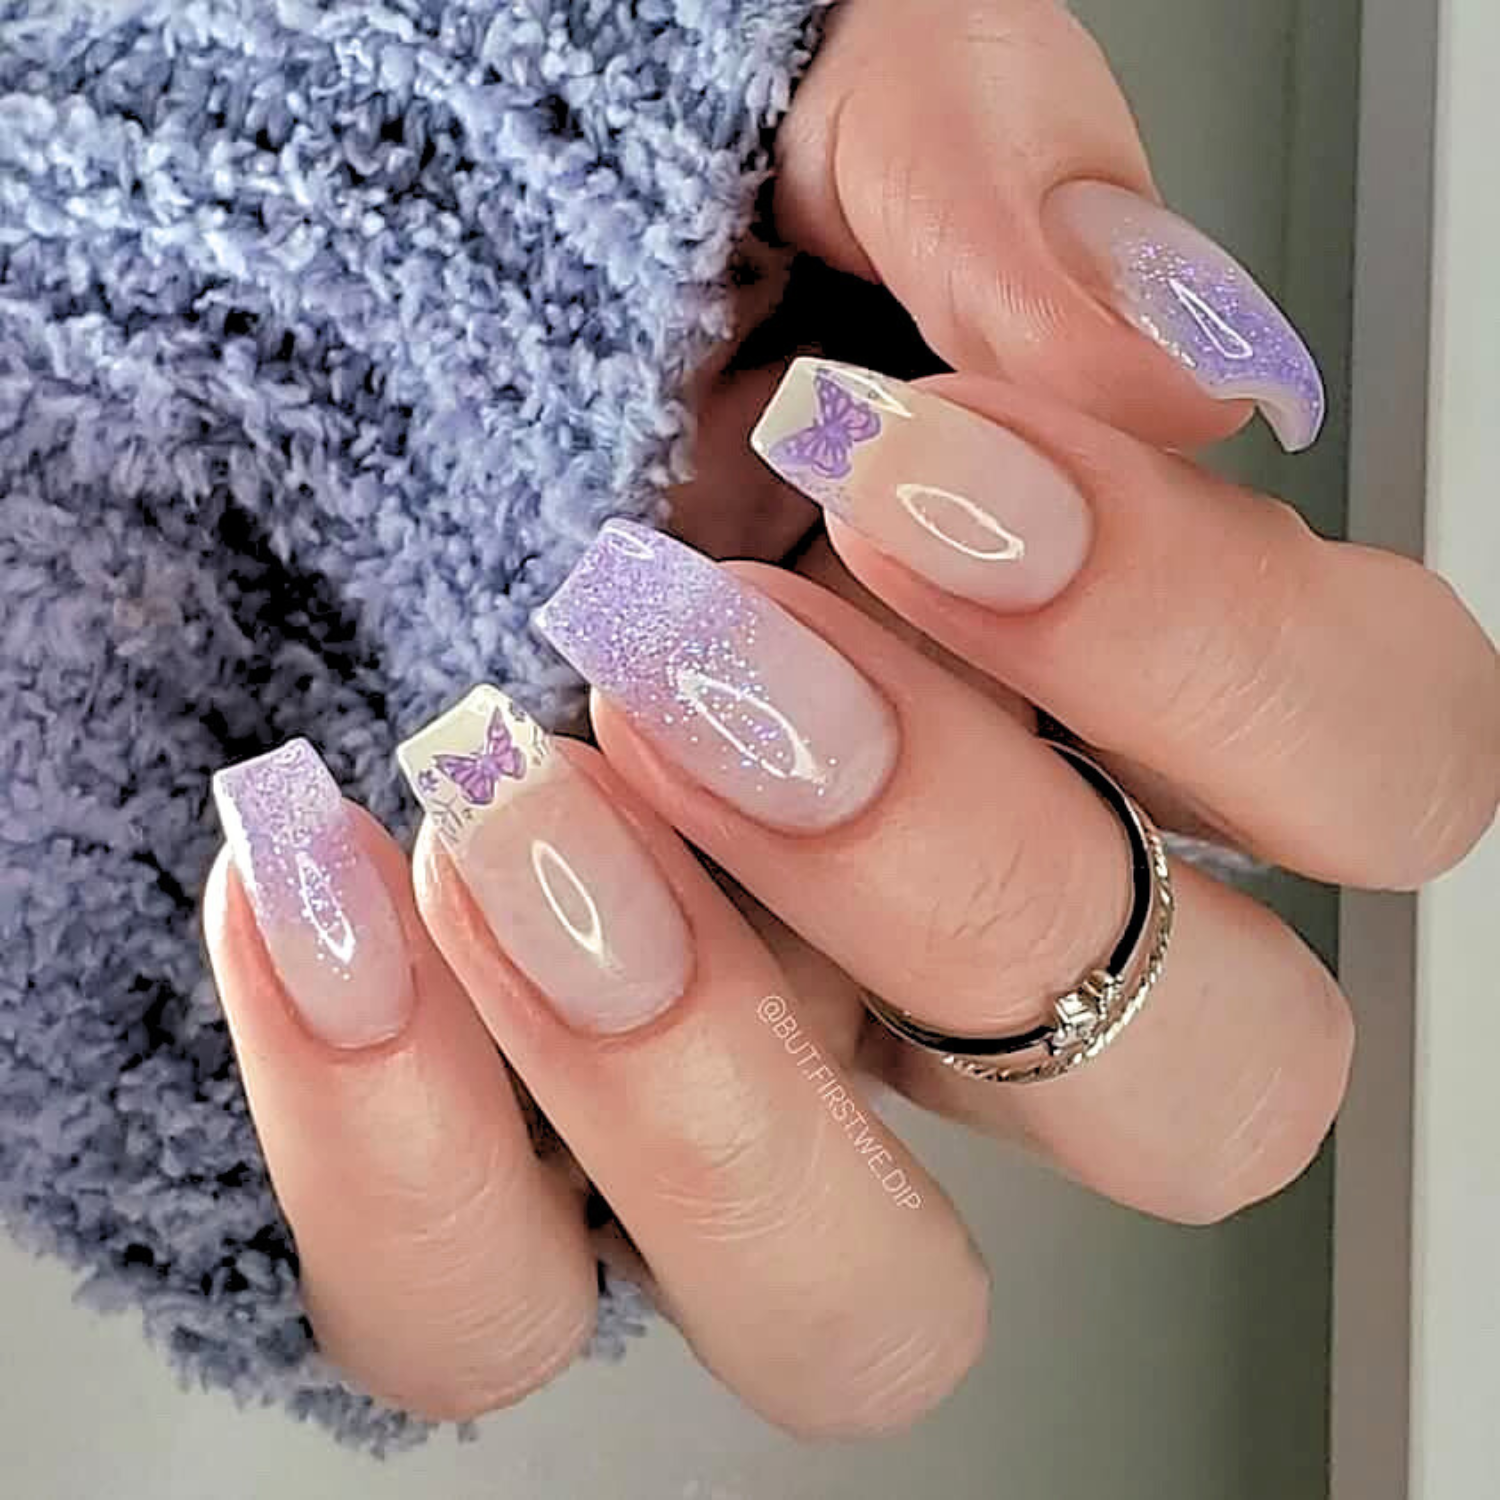
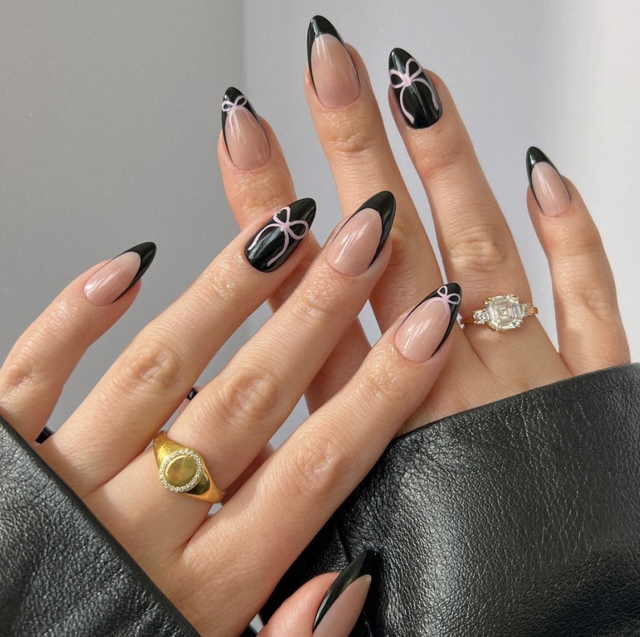
My go-to designs are still pretty simple – maybe some dots, a color-blocked look, or a little glitter accent nail. Nothing too wild. But the satisfaction of doing it myself, and saving a bit of money, is pretty great. Plus, if I mess up, who cares? It’s just nail polish. I can always take it off and start again. That’s probably the biggest tip I can give: just keep trying and don’t be too hard on yourself!
