Alright, so I decided to finally give one of those Gelish nail polish sets a go. I’d been seeing them everywhere, and frankly, I was sick and tired of my regular nail polish chipping off after, like, two days. Seriously, I’d spend ages getting them perfect, then do one load of dishes, and boom – ruined. So, I thought, gel nails at home? How hard could it be?
Getting My Hands on the Kit
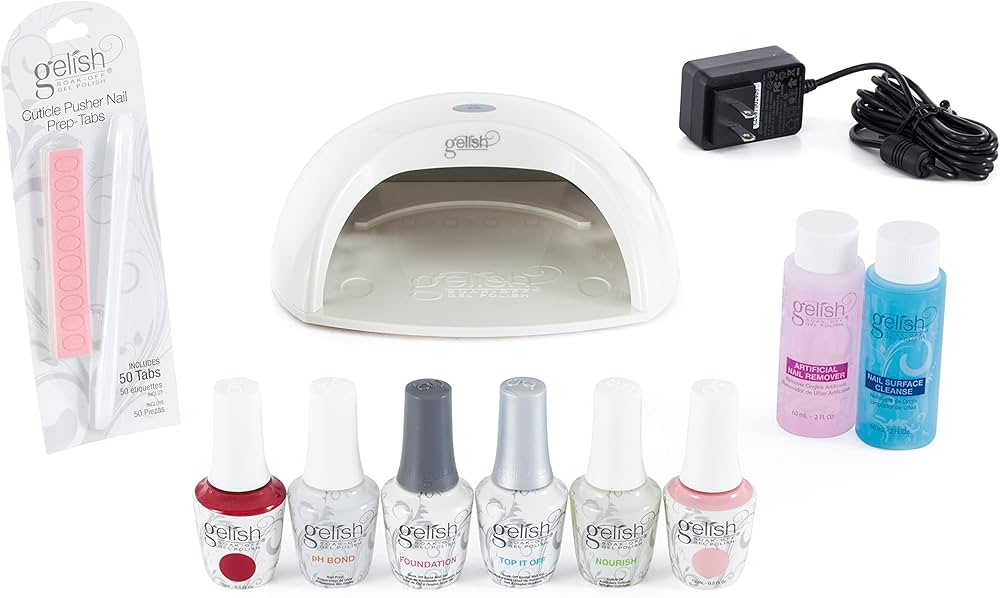
So, I got the set. It came with a bunch of little bottles: the pH Bonder, the Foundation (which is the base coat), the Top It Off (that’s the shiny top coat), a couple of colors, some Nail Surface Cleanse, and the Artificial Nail Remover. Oh, and the main event – the little LED lamp. It all looked quite professional, I have to say. I laid it all out on my table, feeling a bit like a scientist about to conduct an experiment.
The Actual Process – My First Attempt
First things first, I prepped my nails. Pushed back my cuticles, gave them a quick file into shape, and then lightly buffed the surface, like the instructions sort of vaguely hinted at. Then, I grabbed the pH Bonder. Just a quick swipe on each nail. Easy enough.
Next up was the Foundation. This stuff is sticky! I tried to put on a thin coat, but it’s a bit tricky when you’re not used to the consistency. Got a little on my skin, which I quickly tried to wipe off with an orange wood stick. Then, into the LED lamp it went. My lamp had a timer, which was a lifesaver. I think it was like 30 seconds or something. My fingers felt a tiny bit warm under there, but nothing crazy.
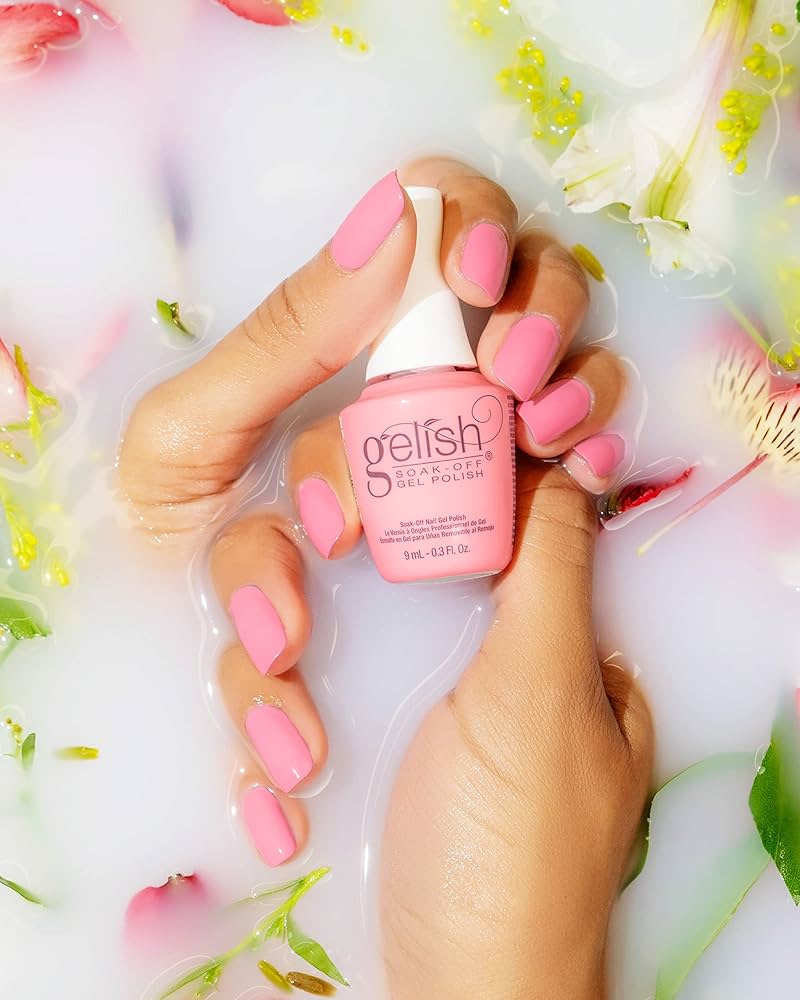
Then came the color. I picked a nice deep red. The first coat looked a bit streaky, I’m not gonna lie. I was careful, trying to get thin, even layers. Cured that. The second coat went on much better, smoother, and the color really popped. Cured that one too. I was actually starting to feel a bit chuffed with myself at this point.
Finally, the Top It Off. Another thin, even coat, making sure to cap the free edge of the nail – you know, paint a little over the tip. Cured that for the final time. After it came out of the lamp, my nails still felt a bit tacky. This is where the Nail Surface Cleanse came in. Wiped each nail with a lint-free pad soaked in the stuff, and bam! Suddenly they were super shiny and completely dry. Like, rock hard dry. I poked one. Solid. Amazing!
Living With Them and The Removal Saga
Okay, so the first few days were great. My nails looked incredible. So glossy! And they really did last. I did dishes, typed, showered – no chips! I was seriously impressed. I think I got a good week and a half out of them before I started seeing a tiny bit of wear at the tips and some growth at the base.
Now, the removal. This was the part I was dreading. The instructions said to buff the shine off the top coat first. So I did that, making my lovely shiny nails look all dull. Then, you soak cotton pads in the Artificial Nail Remover, place them on your nails, and wrap each finger in foil. Looked ridiculous, sitting there with foil-tipped fingers. Waited the recommended 10-15 minutes.
When I took the foil off, the polish was all crinkled and lifted. Most of it scraped off pretty easily with an orange wood stick. Some stubborn bits needed a bit more gentle persuasion, maybe a little more soaking. My nails underneath felt a bit dry, but not totally wrecked, which was a relief. I made sure to slather them in cuticle oil afterwards.
My Thoughts After a Few Goes
So, after doing this a few times, I’ve gotten a lot better. Here’s what I’ve figured out:

- Thin coats are KEY. Seriously, if you go too thick, it’ll flood your cuticles and won’t cure properly. It’s better to do three super thin coats of color than two gloopy ones.
- Cleaning up mistakes before curing is crucial. Once that stuff is cured, it’s on there.
- Don’t skip the Nail Surface Cleanse at the end. That’s what gets rid of the tackiness and brings out the shine.
- Be patient with removal. Don’t force or peel it off, or you’ll damage your nails.
Overall, I’m pretty happy with the Gelish set. It’s definitely a bit of a learning curve, and it takes more time than regular polish, for sure. But the results? They last so much longer, and that shine is just unbeatable. For someone like me who uses their hands a lot, it’s been a game changer. It’s not something I do every single week, ’cause my nails do need a breather, but for special occasions or when I just want my manicure to actually last, it’s my go-to. Practice really does make perfect with this stuff!
