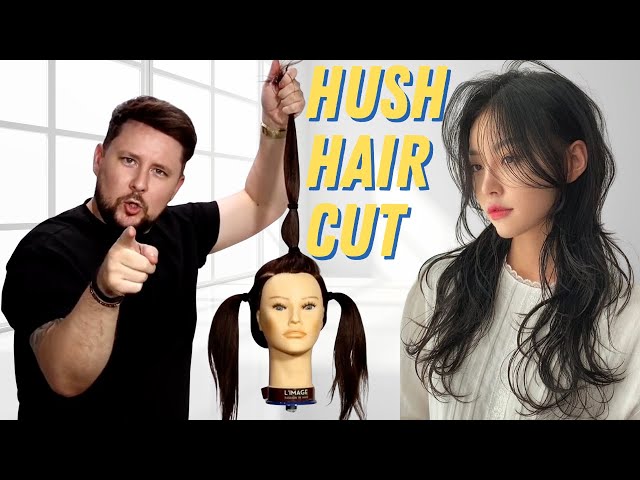
Okay, so I’ve been seeing this “layered haircut korean” thing all over my Pinterest and decided, “Why not?” My hair was getting kinda long and shapeless, so it was time for a change. I’m no hair expert, but I figured, how hard could it be? (Spoiler: harder than I thought, but still doable!).


Prepping My Tools (and My Nerves)
First, I gathered everything I thought I’d need. This included:
- A pair of hair-cutting scissors (thank goodness for online shopping).
- A comb – a regular one, nothing fancy.
- A spray bottle filled with water. My hair is kinda wavy, so keeping it damp helps.
- Hair clips – lots of them. To section off my hair.
- A mirror – and another hand-held mirror so I could see the back.
I also watched a TON of YouTube videos. Seriously, I probably spent hours just watching different people cut their own hair. It gave me a little confidence, seeing other people do it successfully.
The Cutting Begins! (Deep Breaths)
I started by sectioning my hair. I made a middle part, then divided each side into a top and bottom section. I clipped the top sections out of the way. I figured starting with the bottom layers would be easier.
With the bottom section, I dampened it with the spray bottle. Then, I took a small piece of hair, held it between my fingers, and pulled it straight out. This is where those videos came in handy – they showed me how to hold the hair at a slight angle to get that layered effect. I took a deep breath and snipped! I cut it a little longer than I thought I wanted, just in case. Better to cut more later than to cut too much at once!
I repeated this process all around the bottom section, taking small pieces, holding them out, and cutting at that angle. It felt super weird at first, but I got into a rhythm.

Moving Up to the Top Layers
Once the bottom was done, I unclipped the top sections. This is where things got a little trickier. I wanted the top layers to be shorter, to frame my face. So, I repeated the same process, but I cut these pieces a bit shorter than the bottom ones.
The front pieces were the scariest! I took extra care here, cutting very small amounts at a time. I kept checking in the mirror to make sure I wasn’t messing it up too badly. I wanted that soft, wispy look around my face, so I tried to cut at a steeper angle.
The Final Touches (and Damage Control)
After I finished cutting all the sections, I took down all the clips and shook my hair out. I used the hand-held mirror to check the back. It wasn’t perfect, but it definitely looked layered! There were a few uneven spots, so I went back in with the scissors and trimmed those areas carefully.
I styled my hair a bit, just to see how it looked. I added some texturizing spray to give it some volume. And… I actually liked it! It wasn’t salon-perfect, but it was definitely a layered haircut, and it had that Korean-inspired vibe I was going for.
So, would I do it again? Maybe! It was a bit nerve-wracking, but it was also kind of fun. And hey, I saved some money! If you’re thinking of trying it, I’d say go for it – just watch a lot of videos first, and take your time. And remember, hair grows back!