")
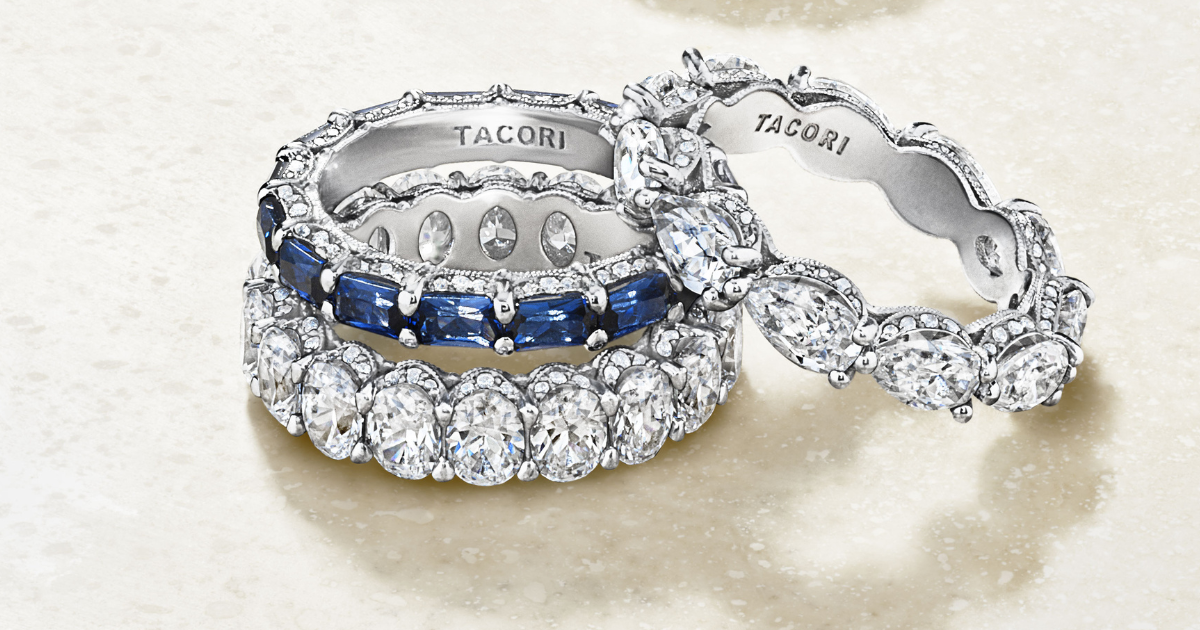
Okay, so I’ve been wanting a diamond eternity band forever. I finally decided to just go for it and make one myself. I’m not gonna lie, it was a bit of a process, but so worth it in the end!
Getting Started
First, I gathered all my materials. I already had some experience with jewelry making, so I have a good collection of tools. The main things you’ll need are:
- Metal for the band (I used sterling silver)
- Diamonds (I went with small, matching ones)
- A ring mandrel (to shape the band)
- Jeweler’s saw and blades
- Files and sandpaper (various grits)
- Soldering tools (torch, solder, flux, etc.)
- Setting tools (burnisher, pusher)
- Polishing tools and compounds
Making the Band
I started by measuring my ring size and cutting a strip of silver to the right length. I then formed it into a circle around the mandrel, making sure the ends met perfectly. This part is super important to get a good, clean join.
Next, I soldered the ends together. This was a little tricky because I had to make sure the seam was as invisible as possible. I used a small torch and some solder, and it took a few tries to get it just right. I made a mess, but the join was pretty good.
After soldering, I filed and sanded the band to smooth out any rough edges and make sure it was perfectly round. This part took a while, lots of checking and re-checking to avoid taking off to much material.
Setting the Diamonds
This was the most challenging part, and, yeah I did a bit mistake. I marked out where I wanted each diamond to go, making sure they were evenly spaced. Then, using a tiny drill bit, I carefully drilled holes for each stone. I emphasize carefully because one slip, and you’ve ruined the whole band!
I was so careless, so I drilled a wrong hole, luckily I had a spare mateial.
Once the holes were drilled, I used setting tools to create little “seats” for the diamonds. It is for securing the diamonds in place. I was very patient, working my way around the band.
Finishing Touches
Once all the diamonds were set, I carefully checked that they were all secure. Then, it was time to polish! I used a polishing wheel and some polishing compound to give the band a beautiful, shiny finish.
And that’s it! My very own diamond eternity band. It’s not perfect, there’s a few tiny imperfections if you look really close, but I’m incredibly proud of it. It took time, patience, and a few do-overs, but I learned so much along the way. Now I’ve got a gorgeous ring and the satisfaction of knowing I made it myself!
