
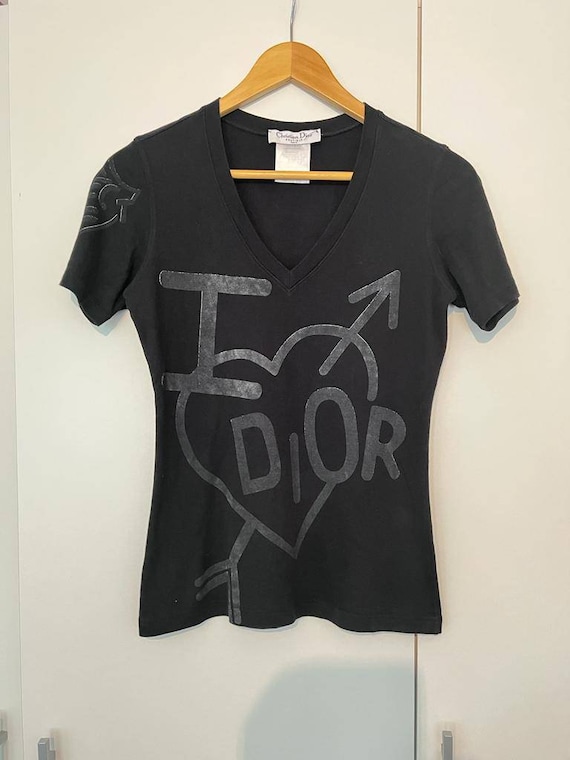
Okay, so I’ve been seeing these “ladies Dior t-shirt” designs all over my Pinterest and I was like, “I gotta try making one myself!” I mean, who doesn’t love a good designer dupe, right?
The Hunt for Supplies
First things first, I needed a plain t-shirt. I hit up my local craft store – nothing fancy, just a basic white cotton tee. Make sure it’s 100% cotton, or at least a high cotton blend, because that works best for the method I was going to use.
The Design Process
Next up, the design. I spent a good hour scrolling through images online, trying to find the perfect “Dior” logo and font style. I wanted something that looked legit, but also a little bit… DIY, you know? Once I found the one, I saved it to my computer. I already know how to make the design, so I skipped the step of buying design.
Printing and Transferring
I used iron-on transfer paper. So, I printed my design onto the transfer paper. Important: Remember to mirror the image before you print it! Otherwise, your design will be backwards on the shirt. Trust me, I learned that the hard way on a previous project.
Then, I carefully cut out the design. I wanted to get rid of the logo design’s backgroud. Finally, I prepared the iron with my families help.
After that, it was ironing time. I followed the instructions on the transfer paper packaging exactly. You gotta be patient with this part – slow and steady pressure is key. I think I ironed it for a good 2-3 minutes, making sure to get all the edges really well.
The Big Reveal (and a Little Oops!)
Once it was cool enough, I peeled off the backing paper… and it looked pretty awesome! Except for one tiny spot where the transfer didn’t quite stick. Oops! But honestly, it’s barely noticeable, and it kind of adds to the handmade charm, right?
Final Touches
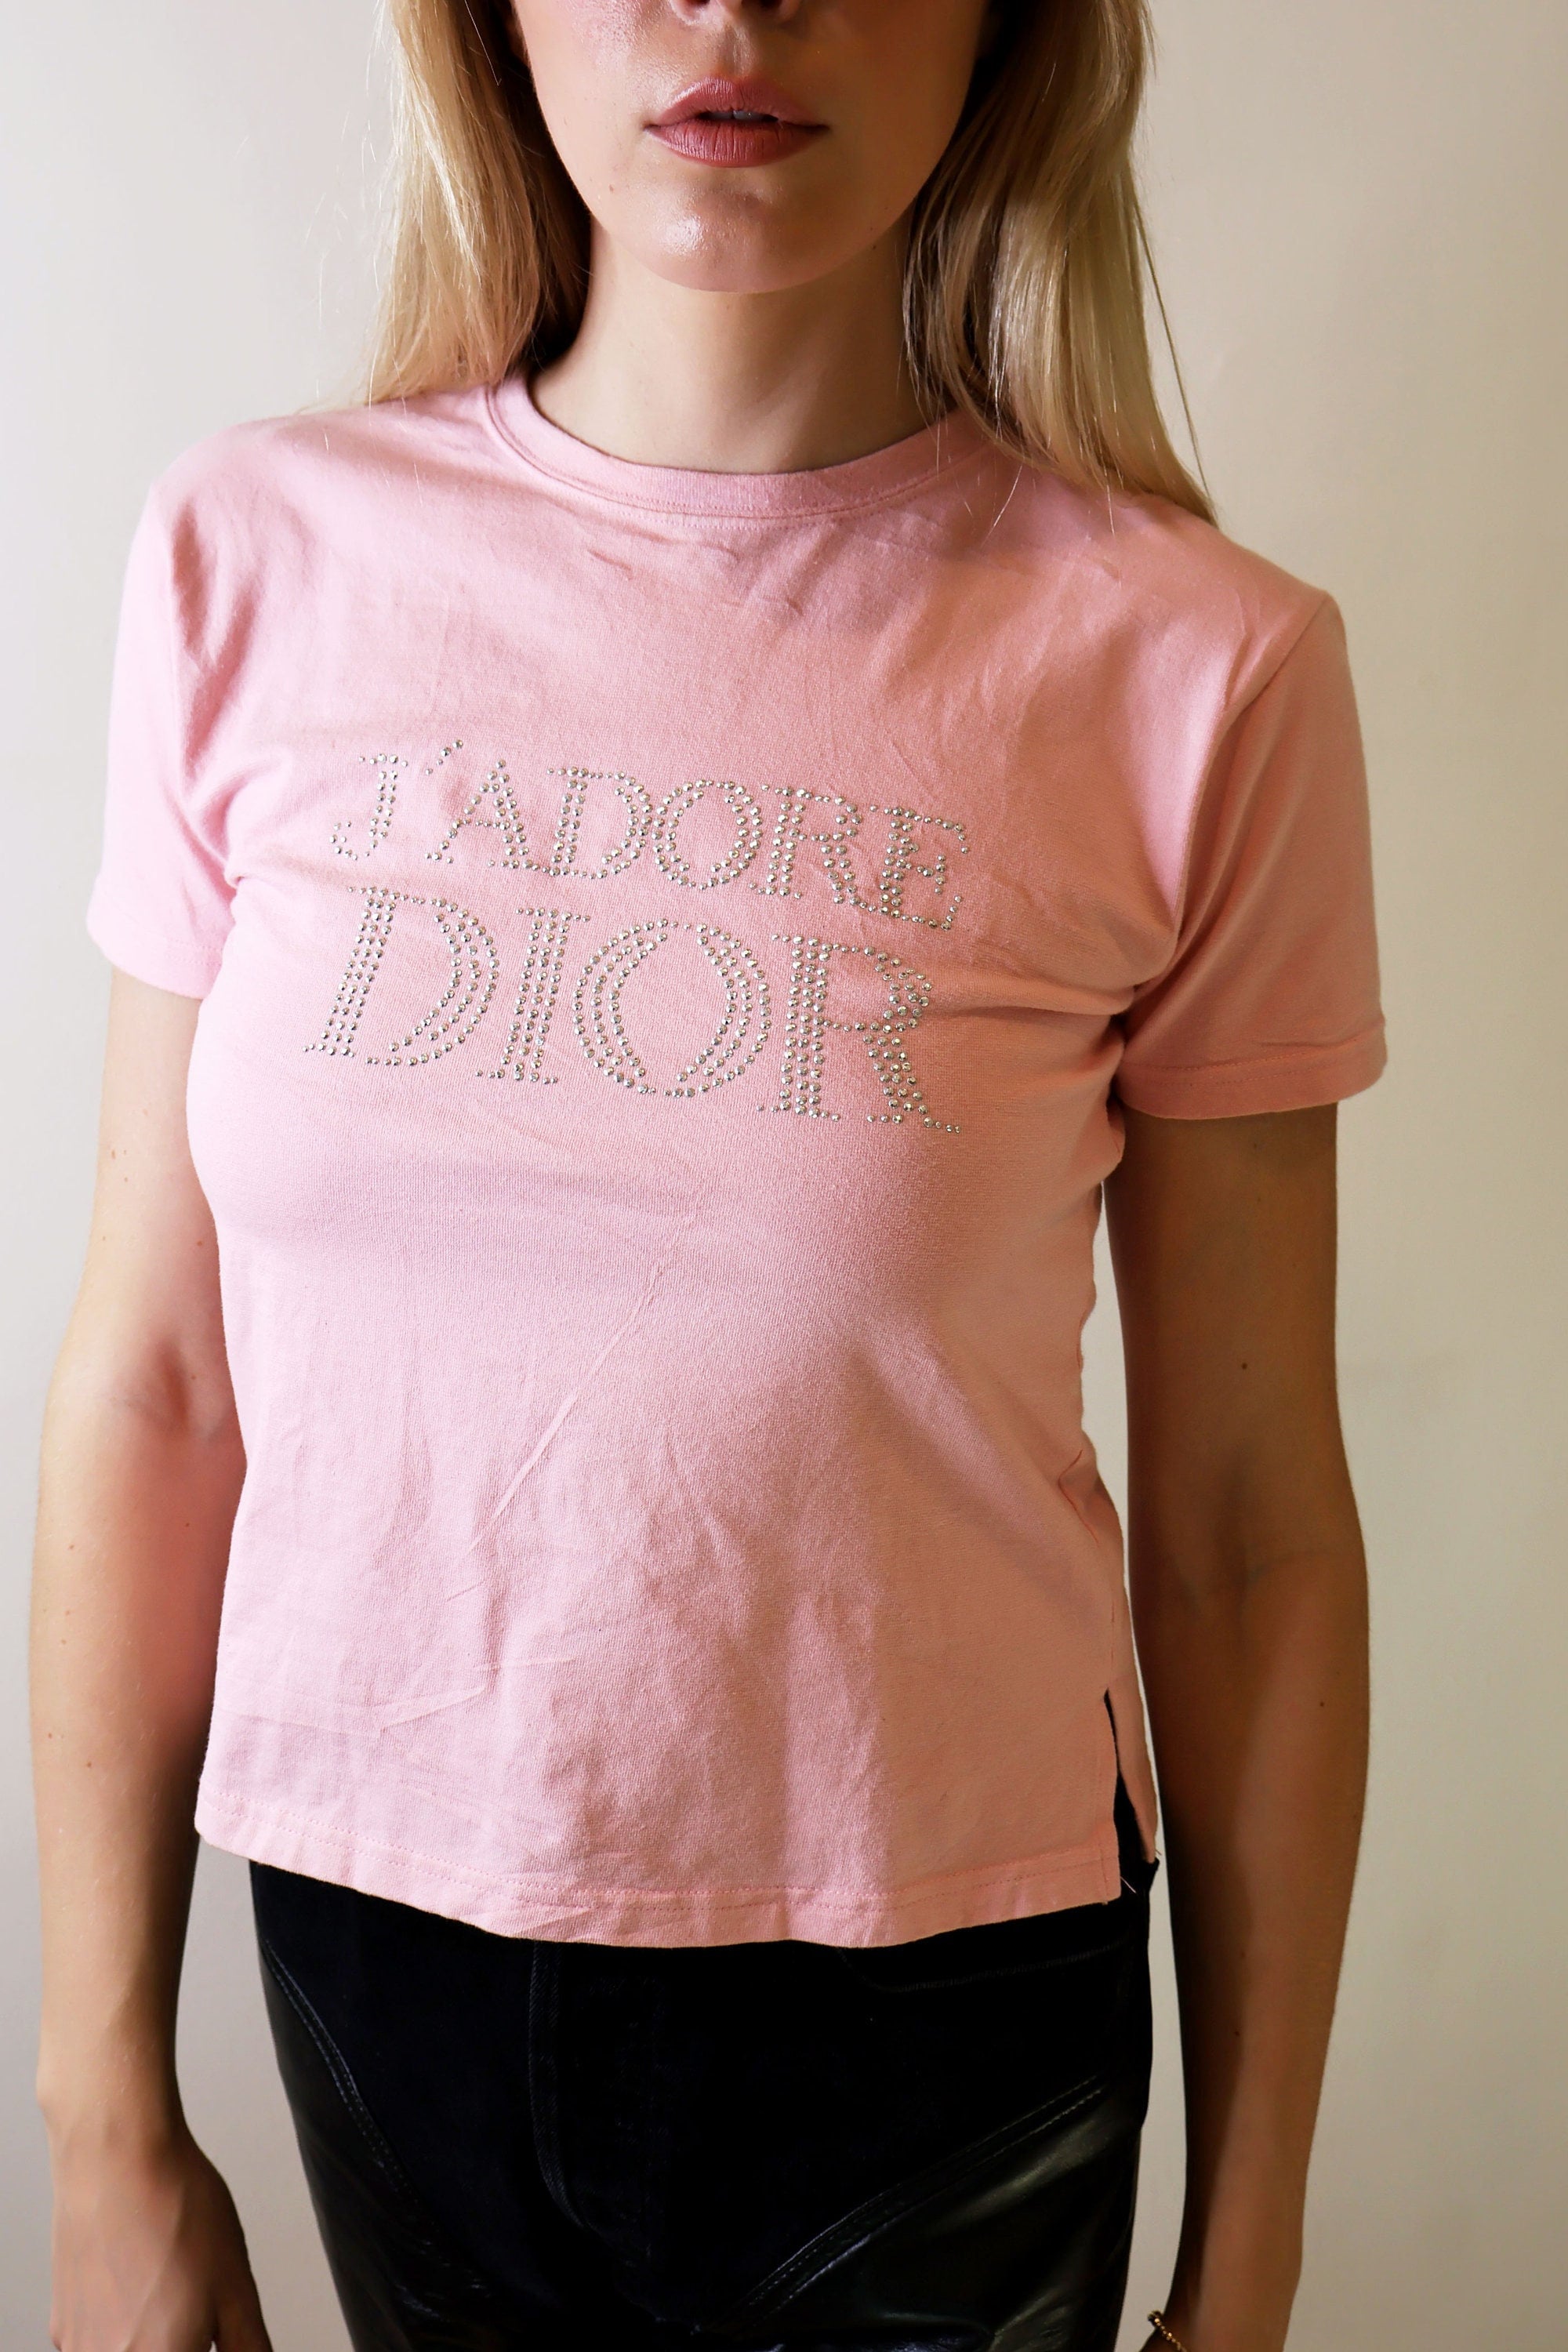
I’m thinking of maybe adding some extra embellishments later, like some fabric paint or maybe even some rhinestones around the logo. But for now, I’m super happy with how it turned out. It’s definitely got that “designer inspired” vibe I was going for, and it cost me way less than the real deal!
It’s not perfect, but it’s mine, and I made it! And that’s what counts, right? I did a thing, it wasn’t perfect, but i did it!.
