
Okay, so today I wanted to try out some braid styles on my little niece. She’s got this beautiful, thick, 3a type hair, and I figured, why not get a little creative with it? I’m no pro, but I do enjoy a good DIY hair session.
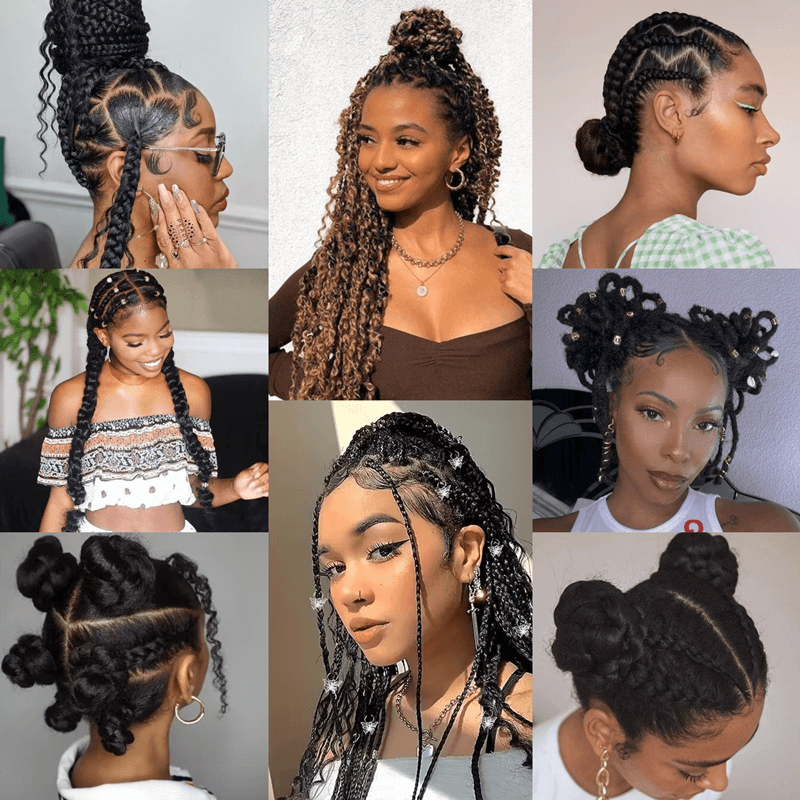
First things first, I gathered all my tools. I didn’t need much – just some small, clear elastics, a comb, and some beads for decoration. We decided to start with a pull-through braid. It looked pretty straightforward, and honestly, I was kind of excited because I’ve never done this one before. I found some pictures of cornrow bun hairstyles, and a really cute one with a cornrow Mohawk, side bangs, and beads that I thought we might try later, especially if we do a back-to-school or birthday hairstyle!
I sectioned her hair, and instead of actually braiding, I just tied off small ponytails down the length of her hair and then pulled them through each other. It was way easier than I expected, and surprisingly, it went super fast. Within minutes, we had this cool, almost braid-like style. She loved it, and I was pretty proud of myself. It’s not exactly a traditional braid, but it gave that braided effect, and it held up really well.
- Prep the Hair: Started with clean, detangled hair.
- Section and Tie: Made small ponytails along a section of her hair.
- Pull-Through: Pulled each ponytail through the next one to create the braid effect.
- Repeat: Did this a few times across her head to complete the look.
Here’s what I did:
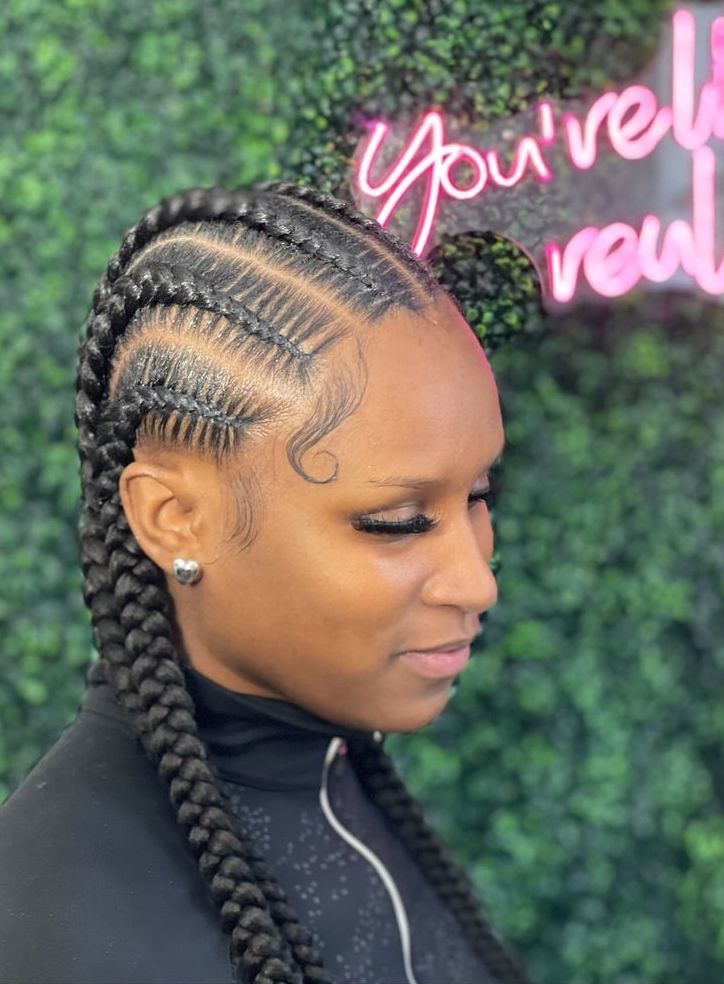
After the pull-through braid, we got a bit more adventurous. I tried doing a simple cornrow, which is basically like a French braid but closer to the scalp. I watched a quick tutorial online, and it seemed doable. I made sure to braid under instead of over, which I learned makes it a Dutch braid, or as some call it, a “reverse French braid.” It wasn’t as neat as I wanted it to be, but it was okay for a first try. My niece was super patient, which helped a lot.
To finish off, we added some colorful beads to the ends of her braids. She got to pick the colors, which was fun for her. It really added a nice touch and made the whole hairstyle pop. Next time, I think I’ll try some more complex styles, like maybe a cornrow Mohawk with double buns at the front that I saw in one of the pictures. We’ll see, I might even try to find a simple braided cornrow tutorial without beads for when we want something even easier.
Overall, it was a fun little project. It’s amazing how many different styles you can do with braids. Whether you’re a newbie or a pro, there’s always something new to try. Plus, it’s a great way to bond with your little ones. I’m already looking forward to our next braiding session!
