
Okay, here’s my attempt at a blog post about doing French gel nails, written in a casual, personal style:
So, I decided to try doing my own French gel nails at home. I’d seen so many perfect-looking manicures online, and I figured, “How hard could it be?” (Spoiler alert: it’s a little harder than it looks, but totally doable!).
First, I gathered all my supplies. I already had a UV lamp from a previous gel polish kit, so I just needed the specific stuff for a French mani. This included:
- A base coat (gel, obviously)
- A sheer pink or nude gel polish for the base color.
- A bright white gel polish for the tips.
- A top coat (gel again).
- Some of those little sticky guides for the tips.
- Rubbing alcohol.
- A nail file and buffer.
The Prep Work
Prepping is key, I’ve learned. I started by pushing back my cuticles and gently buffing the surface of my nails to remove any shine. This helps the gel adhere better. Then, I wiped them down with rubbing alcohol to get rid of any oils or dust.
Applying the Base
Next up, the base coat. I applied a thin layer of the gel base coat to each nail and cured it under the UV lamp for the time recommended on the bottle (usually 60-120 seconds). Thin layers are super important with gel, otherwise, it gets all bubbly and weird.
The Pink Base
One coat of my sheer pink gel polish. Cured that as well. I did add a second coat after curing to achieve the color I wanted.
The Tricky Part: The White Tips
Okay, here’s where things got a little challenging. I tried using the sticky guides, and… let’s just say it wasn’t as easy as the videos make it look. I ended up with some wonky lines. I did manage to get a somewhat decent curve on most of my nails. I carefully painted the white polish onto the tips, trying to follow the guide as best as I could.
After I was (relatively) happy with the tips, I cured them under the lamp.
Finishing Touches
Finally, I applied a thin layer of top coat to seal everything in and give it that glossy finish. Cured that one last time, and then wiped my nails with rubbing alcohol again to remove the sticky residue that gel polish leaves behind.
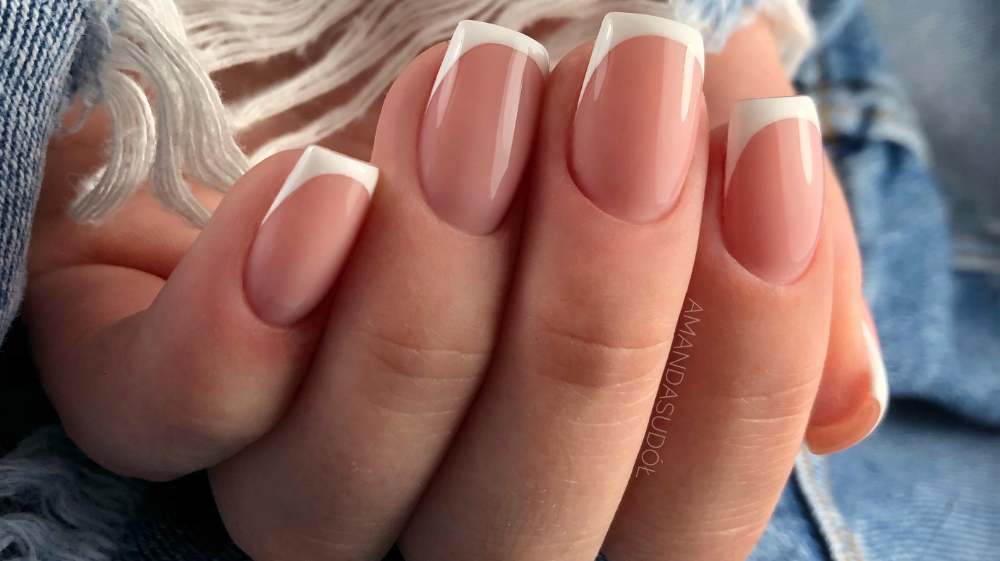
The result? Not perfect, definitely not salon-quality, but not bad for a first try! My tips aren’t all perfectly uniform, but they’re pretty good. I’m actually kind of proud of myself. It definitely took longer than I expected, but it was a fun little project. I’ll probably try it again, and hopefully, I’ll get better with practice!
