
Okay, here’s my attempt at a blog post based on your instructions, about creating athleisure flat layouts:
## Diving into Athleisure Flat Layouts: My Design Journey
Alright folks, so I’ve been messing around with athleisure flat layouts lately, and I thought I’d share my process. It was a bit of a bumpy ride, but hey, that’s how we learn, right?
It all started when my friend asked me to help him design some promotional materials for his new athleisure line. I was like, “Sure, I can handle that!” Famous last words, am I right?
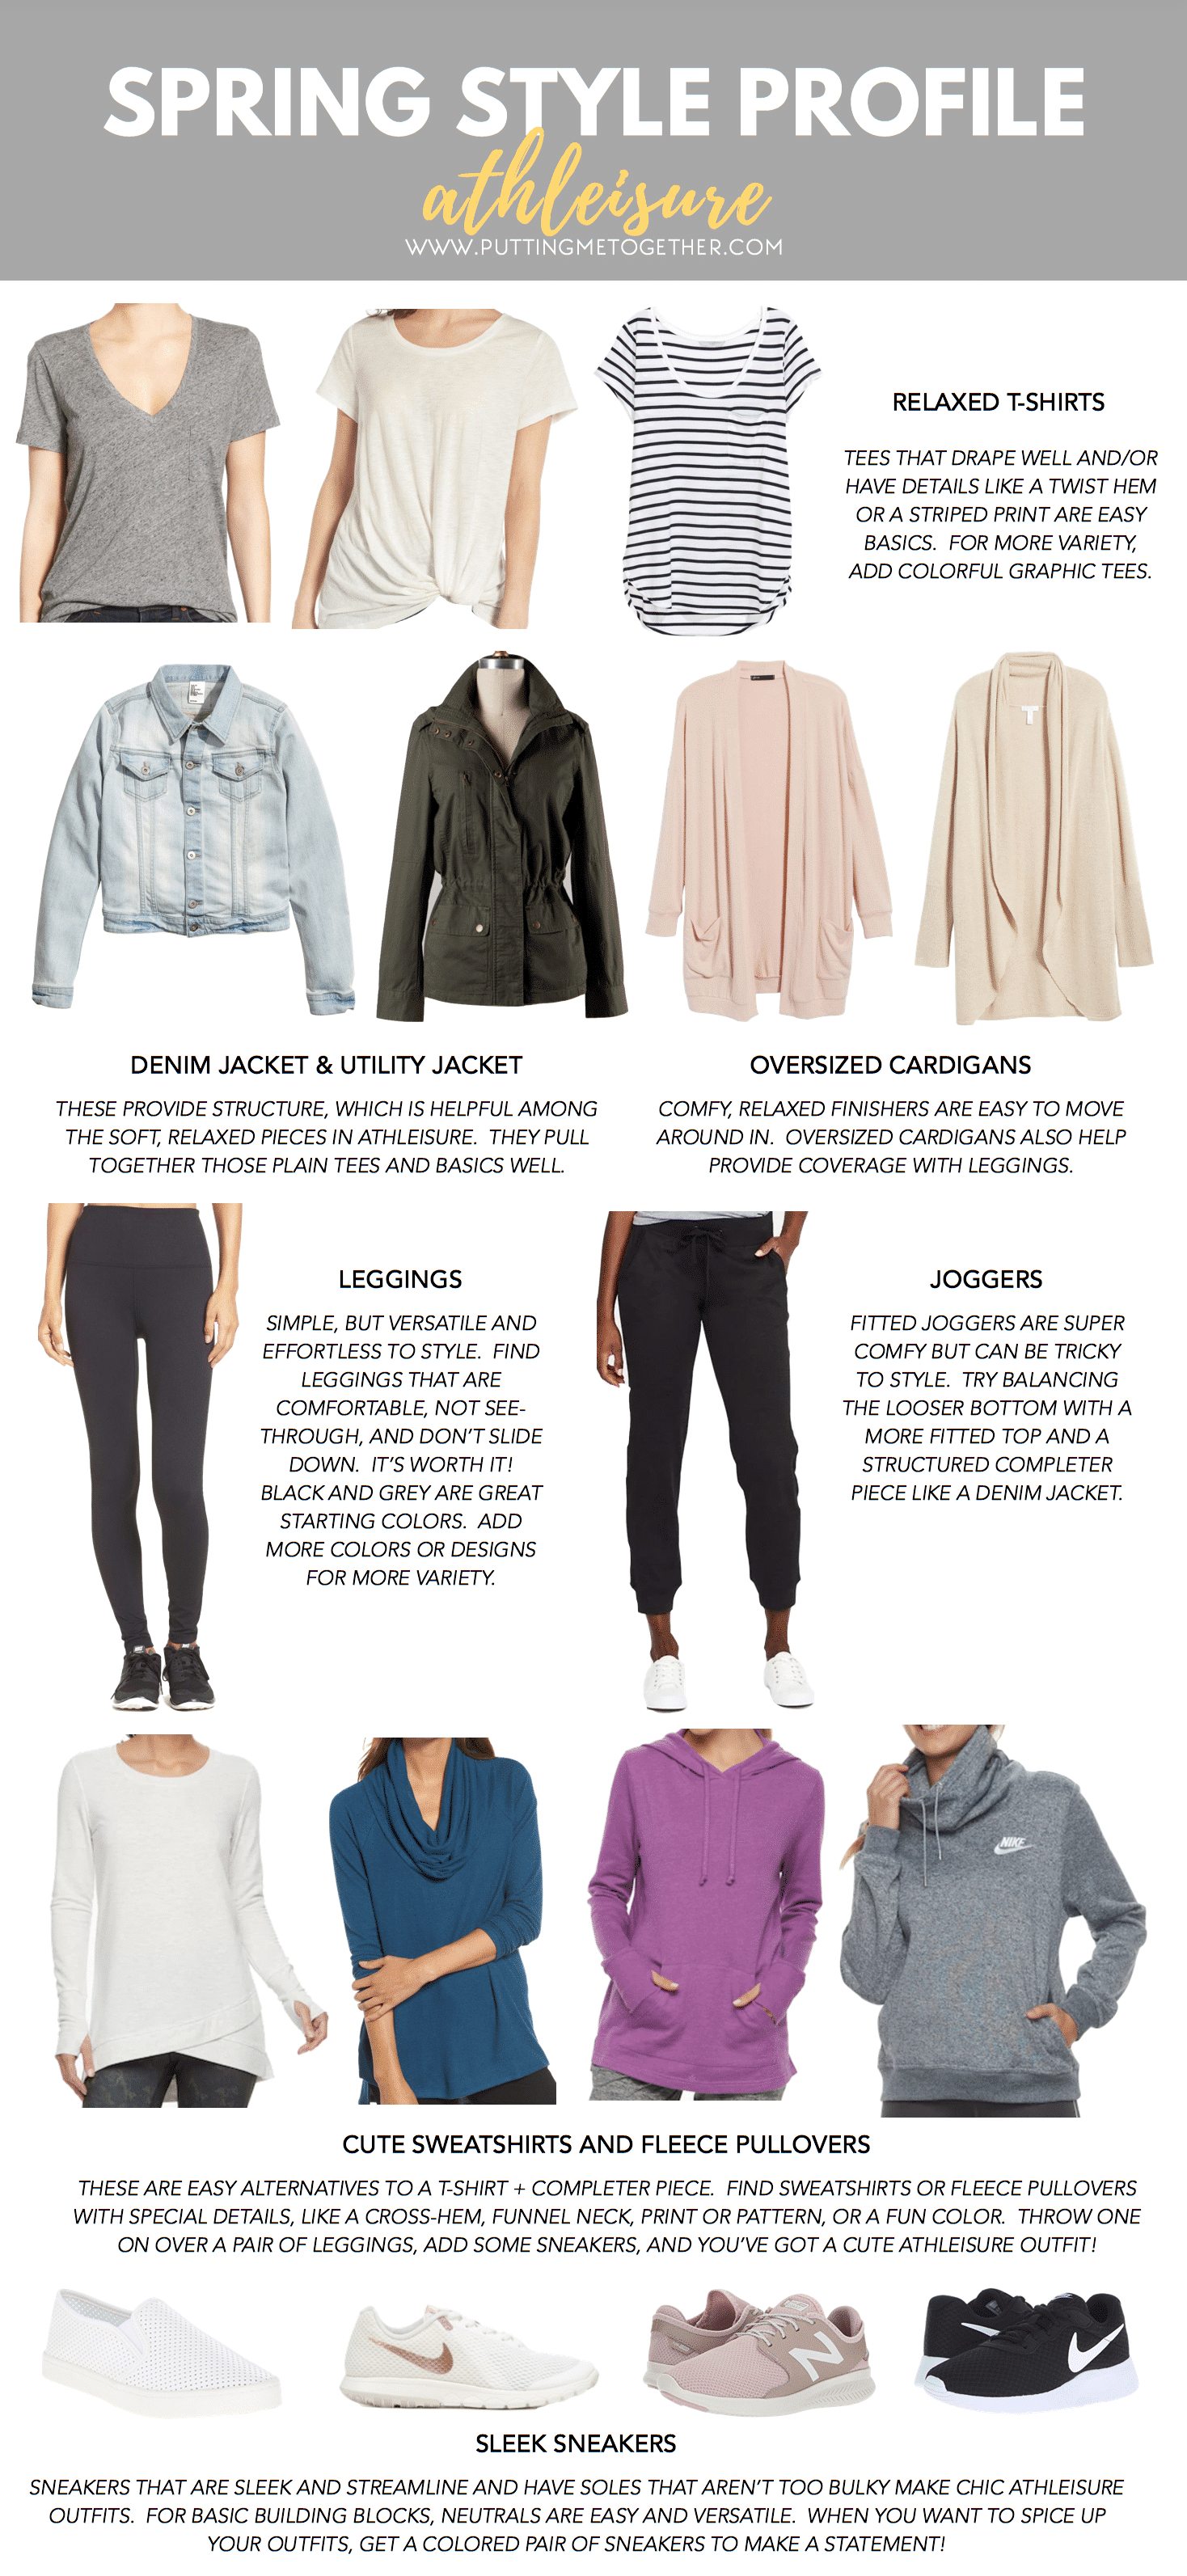
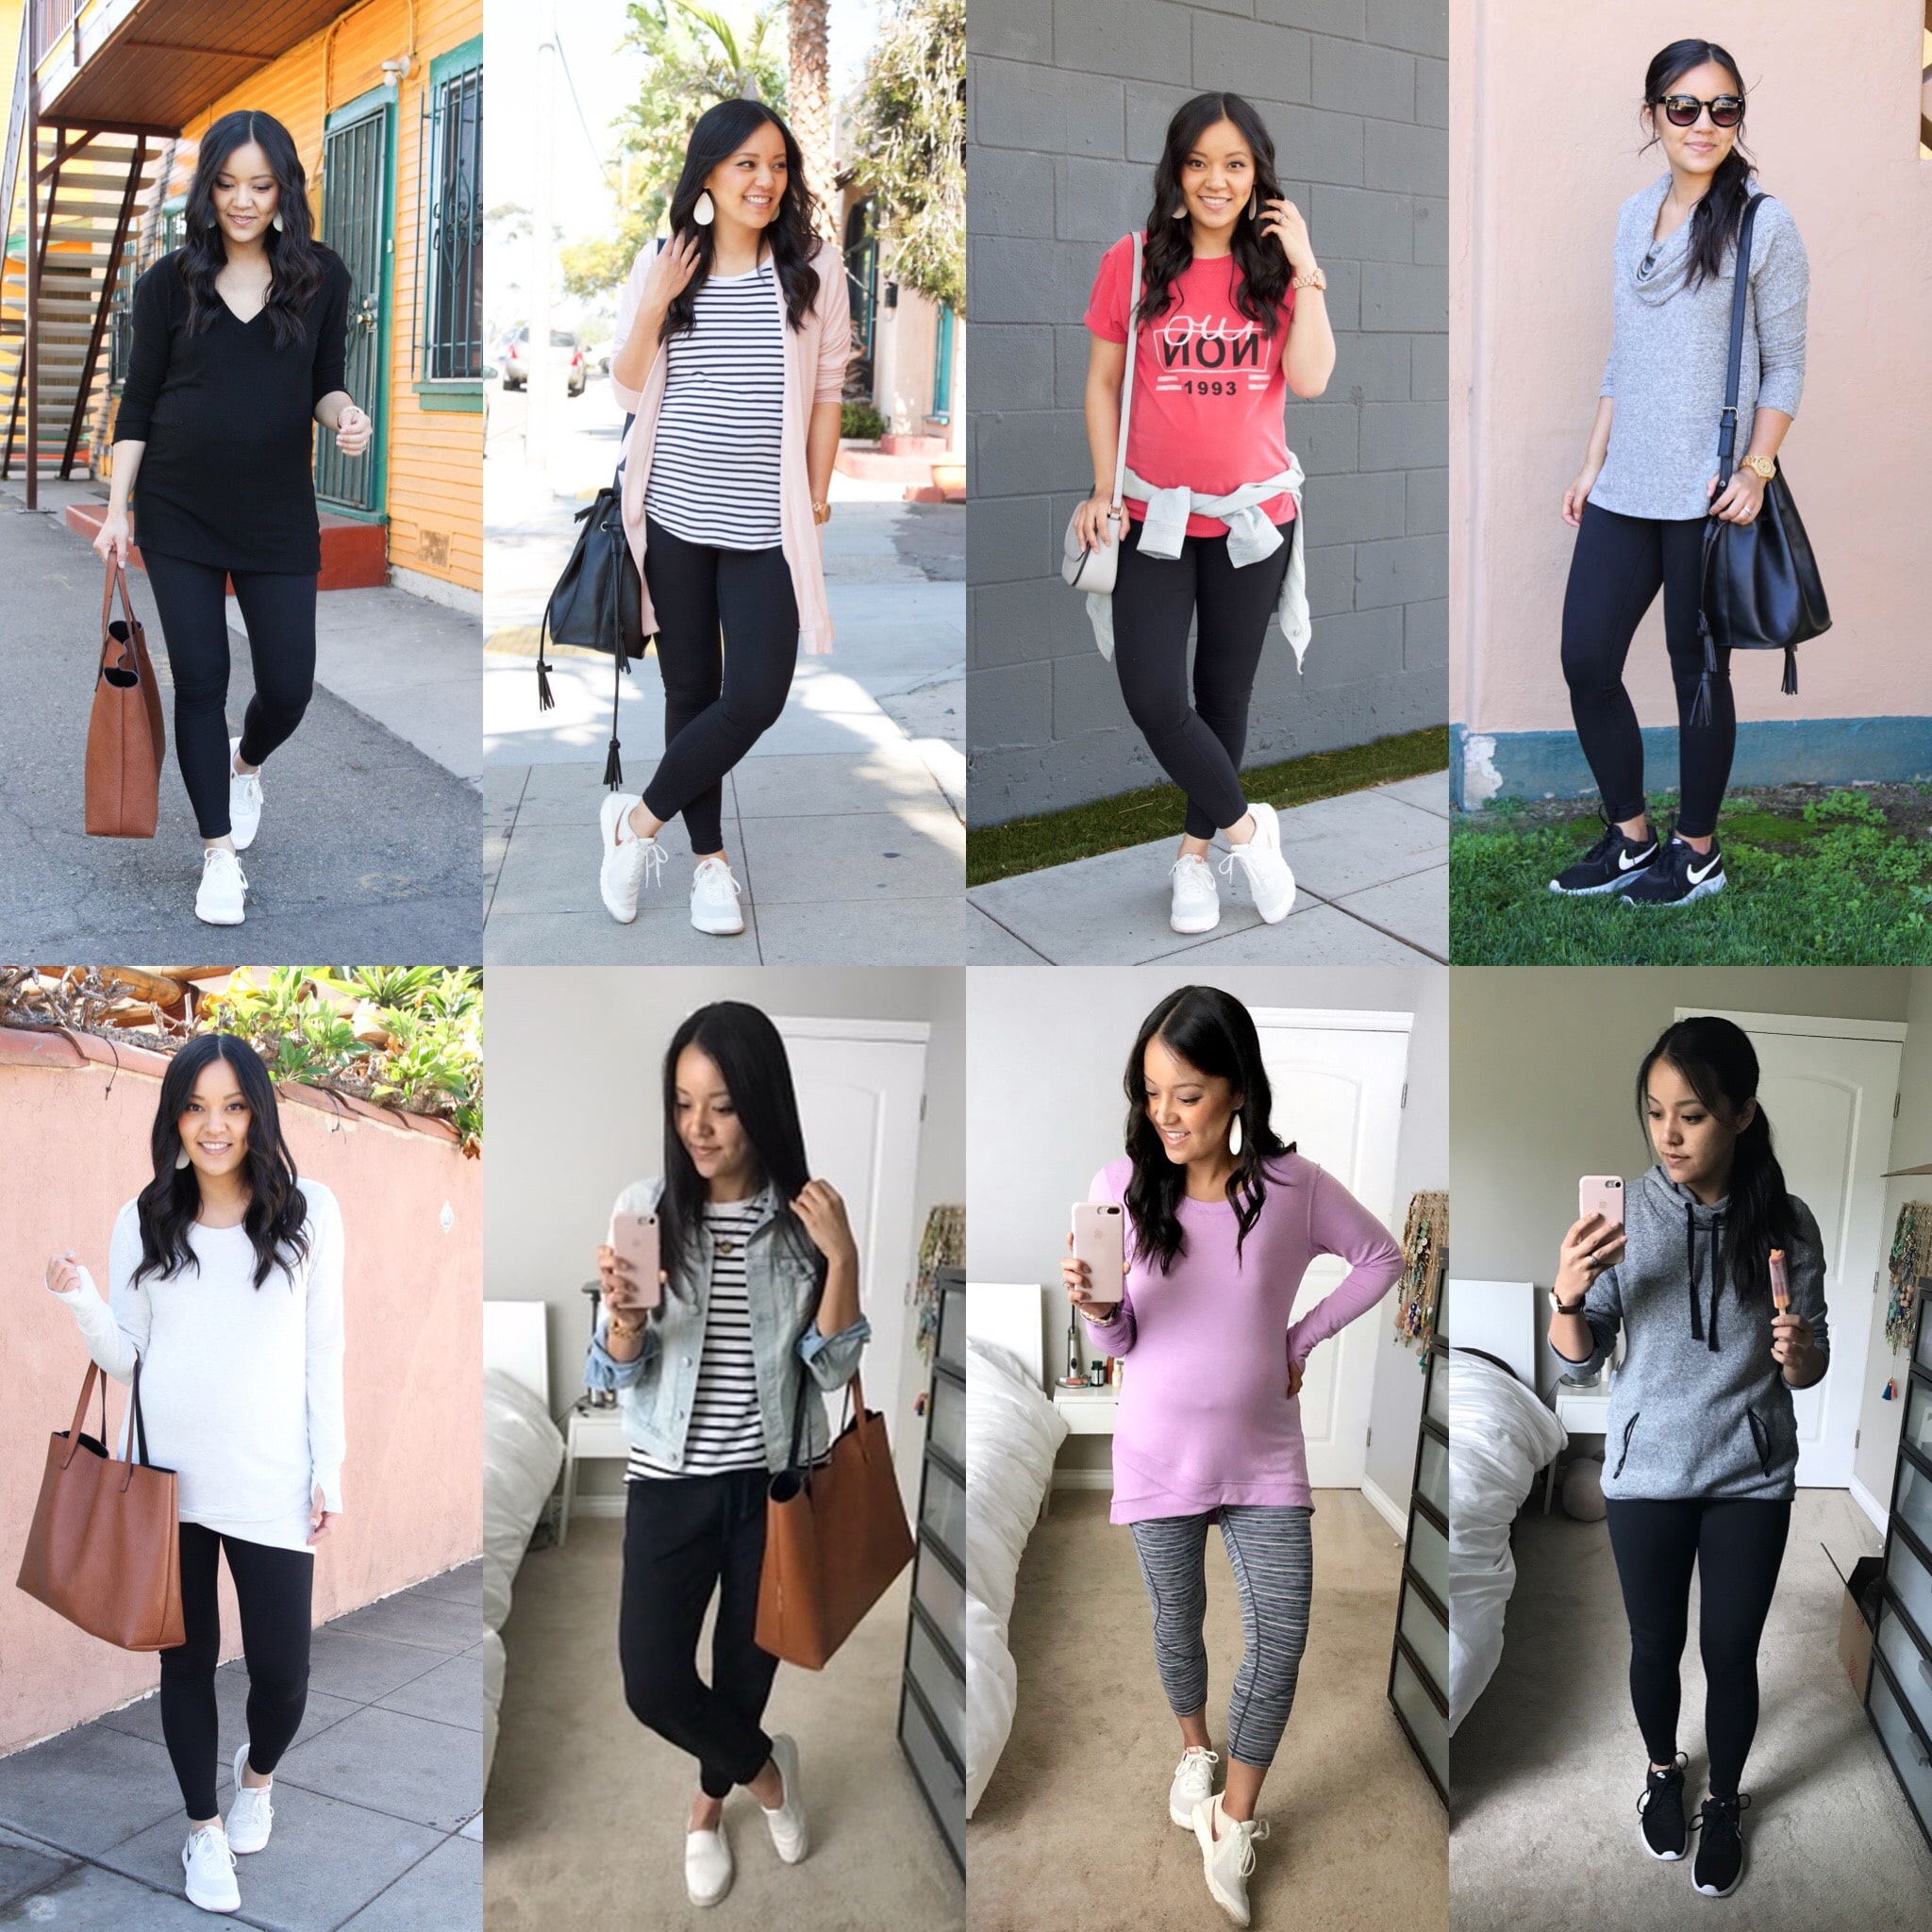
First, I gathered inspiration. I spent hours scrolling through Pinterest, Instagram, and all those fancy fashion blogs. I wanted to see what was trending and what made a flat lay pop. I noticed a lot of clean backgrounds, strategic layering, and pops of color.
- I created a mood board.
- Then I brainstormed different layout ideas.
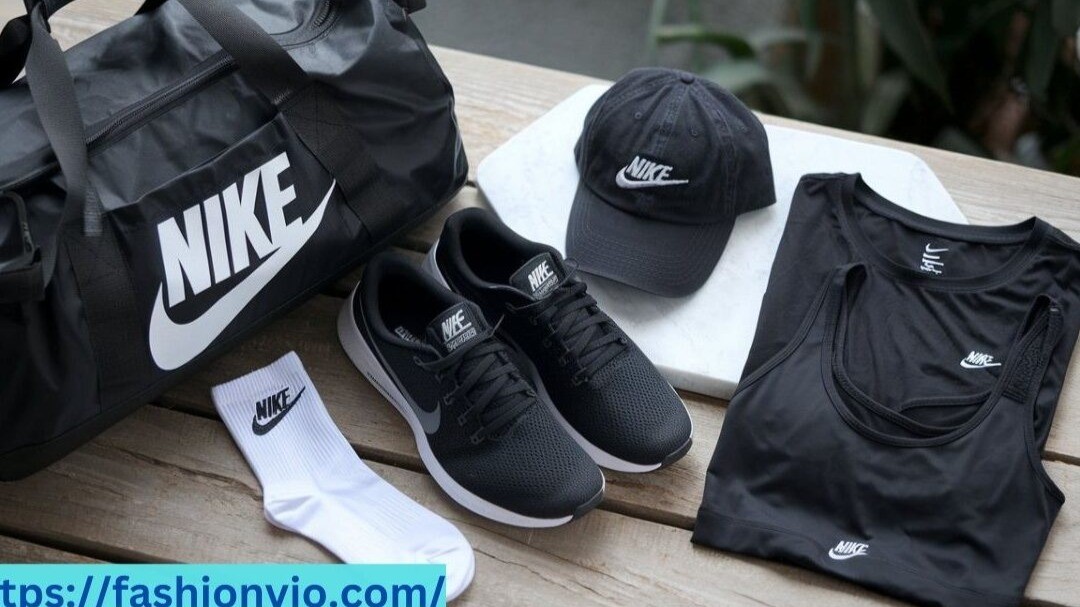
Next up, I collected the actual clothing items. This was a bit of a hassle because my friend’s studio was super disorganized. After finally finding a decent spot, I grabbed the clothes and the accessories. We’re talking leggings, hoodies, sneakers, water bottles – the whole shebang.
Then came the fun part (or so I thought): styling the flat lays. I started with the base layer – usually a pair of leggings or a t-shirt. I tried to arrange the items in a way that was both visually appealing and showed off their features.
I quickly realized that this was harder than it looked. Clothes kept shifting, wrinkles were showing up out of nowhere, and the lighting was terrible. I spent a good hour just trying to get a single hoodie to look right.
I even tried to incorporate some “action” shots, like a strategically placed jump rope or a partially unzipped gym bag. It was a hot mess! I felt like I was just throwing things around hoping something would stick.
After a few failed attempts, I decided to take a step back and re-evaluate. I realized I was trying to do too much. I simplified the layouts, focusing on clean lines and a limited color palette. That helped a lot.
I also played around with different backgrounds. Originally, I was using a white sheet, but it looked kind of boring. I switched to a textured gray surface, which added some much-needed depth.
Lighting was another challenge. I tried using natural light, but it was too inconsistent. Eventually, I set up a couple of softboxes, which gave me more control over the exposure and shadows.
After what felt like an eternity, I finally ended up with a few flat lays that I was actually happy with. I edited the photos in Lightroom, adjusting the colors, contrast, and sharpness.
Finally, I sent the photos to my friend, and he loved them! He’s already using them on his website and social media.
So, what did I learn from this whole experience? Well, creating athleisure flat layouts is not as easy as it looks. It takes patience, attention to detail, and a good eye for composition. But with a little practice and experimentation, anyone can do it.
- Don’t be afraid to experiment.
- Pay attention to the details.
- Keep it simple.
And most importantly, have fun with it!
