
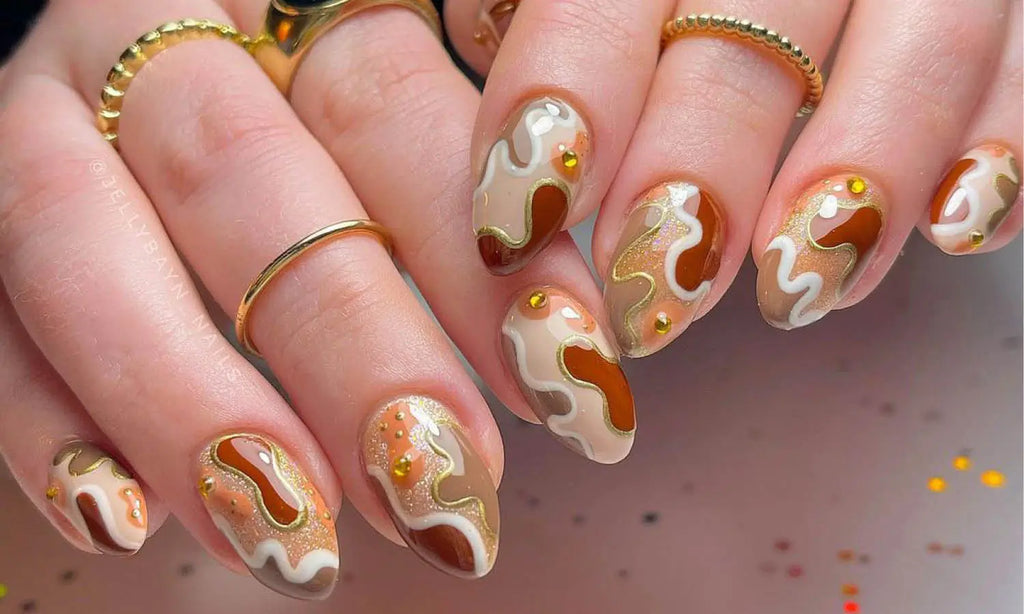
Okay, so, I’ve been wanting to try out some fancy gold nail designs for a while now, and I finally took the plunge. I’m not a nail artist or anything, but I figured, how hard could it be, right? Here’s how it went down.
First, I gathered all my supplies. I already had a bunch of regular nail polishes, but I went out and bought a few special gold ones – a glittery gold, a metallic gold, and a more subtle, shimmery gold. I also grabbed some thin nail art brushes, some dotting tools, and a top coat to seal everything in.
I started with clean, bare nails. I filed them into a shape I liked – I went with a rounded tip because it’s kind of classic and low-maintenance, but also looks kind of elegant, you know? I pushed back my cuticles and made sure my nail beds were nice and smooth. Then, I applied a base coat to protect my nails and help the polish adhere better.
Simple Glitter
- I decided to try a simple glitter accent nail first. I painted all my nails with a nude polish, except for my ring finger. I applied a couple coats, made sure everything was dry.
- For the ring finger, I used the glittery gold polish. I painted two thin coats, letting each one dry in between. Man, that glitter was mesmerizing, but kind of a pain to apply evenly, I’m not gonna lie.
Metallic Stripes
- Next, I wanted to try some stripes. I used the metallic gold for this one. Once my base color was totally dry, I carefully painted thin vertical stripes on each nail using the nail art brush.
- It was tough to get the lines straight, and I definitely messed up a few times. Thank goodness for nail polish remover, am I right?
Gold Tips
- I also tried a French manicure with gold tips. I applied the subtle shimmery gold to the tips of my nails, trying to follow the natural curve.
- This one was a bit tricky too, but the end result was pretty nice. It’s a classy look, very understated and chic. I think I did pretty good with this one.
Finally, I finished everything off with a top coat. I waited for it to dry completely – that’s the key. You gotta be patient or you’ll smudge all your hard work. I was pretty happy with how they turned out. It was a fun little project, and my nails looked way fancier than usual.
It was definitely a learning experience. It’s not as easy as it looks, but with some practice, I think I can get better. I might even try some more intricate designs next time. Or maybe I’ll just stick to glitter – it’s so sparkly and fun! Either way, I’m definitely into this whole gold nail thing now. It just makes you feel a little extra, you know?
