")
Alright, so the whole crop top thing. I kept seeing them everywhere, and honestly, some of them are just ridiculously priced for what they are – basically half a shirt. So, I figured, why not try making my own? I’m all about saving a bit of cash and getting my hands dirty, you know?

Getting the Idea Rolling
I had this old t-shirt. It was one of those super soft ones, but the fit was just kinda… blah. Boxy. Not doing me any favors. But I loved the fabric and the color. It felt like the perfect candidate for a little experiment. I thought, what’s the worst that can happen? I ruin an old shirt I wasn’t wearing much anyway?
The Actual Process – Or, How I Didn’t Mess It Up Too Badly
So, first things first, I had to decide on the length. This is where it gets tricky, because too short and you’re veering into weird territory, too long and what’s the point? I actually grabbed a measuring tape – yeah, I got a bit serious for a moment. I put the shirt on, looked in the mirror, and used a bit of chalk (the kind kids use, nothing fancy) to mark where I thought the cut should be. I aimed for just above my natural waist.
Then came the cutting. I laid the shirt out as flat as I could on the floor. My kitchen scissors were the weapon of choice. Not exactly tailor-grade equipment, but hey, we work with what we’ve got. I tried to cut in a straight line, following the chalk mark. Let me tell you, cutting knit fabric in a perfectly straight line is harder than it looks. It wants to stretch and wiggle. I went slow. Really slow.
- Spread the shirt flat. This is key.
- Use sharp scissors if you have them. Mine were… okay.
- Cut a little longer than you think you need. You can always trim more, but you can’t add fabric back on. Learned that the hard way on a previous, uh, “project.”
After the first cut, I tried it on. It was a bit uneven on one side, classic. So, I took it off, laid it flat again, and did a little corrective snipping. Much better. I decided to leave the hem raw, you know, that slightly curled, casual look. Less work for me, and I kinda dig it.
The Big Reveal (To Myself)
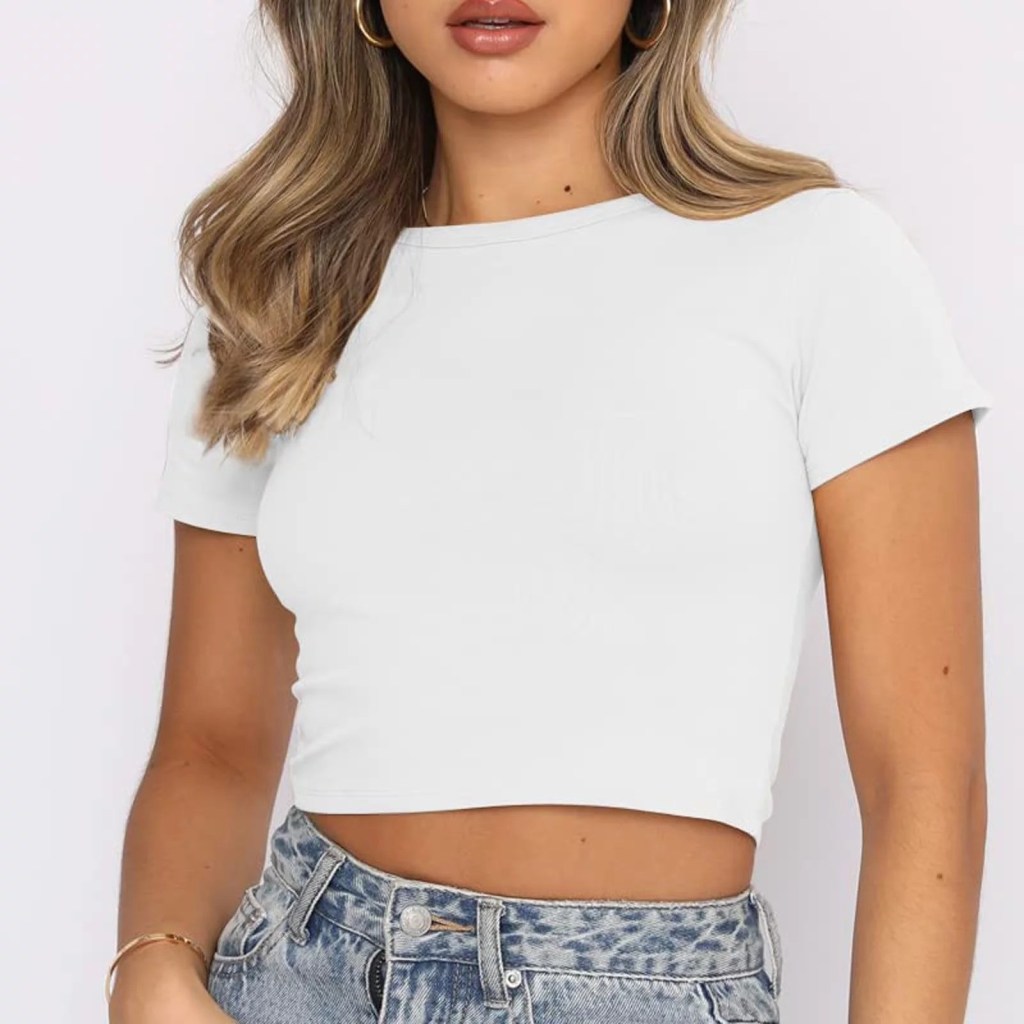
And that was pretty much it! I held it up. It looked… like a crop top! I put it on, and honestly, I was pretty pleased. It wasn’t perfect, by any means. If you look super close, the edge isn’t factory-perfect. But it was comfy, it was the length I wanted, and it cost me exactly zero dollars. Plus, I saved a shirt from languishing in the back of my closet.
It’s funny, because now when I wear it, I get a little kick out of it. Someone complimented it the other day, and I was like, “Thanks, I made it!” They looked a bit surprised. I guess not everyone’s chopping up their old clothes. Their loss, I say. It’s not like I’m gonna start a fashion line or anything, but for a simple thing like a crop top? Totally doable. And way more satisfying than just clicking ‘add to cart’.
It reminds me of this one time I tried to “distress” a pair of jeans. That was a different story. Ended up looking like I’d fought a badger and lost. Some DIYs are a win, some are… learning experiences. This crop top, thankfully, was a win.
