
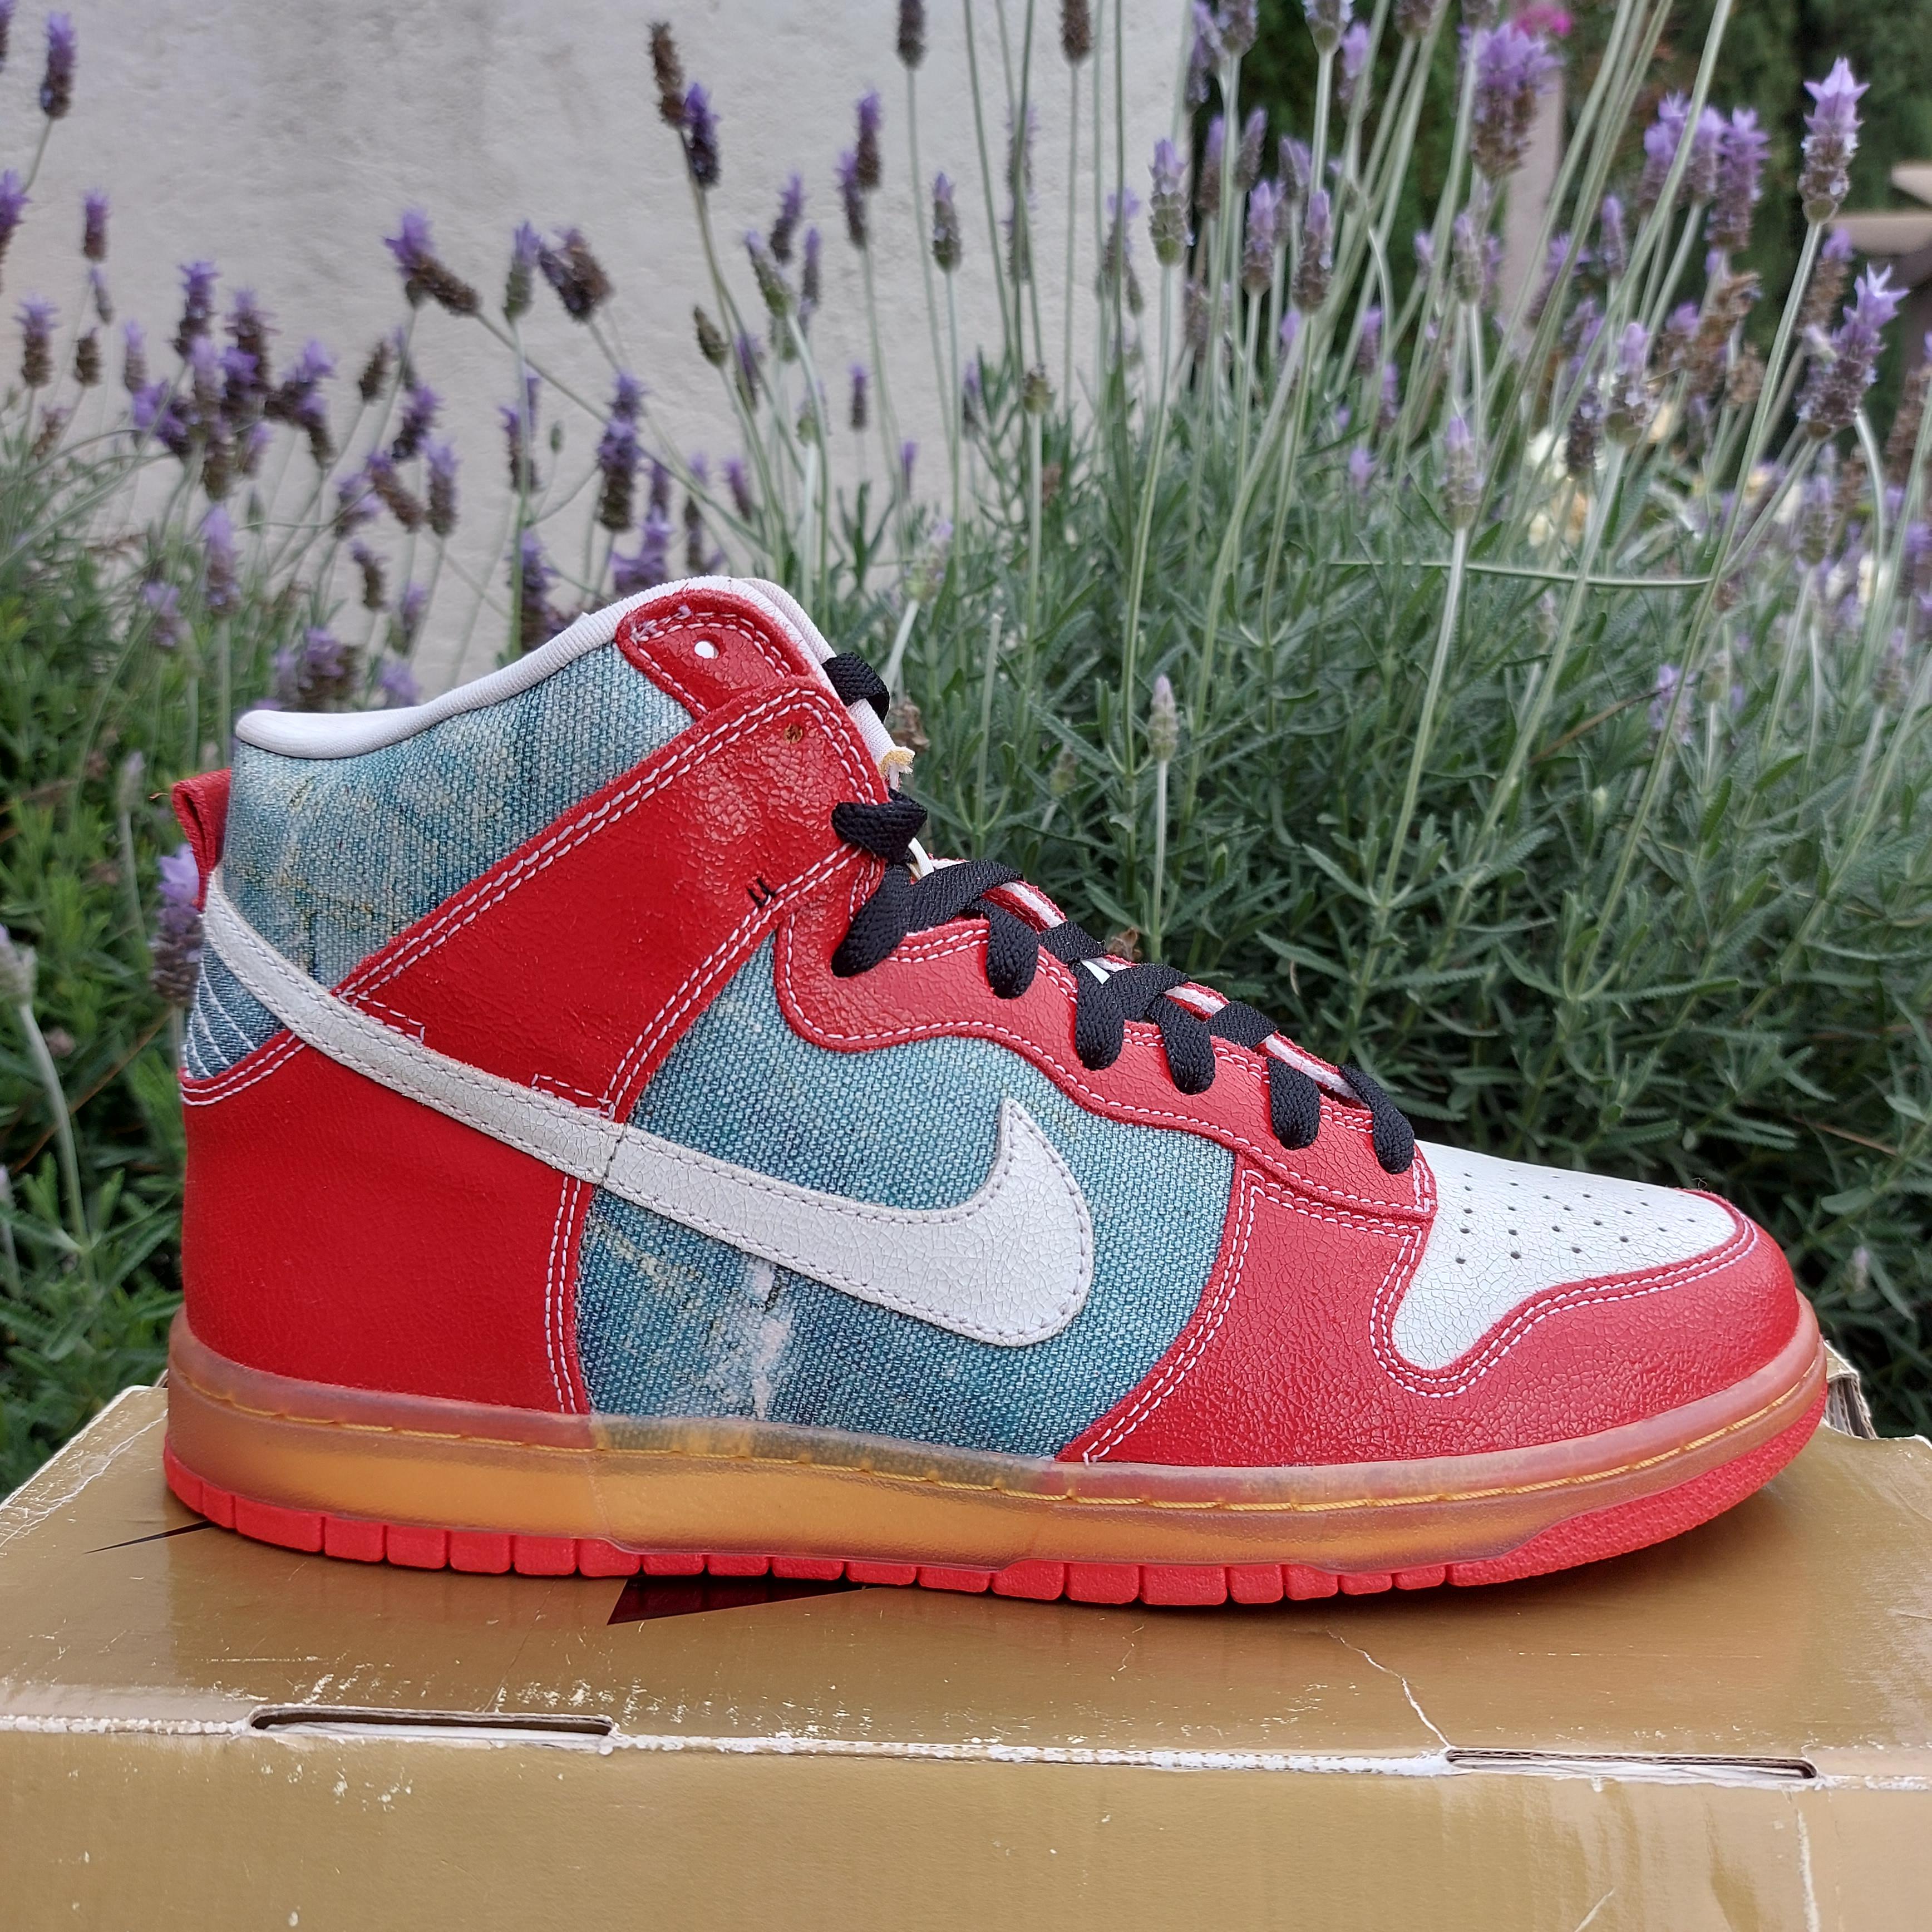
Okay, so I’ve been meaning to fix up these Nike SB Dunk Highs for a while now. They’re pretty beat up, especially around the toe box and the sole where it’s starting to separate. I’ve heard people swear by Shoe Goo for this kind of thing, so I figured I’d give it a shot and document the whole process.
Getting Started
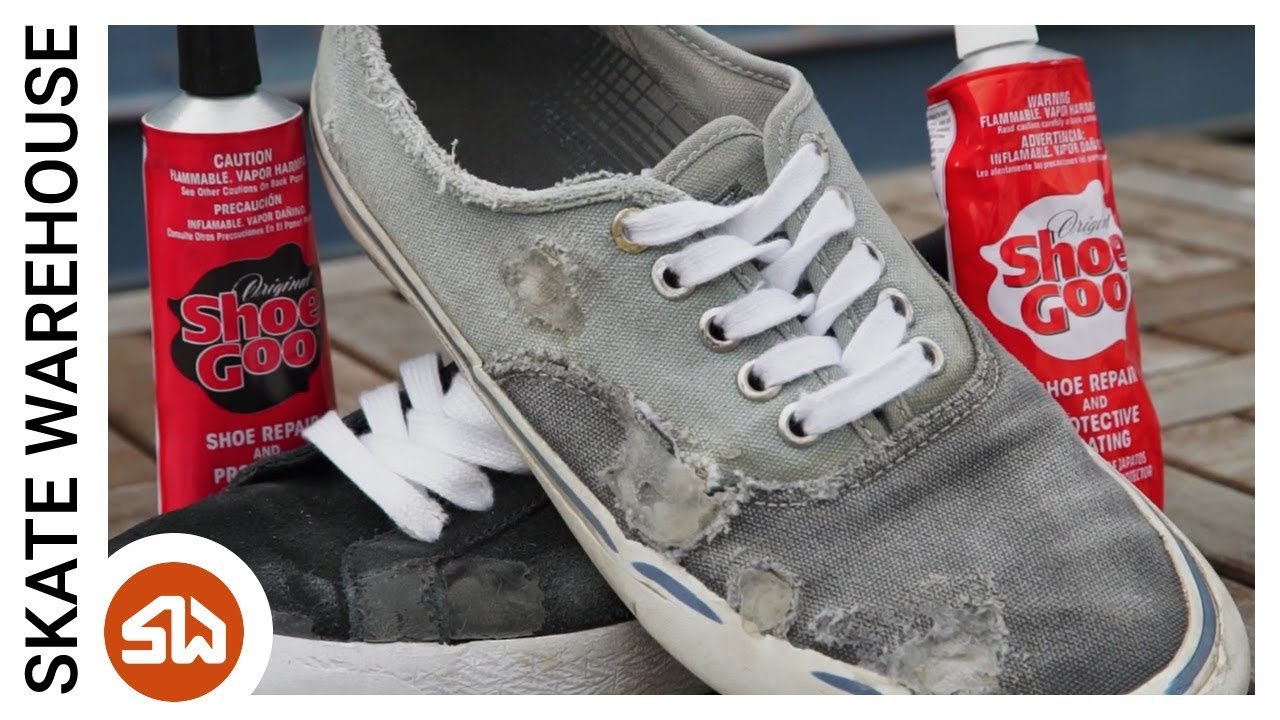
First things first, I gathered my materials. Obviously, I needed the Shoe Goo itself. I also grabbed some:
- Popsicle sticks (for applying the goo)
- Masking tape (to protect areas I didn’t want goo on)
- An old toothbrush and some soapy water (for cleaning)
- Some clamps (to hold things together while the goo dried)
- Rubbing alcohol(for cleaning up extra overflow glue)
Prep Work is Key
Before I even touched the Shoe Goo, I cleaned the shoes thoroughly. I used the old toothbrush and soapy water to scrub away any dirt and grime, especially around the areas where I’d be applying the glue. You want a nice, clean surface for the goo to adhere to, otherwise it won’t stick *, don’t skip this step! I let them dry completely by leaving them out overnight
Applying the Shoe Goo
Once the shoes were dry, I used masking tape to section off the areas I didn’t want the Shoe Goo to touch. This is especially important around the edges of the sole and the upper. No one want the goo to run around everywhere.
Next, I applied the Shoe Goo. I squeezed a generous amount onto a popsicle stick and then carefully spread it onto the damaged areas.I used another popsicle stick to make sure the shoe goo spread evenly and inside every cracks and crevices of the sole, and the toe box that peeled off.I made sure to get a good, even layer, pressing it into any cracks or gaps. For the separating sole, I applied the goo to both surfaces (the sole and the midsole) before pressing them together.
Clamping and Curing
With the goo applied, I used the clamps to hold the sole and midsole together. This is crucial for ensuring a strong bond. I placed the clamps strategically to apply even pressure across the glued area.I put a lot just to make sure.
Then came the hardest part: waiting. Shoe Goo takes a while to fully cure – I left the shoes clamped for a full 24 hours, just to be safe. I put it aside and started watching anime while waiting.
The Results
After a full day of curing, I removed the clamps. I’m pretty stoked with how it turned out! The sole is firmly reattached, and the toe box looks a lot better. There were a few spots where the goo had squeezed out, so I carefully cleaned those up with a rubbing alcohol.
I just use my fingers to peel off the goo, and clean the remaining stain with rubbing alcohol
Overall, I’m really happy I tried this. It saved me from having to buy a new pair of Dunks, and it was a pretty easy DIY project. If you’ve got some beat-up shoes, I definitely recommend giving Shoe Goo a try!
