
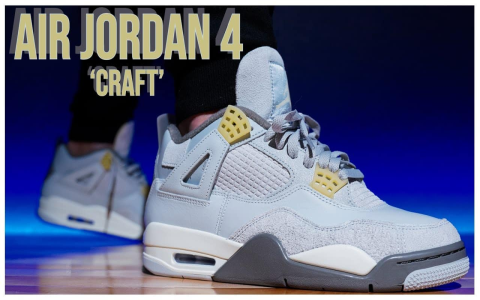
Okay, so I’ve been wanting to customize a pair of Jordans for a while now, and I finally decided to go for it. I picked up a pair of white and yellow Jordan 4s – a pretty clean base to work with.

Getting Started
First things first, I needed to gather my supplies. I already had some basic acrylic paints, but I made sure to grab:
- Angelus Leather Preparer and Deglazer: Super important for getting the factory finish off the shoes.
- Fine-tipped paint brushes: For all the detail work.
- Masking tape: Gotta keep those lines crisp!
- Angelus Matte Acrylic Finisher: To seal everything in and protect the paint.
Prep Work is Key
I started by wiping down the shoes with a damp cloth to get rid of any dust or anything. Then, I used cotton balls soaked in the Angelus Preparer and Deglazer and went over all the areas I planned to paint. This part is a little smelly, so I made sure to do it in a well-ventilated area. It felt a bit weird stripping the finish off brand-new shoes, but it’s necessary for the paint to adhere properly.
Once the shoes were dry, I started taping. This took the longest, honestly. I carefully masked off all the yellow parts of the shoe, and the jumpman logo, because I wanted to keep those their original color. I used small pieces of tape and really pressed down the edges to make sure no paint would bleed through.
Painting Time!
For these, I started to paint on the white area. I applied thin, even coats, letting each coat dry completely before adding the next. I think I ended up doing about three coats to get a good, solid color. Patience is key here – rushing it will just lead to a messy finish.
After the last coat of paint, I let the shoes dry. Like, really dry. I waited a good few hours to be safe.

Finishing Touches
Once I was sure everything was dry, I carefully removed the masking tape. I used a toothpick to get rid of any tiny bits of paint that had seeped under the tape. Finally, I applied a thin coat of the Angelus Matte Acrylic Finisher. This helps protect the paint from scratches and gives it a nice, even finish.
I let the finisher dry, and that’s it! My custom white and yellow Jordan 4s were done. It was a bit of a process, but totally worth it. Now I’ve got a one-of-a-kind pair of kicks that I can truly say I made my own.