
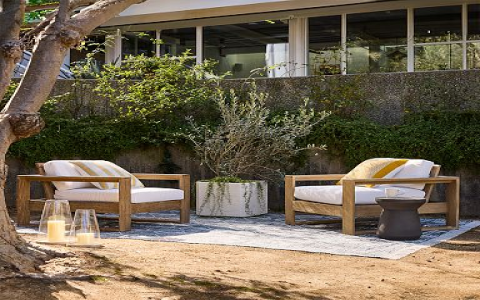
Alright, so I decided I needed a really comfortable chair for chilling outside on the patio. You look at the stuff in stores, and honestly, a lot of it feels flimsy or costs way too much money for what you get. I figured, why not try building one myself? Sounded like a decent weekend project.

Getting Started
First thing, I poked around online looking for ideas. Man, there are tons of designs out there. Some looked super complicated, needing special tools and expensive wood. Others were made from old pallets, which seemed cool but maybe a bit too rustic for what I wanted. I decided to go for something sturdy but kinda simple. Just basic lumber, you know? Headed down to the hardware store.
- Picked up some standard pine boards – nothing fancy.
- Grabbed a big box of outdoor screws.
- Got some wood glue for extra strength.
- Found some sealant/varnish stuff to protect it from rain.
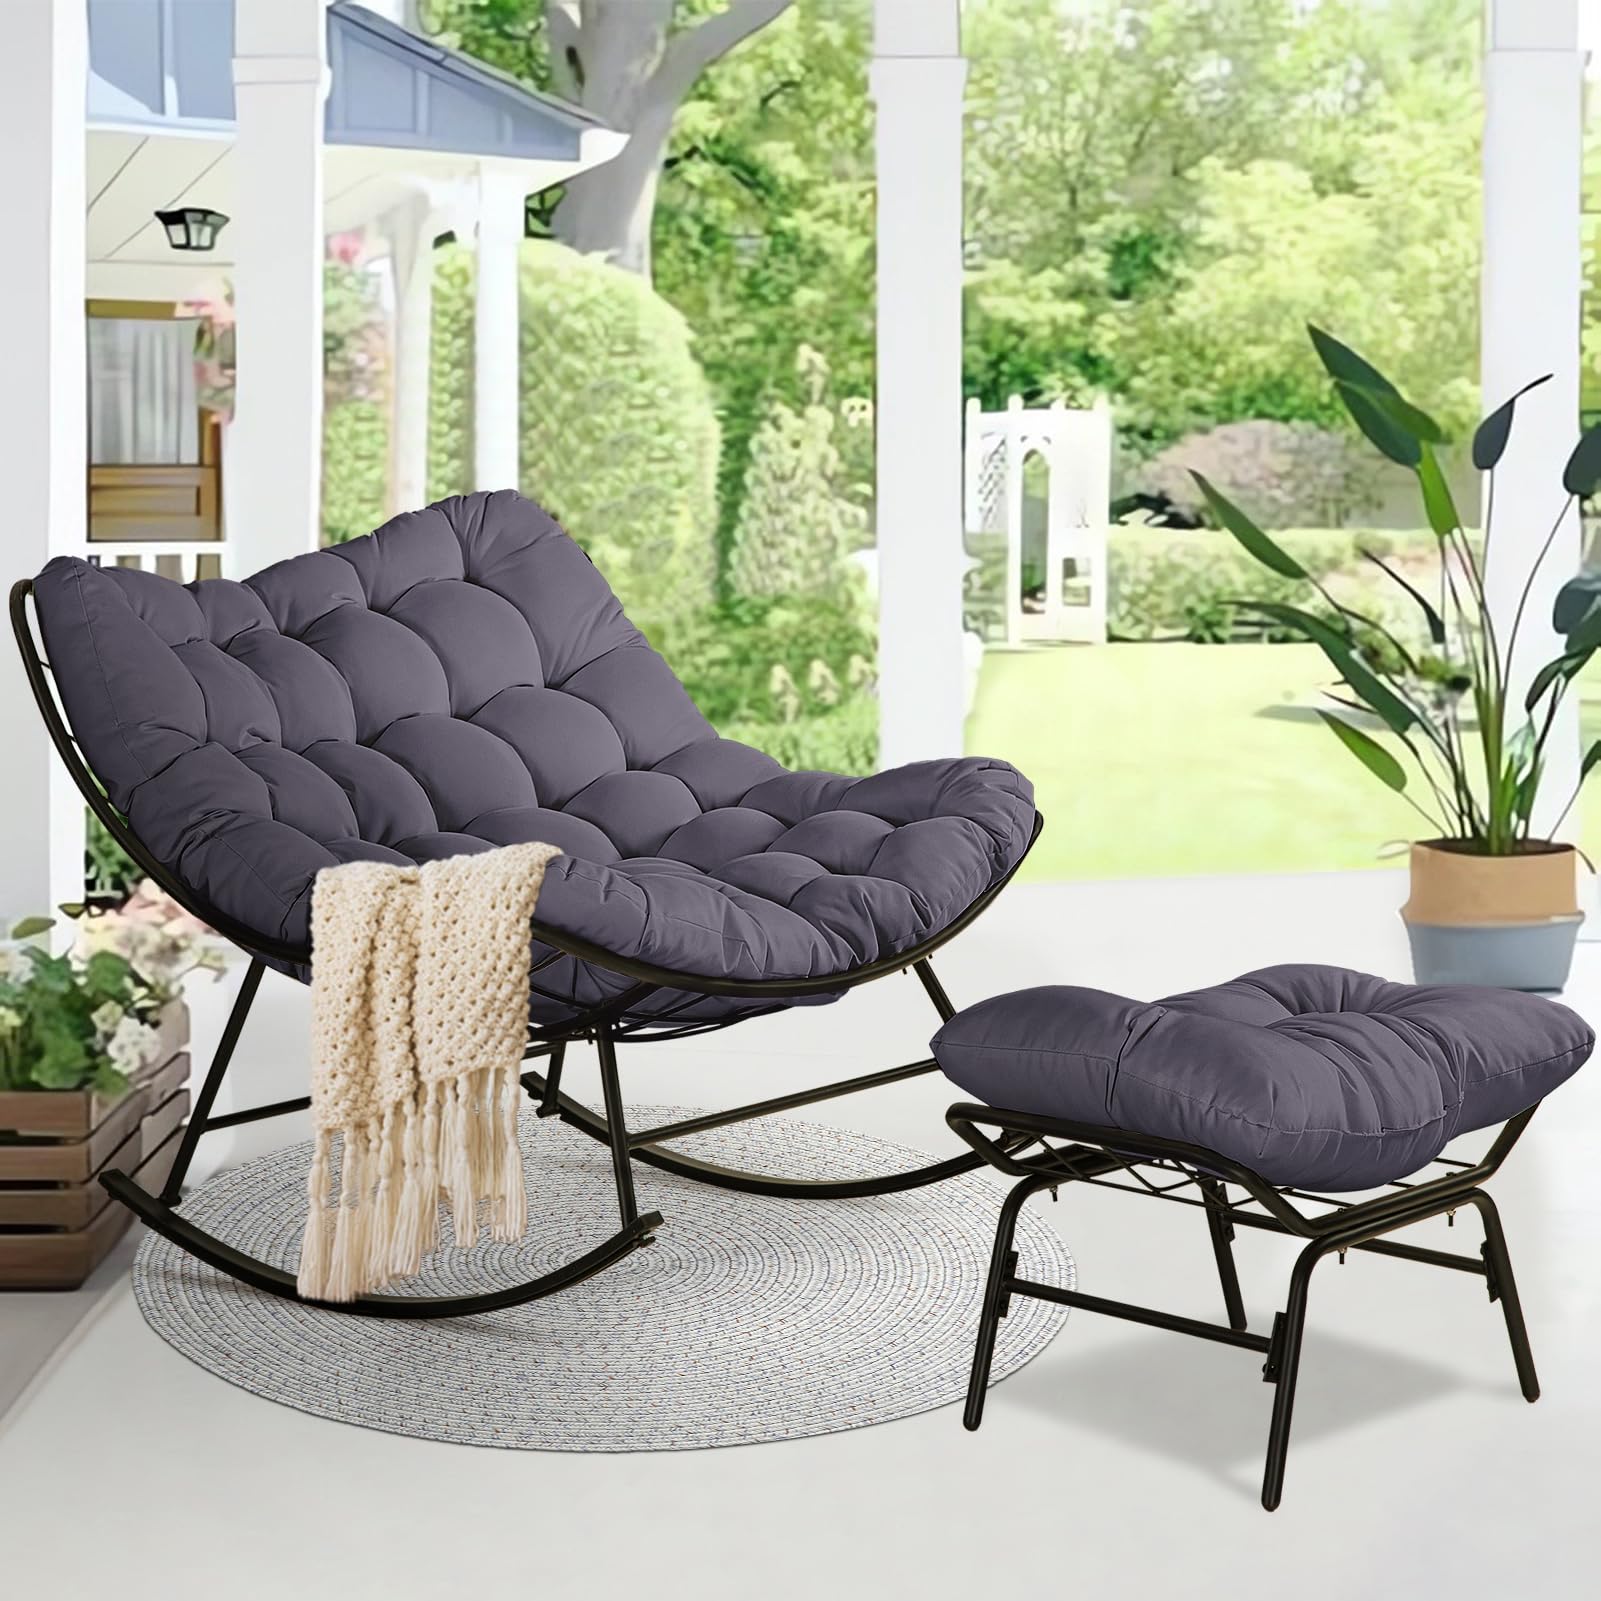
- And the most important part: gotta have thick cushions later for the ‘cozy’ factor.
Got all the stuff back home and piled it in the garage. Looked like a lot when it was all laid out.
Why Even Bother? A Quick Story
You might wonder why I’d go through the trouble instead of just buying one. Well, it’s kinda funny. My old metal patio chair, one of those cheap folding things, finally gave up the ghost. And not quietly. My neighbor Dave was over, plopped himself down, and CRUNCH. Metal legs buckled, Dave ended up sprawled on the grass. It was pretty embarrassing, honestly. He’s a good sport, but still. Right then, I thought, “Nope, never again.” I wanted something solid, something that wouldn’t collapse under pressure, literally. So, building it myself felt like the only way to guarantee that.
Putting It Together
Okay, back to the wood. I laid out the pieces and started measuring based on some rough plans I’d sketched out. Measuring twice, cutting once… mostly. Used my circular saw for the main cuts, which was faster than doing it by hand, thank goodness. Made a heck of a mess with sawdust everywhere, though.
Sanding came next. Ugh, sanding. Probably my least favorite part. It just takes forever, and my arms were aching. But you gotta do it, otherwise it’s all rough and splintery. Got it smooth-ish eventually.

Then came assembly. This is where the plans got a bit… flexible. I started screwing things together, adding glue to the joints. Getting the angles right for the backrest and seat was trickier than I expected. Had to unscrew and readjust a couple of times. One leg looked a tiny bit crooked, but I figured it was good enough. It’s supposed to be rustic, right? Let all the glue dry overnight.
Finishing Touches
Next day, gave it a wiggle test. Seemed pretty solid! So, I moved on to sealing it. Brushed on a couple coats of that outdoor varnish. The fumes were strong, definitely did that outside. Let that dry completely, took most of the day.
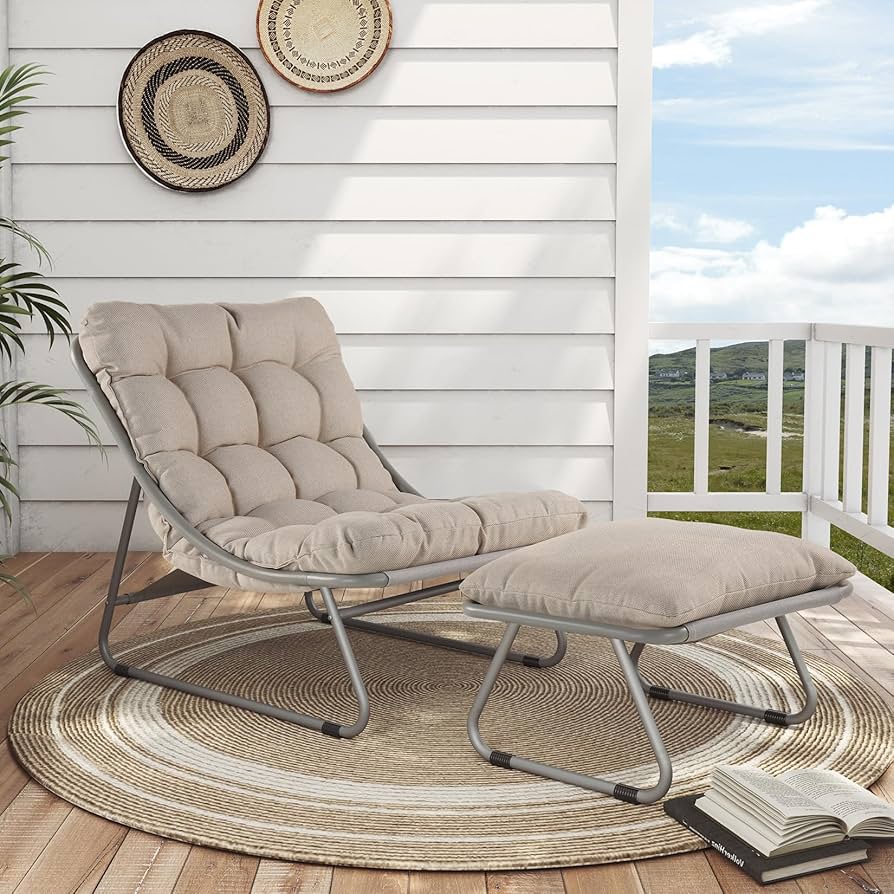
Last step: cushions. I didn’t make those, obviously. Went shopping for some nice, thick outdoor cushions. Found some decent ones that fit pretty well. That really made it look like a proper chair.
The Result
So, dragged the finished thing out onto the patio. Put the cushions on. Sat down. Hey, not bad! It’s really sturdy, feels solid. It’s definitely not perfect, if you look closely you can see where I messed up a bit, but it’s comfy. Way better than that old metal death trap. And the best part? I actually built it myself. Feels pretty good, sitting out there in a chair I put together with my own hands. Haven’t invited Dave over to test it yet, though. Maybe I’ll give it another week.