")
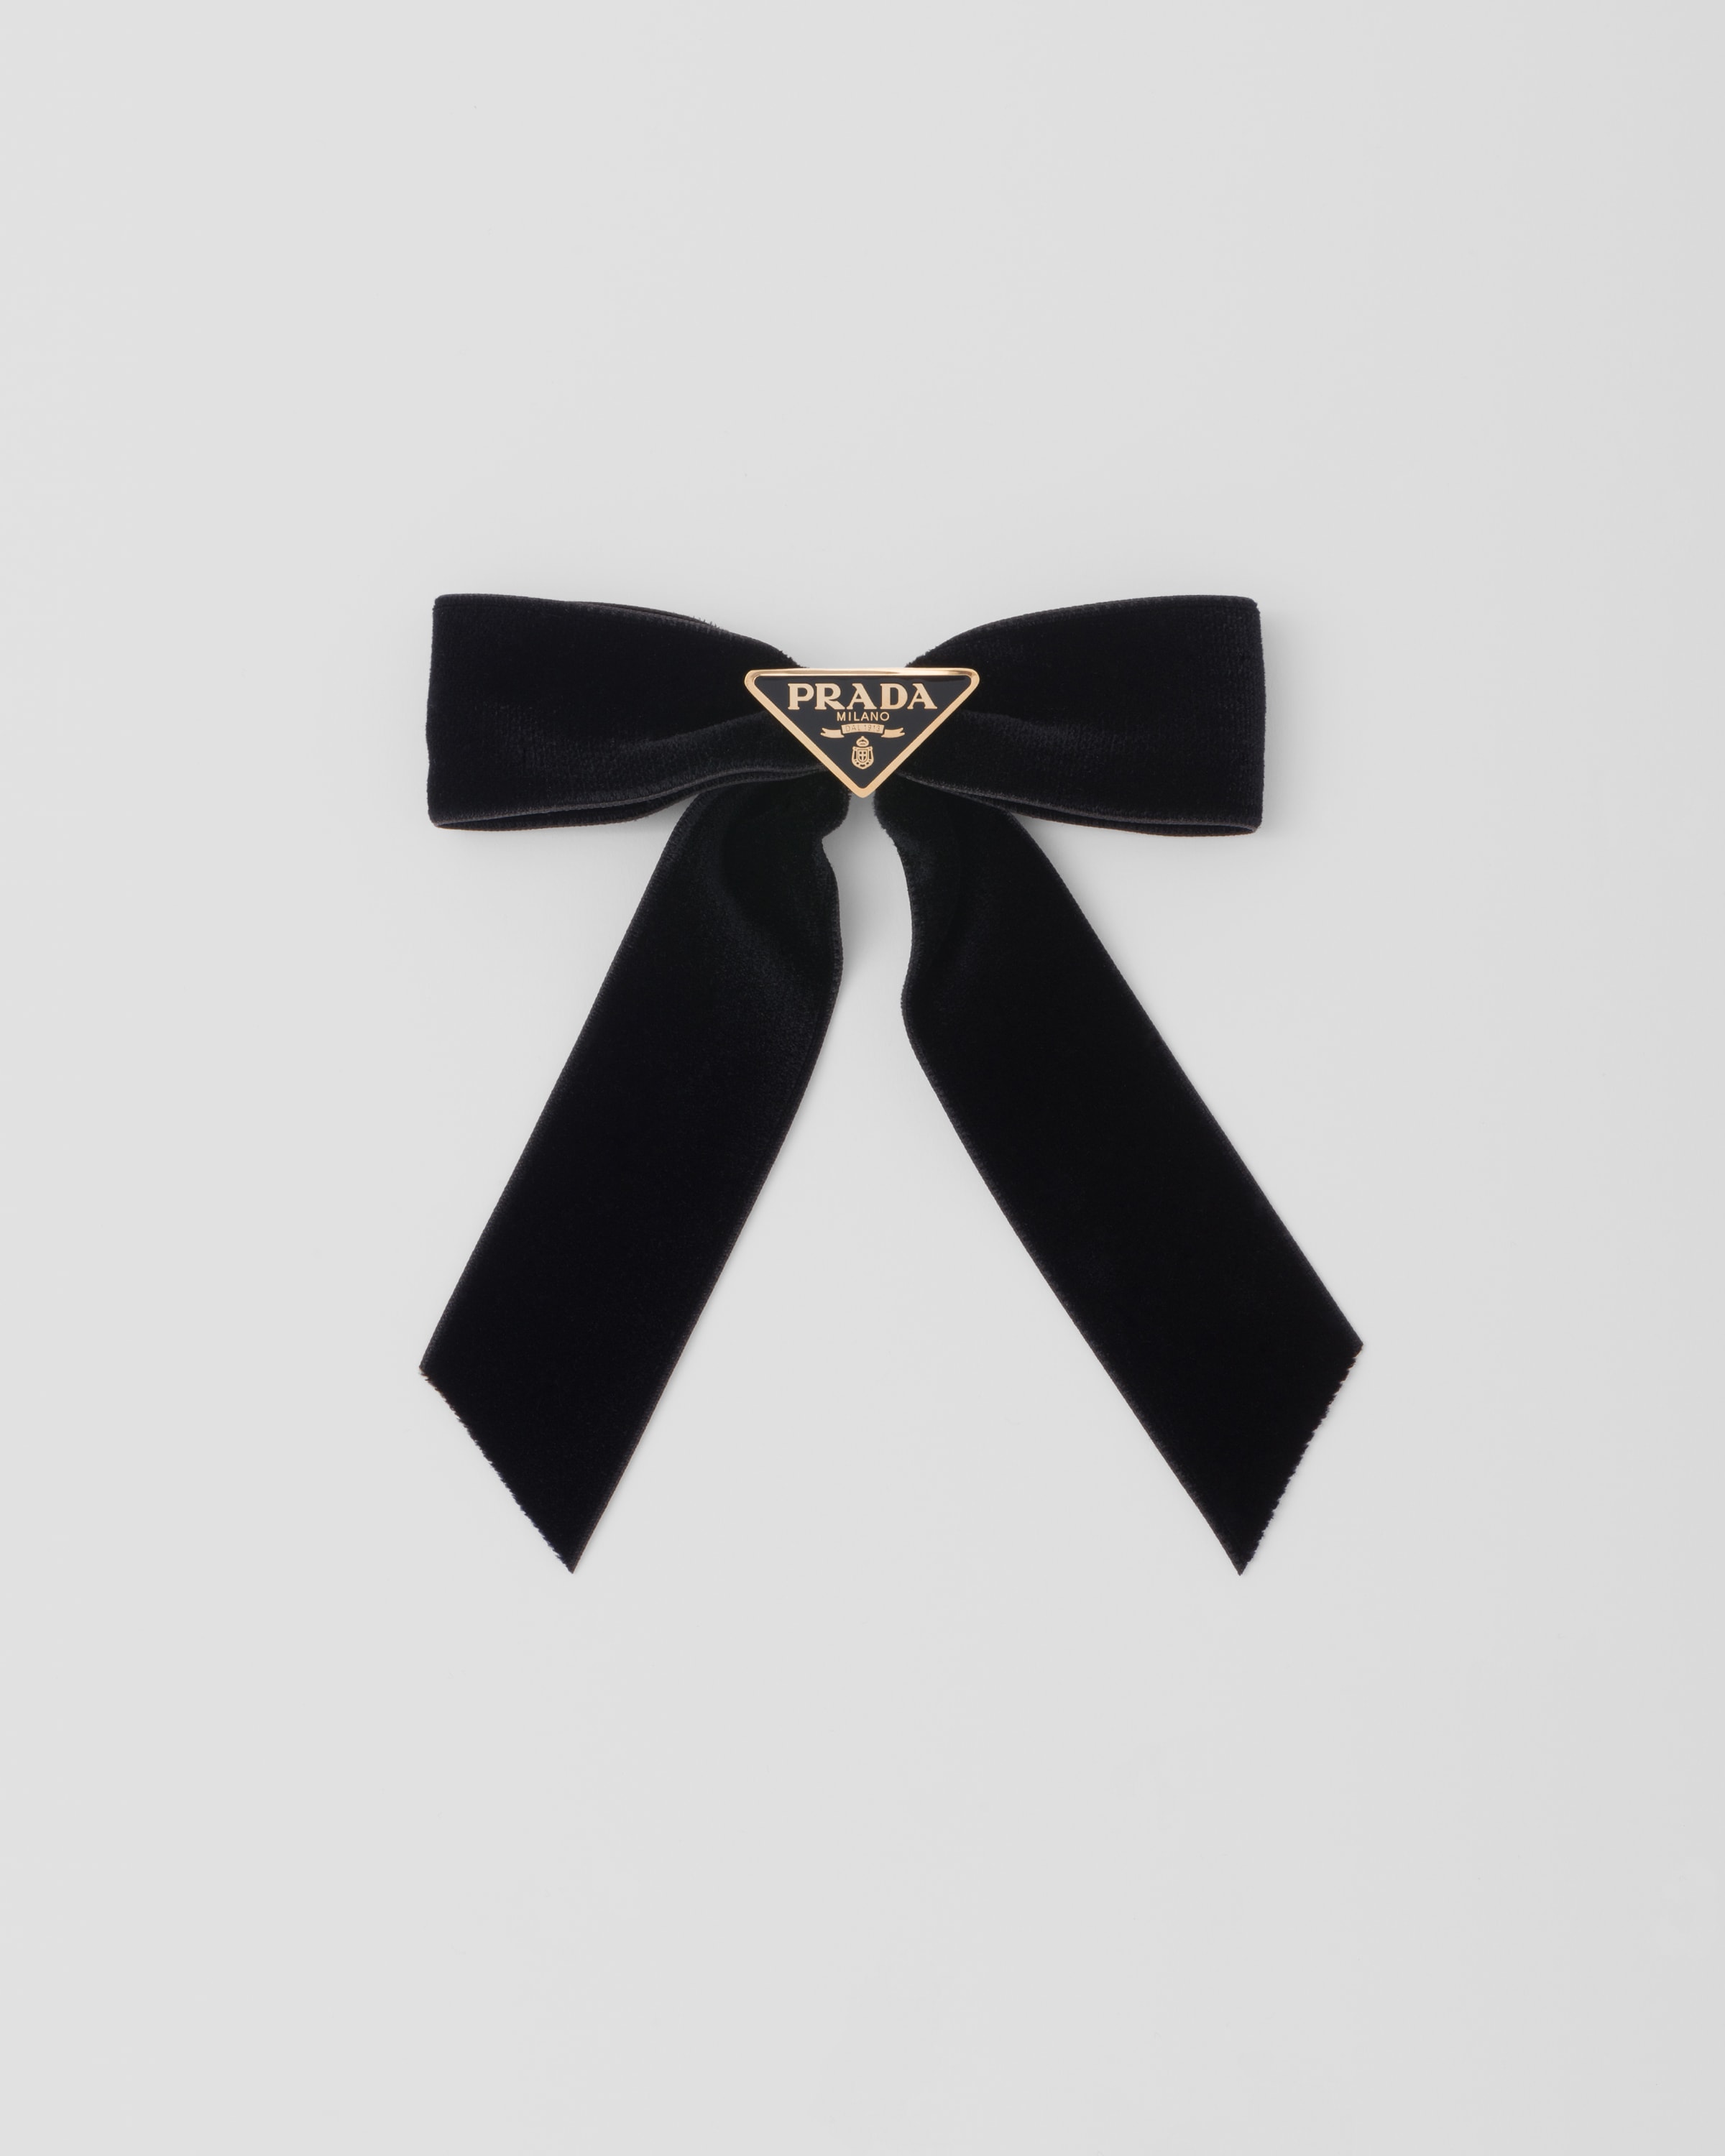
Okay, so I’ve been wanting to try making one of those chic bows, you know, the kind that look super sleek, a bit like those “Prada” style ones everyone seems to like. I figured, why not give it a shot myself? It’s always more fun to make things.
First Things First: Getting My Stuff Together
So, I started by digging through my fabric box. I knew I had some nice, stiffish black ribbon somewhere, the kind that holds its shape well. Found a good wide piece, perfect. You don’t need a ton of fancy stuff, honestly.
- The main ribbon: About a foot and a half of wide, black grosgrain ribbon. That’s what I had.
- A thinner ribbon: For the center bit. I found a smaller piece of the same black grosgrain.
- Needle and thread: Black, of course, to match.
- A hot glue gun: My trusty helper for quick fixes. You could sew it all, but glue is fast.
- A hair clip: A plain metal one to attach the bow to.
- Scissors: Good sharp ones.
Cutting and Prepping the Main Piece
I took my wide ribbon. I didn’t measure super precisely, just kind of eyeballed what looked like a good size for a bow. I cut a piece, let’s say about 10 inches long. Then I folded the ends towards the middle, overlapping them just a tiny bit. I wanted to see how the loops would look. Yeah, that seemed about right. I put a little dab of hot glue right there where they overlapped in the center to hold them for a moment, just to make my life easier.
Forming the Bow Shape
Once the ends were sort of tacked in the middle, I pinched the center of this flattened loop together. You know, like an accordion fold, or scrunching it up. I did two neat folds to get that classic bow shape. I held it tight. Then, I took my needle and black thread and carefully sewed through those pinched layers a few times to secure it really well. Pulled it tight so it cinched in nicely. This part needs a bit of patience to get it neat, but it’s not hard.
Making the Center Band
Now for that little piece that goes around the middle. I took my thinner ribbon. I wrapped it around the cinched center of the bow to see how much I needed. Cut it, leaving a little extra to overlap at the back. I put a dot of hot glue on the back of the bow, stuck one end of the thin ribbon down, wrapped it around the front tightly and neatly, and then glued the other end down at the back, overlapping the first. Trimmed any tiny excess so it looked clean.
Attaching the Clip and Final Look
Almost there! I took my plain metal hair clip. I put a decent line of hot glue along the top flat part of the clip. Then I pressed the finished bow firmly onto it, making sure it was centered and straight. Held it for a minute until the glue set. And that was pretty much it!
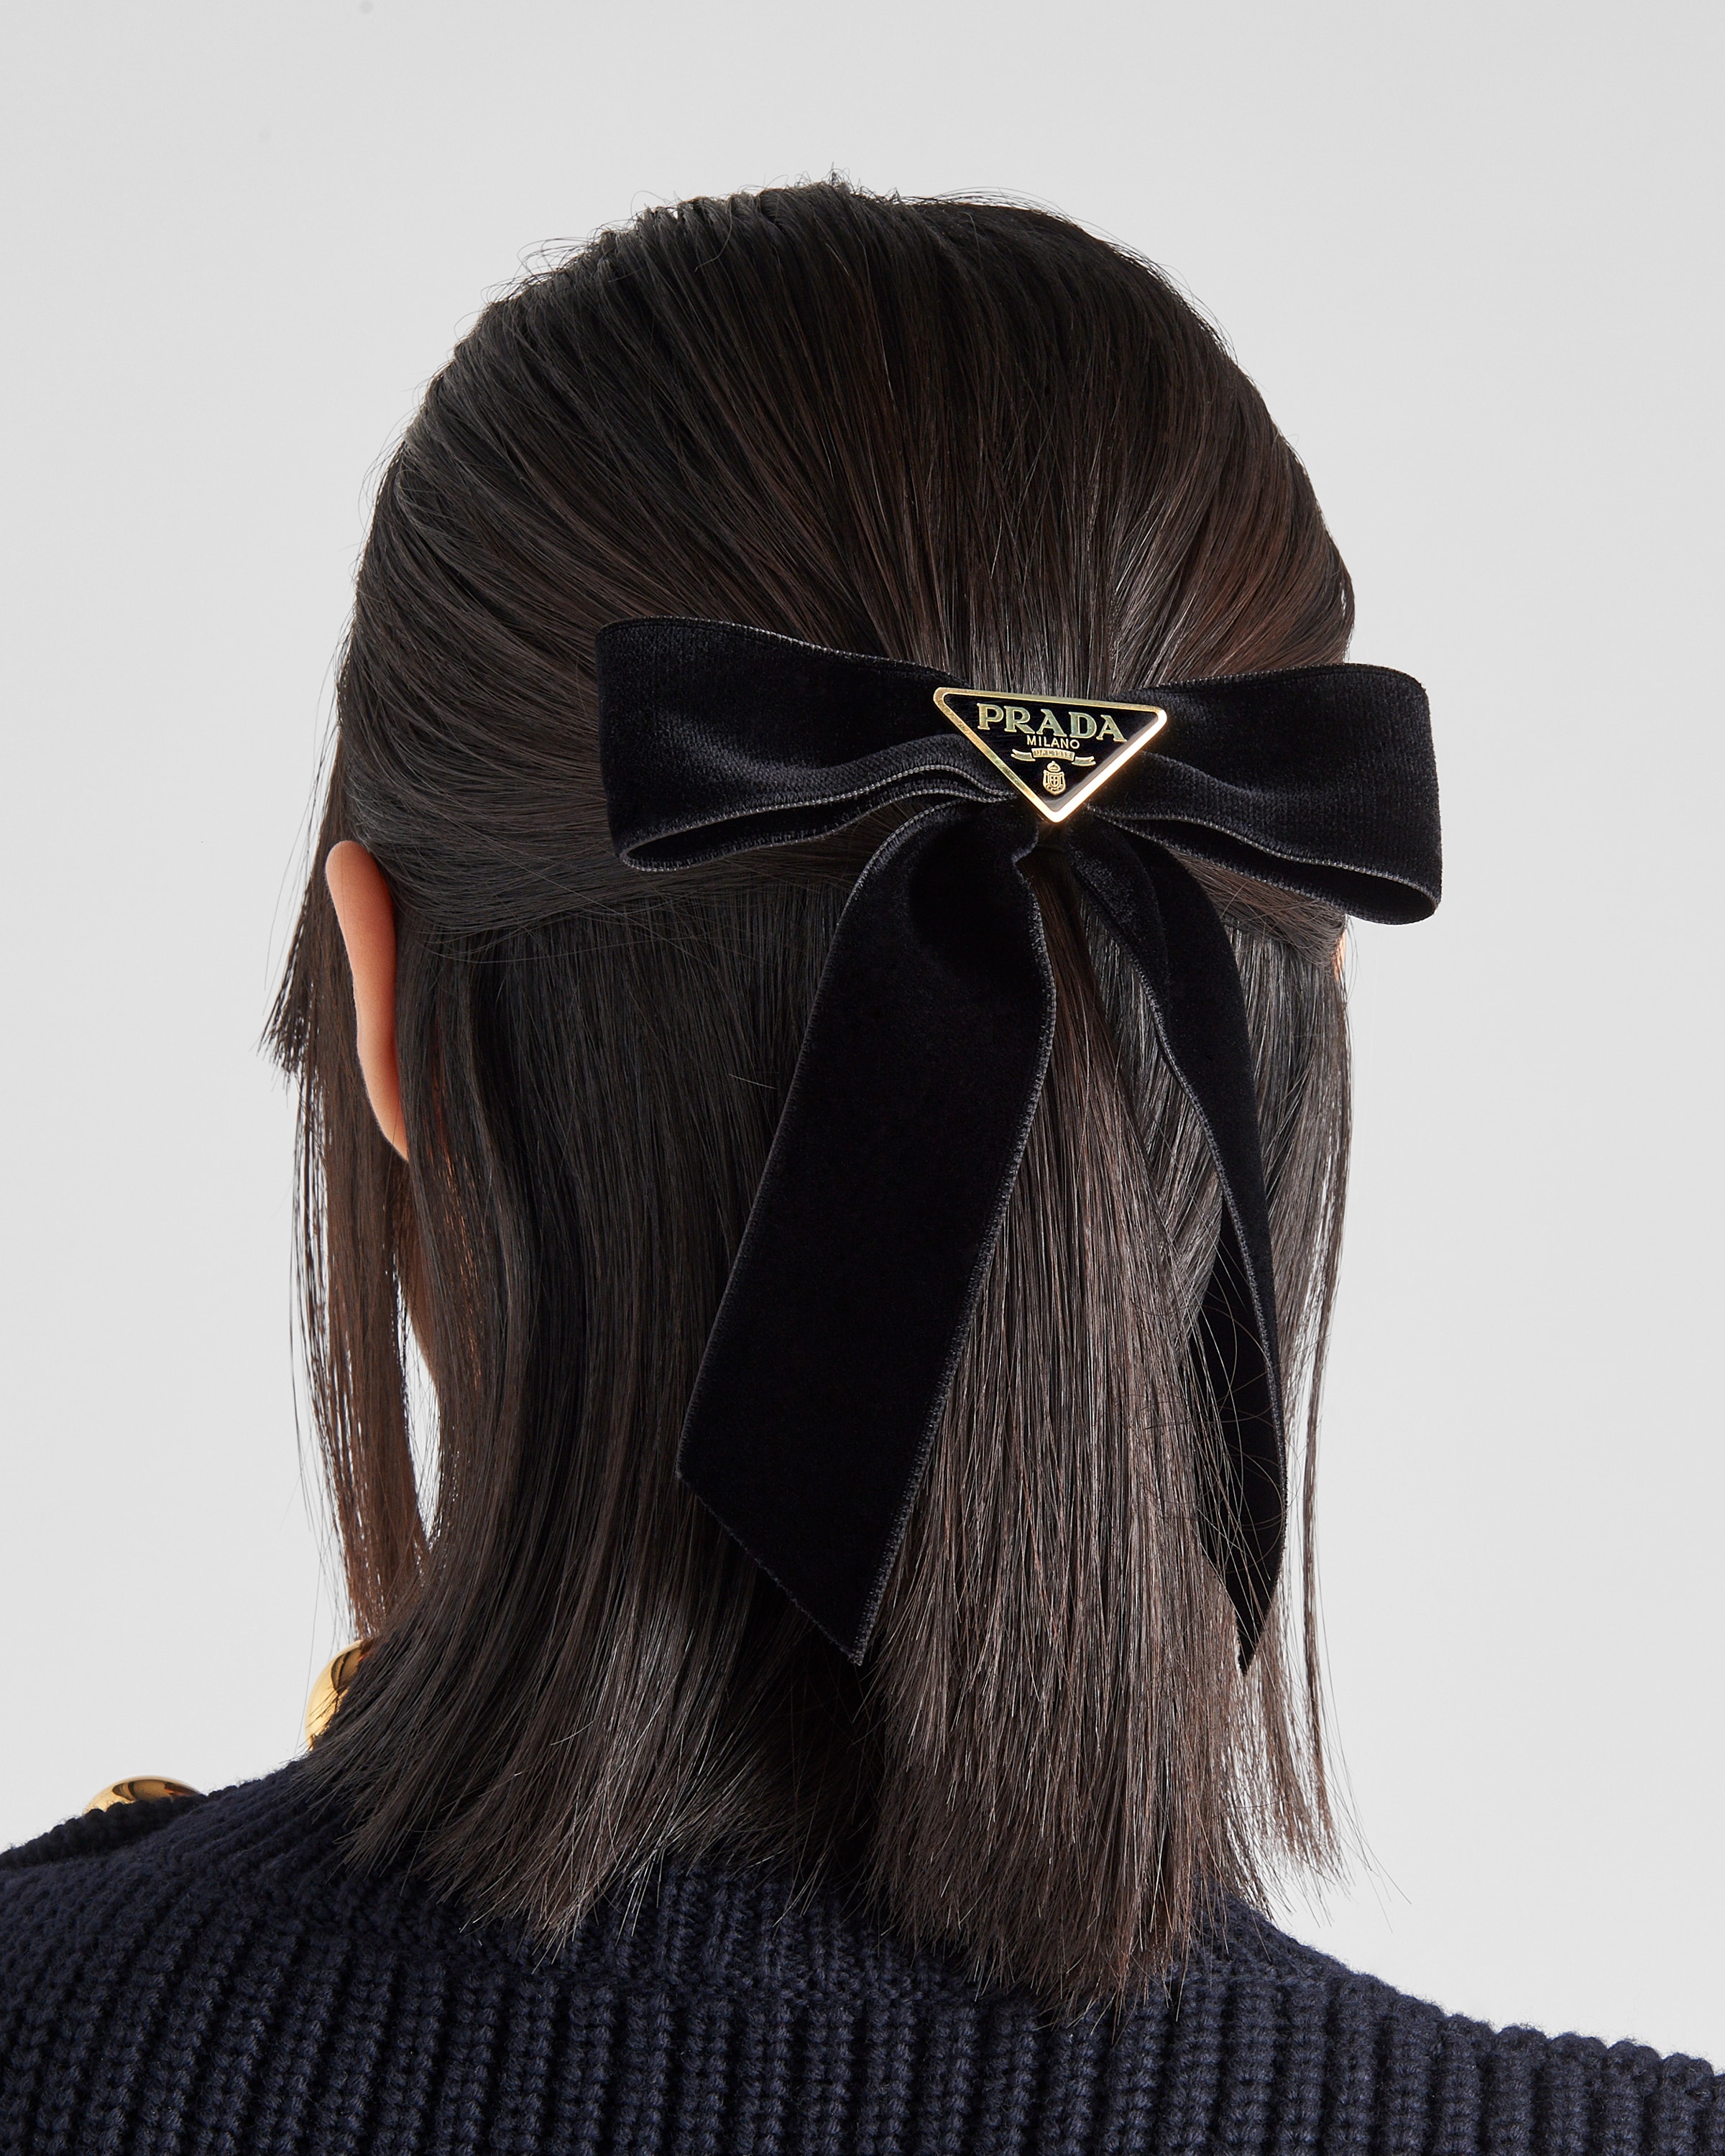
Honestly, it turned out pretty good! Looks quite smart, I think. It took a bit of fiddling, especially getting the center pinch just right, but overall, a simple enough project. It’s got that clean, structured look I was going for. Happy with this little DIY. Saved myself some money and got a new hair thing. Win-win.
