
Okay, so you know how sometimes you see those really cool things online and you’re like, “I wanna try that!” Well, that’s exactly what happened when I stumbled across breastmilk jewellery. Seriously, breastmilk turned into a keepsake? I was intrigued!
First things first, I did a bunch of research. I mean, I wasn’t about to mess this up. I read blog posts, watched YouTube videos, the whole shebang. There were tons of different methods, but I decided to go with the most common one: the powdered milk method. Seemed easiest for a newbie like me.
Gathering the Goods
- Breastmilk: Obvious, right? I used about 30ml.
- Baking soda: Just a pinch!
- Resin: I opted for a clear, UV-resistant one.
- Molds: I picked out a few cute silicone ones.
- Sandpaper: For smoothing out any rough edges later.
- Drill: A mini one for making holes if I wanted to turn them into pendants.
The Process: Wish Me Luck!
Okay, here’s where things got real.
- Heating the Milk: I gently heated the breastmilk in a saucepan over low heat. I made sure to keep stirring it so it wouldn’t burn. It started to curdle, which is totally normal.
- Adding the Baking Soda: I added a tiny pinch of baking soda. This helps to neutralise the acidity and prevent the milk from turning brown.
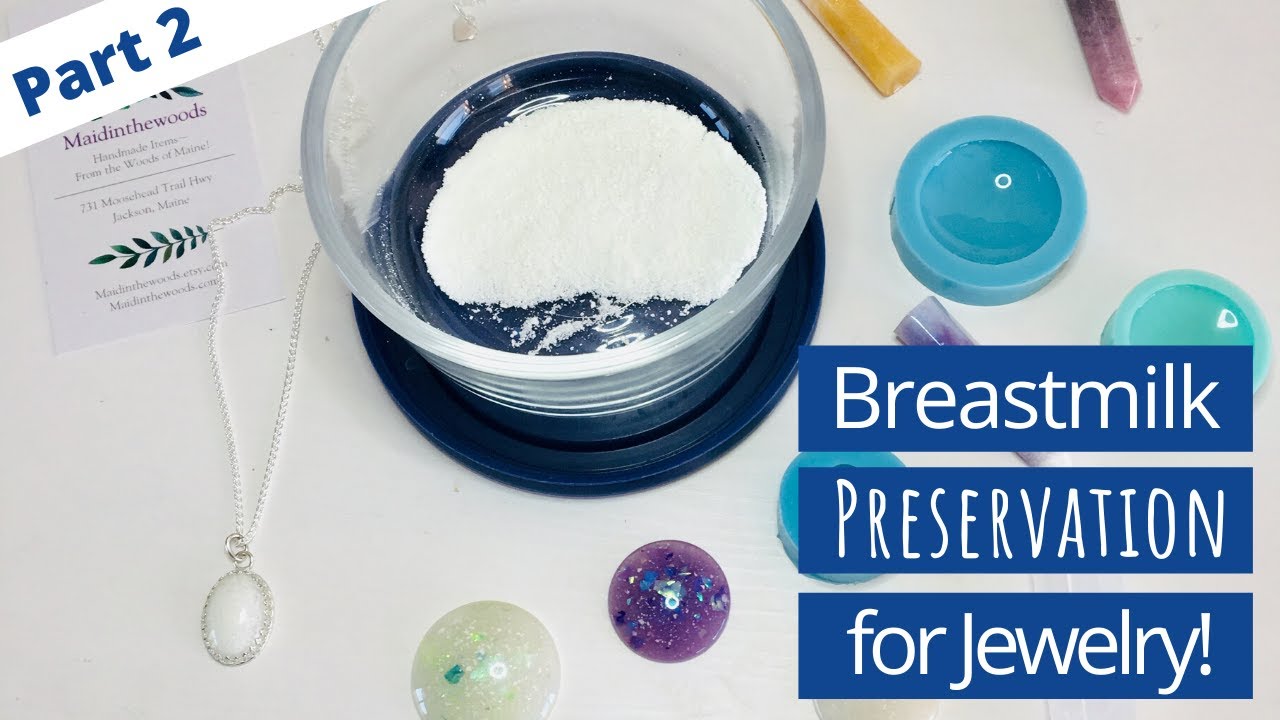
- Powdering the Milk: I kept heating and stirring until all the liquid evaporated and I was left with a chalky powder. This part took a while, maybe an hour or so.
- Grinding the Powder: Once the powder was completely dry, I ground it into a fine consistency using a mortar and pestle. You could probably use a food processor too.
- Mixing with Resin: This was the tricky part. I carefully mixed the breastmilk powder with the resin, following the resin manufacturer’s instructions. I made sure to avoid any air bubbles.
- Pouring into Molds: I slowly poured the resin mixture into the silicone molds. I gently tapped the molds to release any trapped air bubbles.
- Curing the Resin: I left the molds to cure for about 24-48 hours, depending on the type of resin I used. I kept them in a dark, dust-free place.
The Reveal!
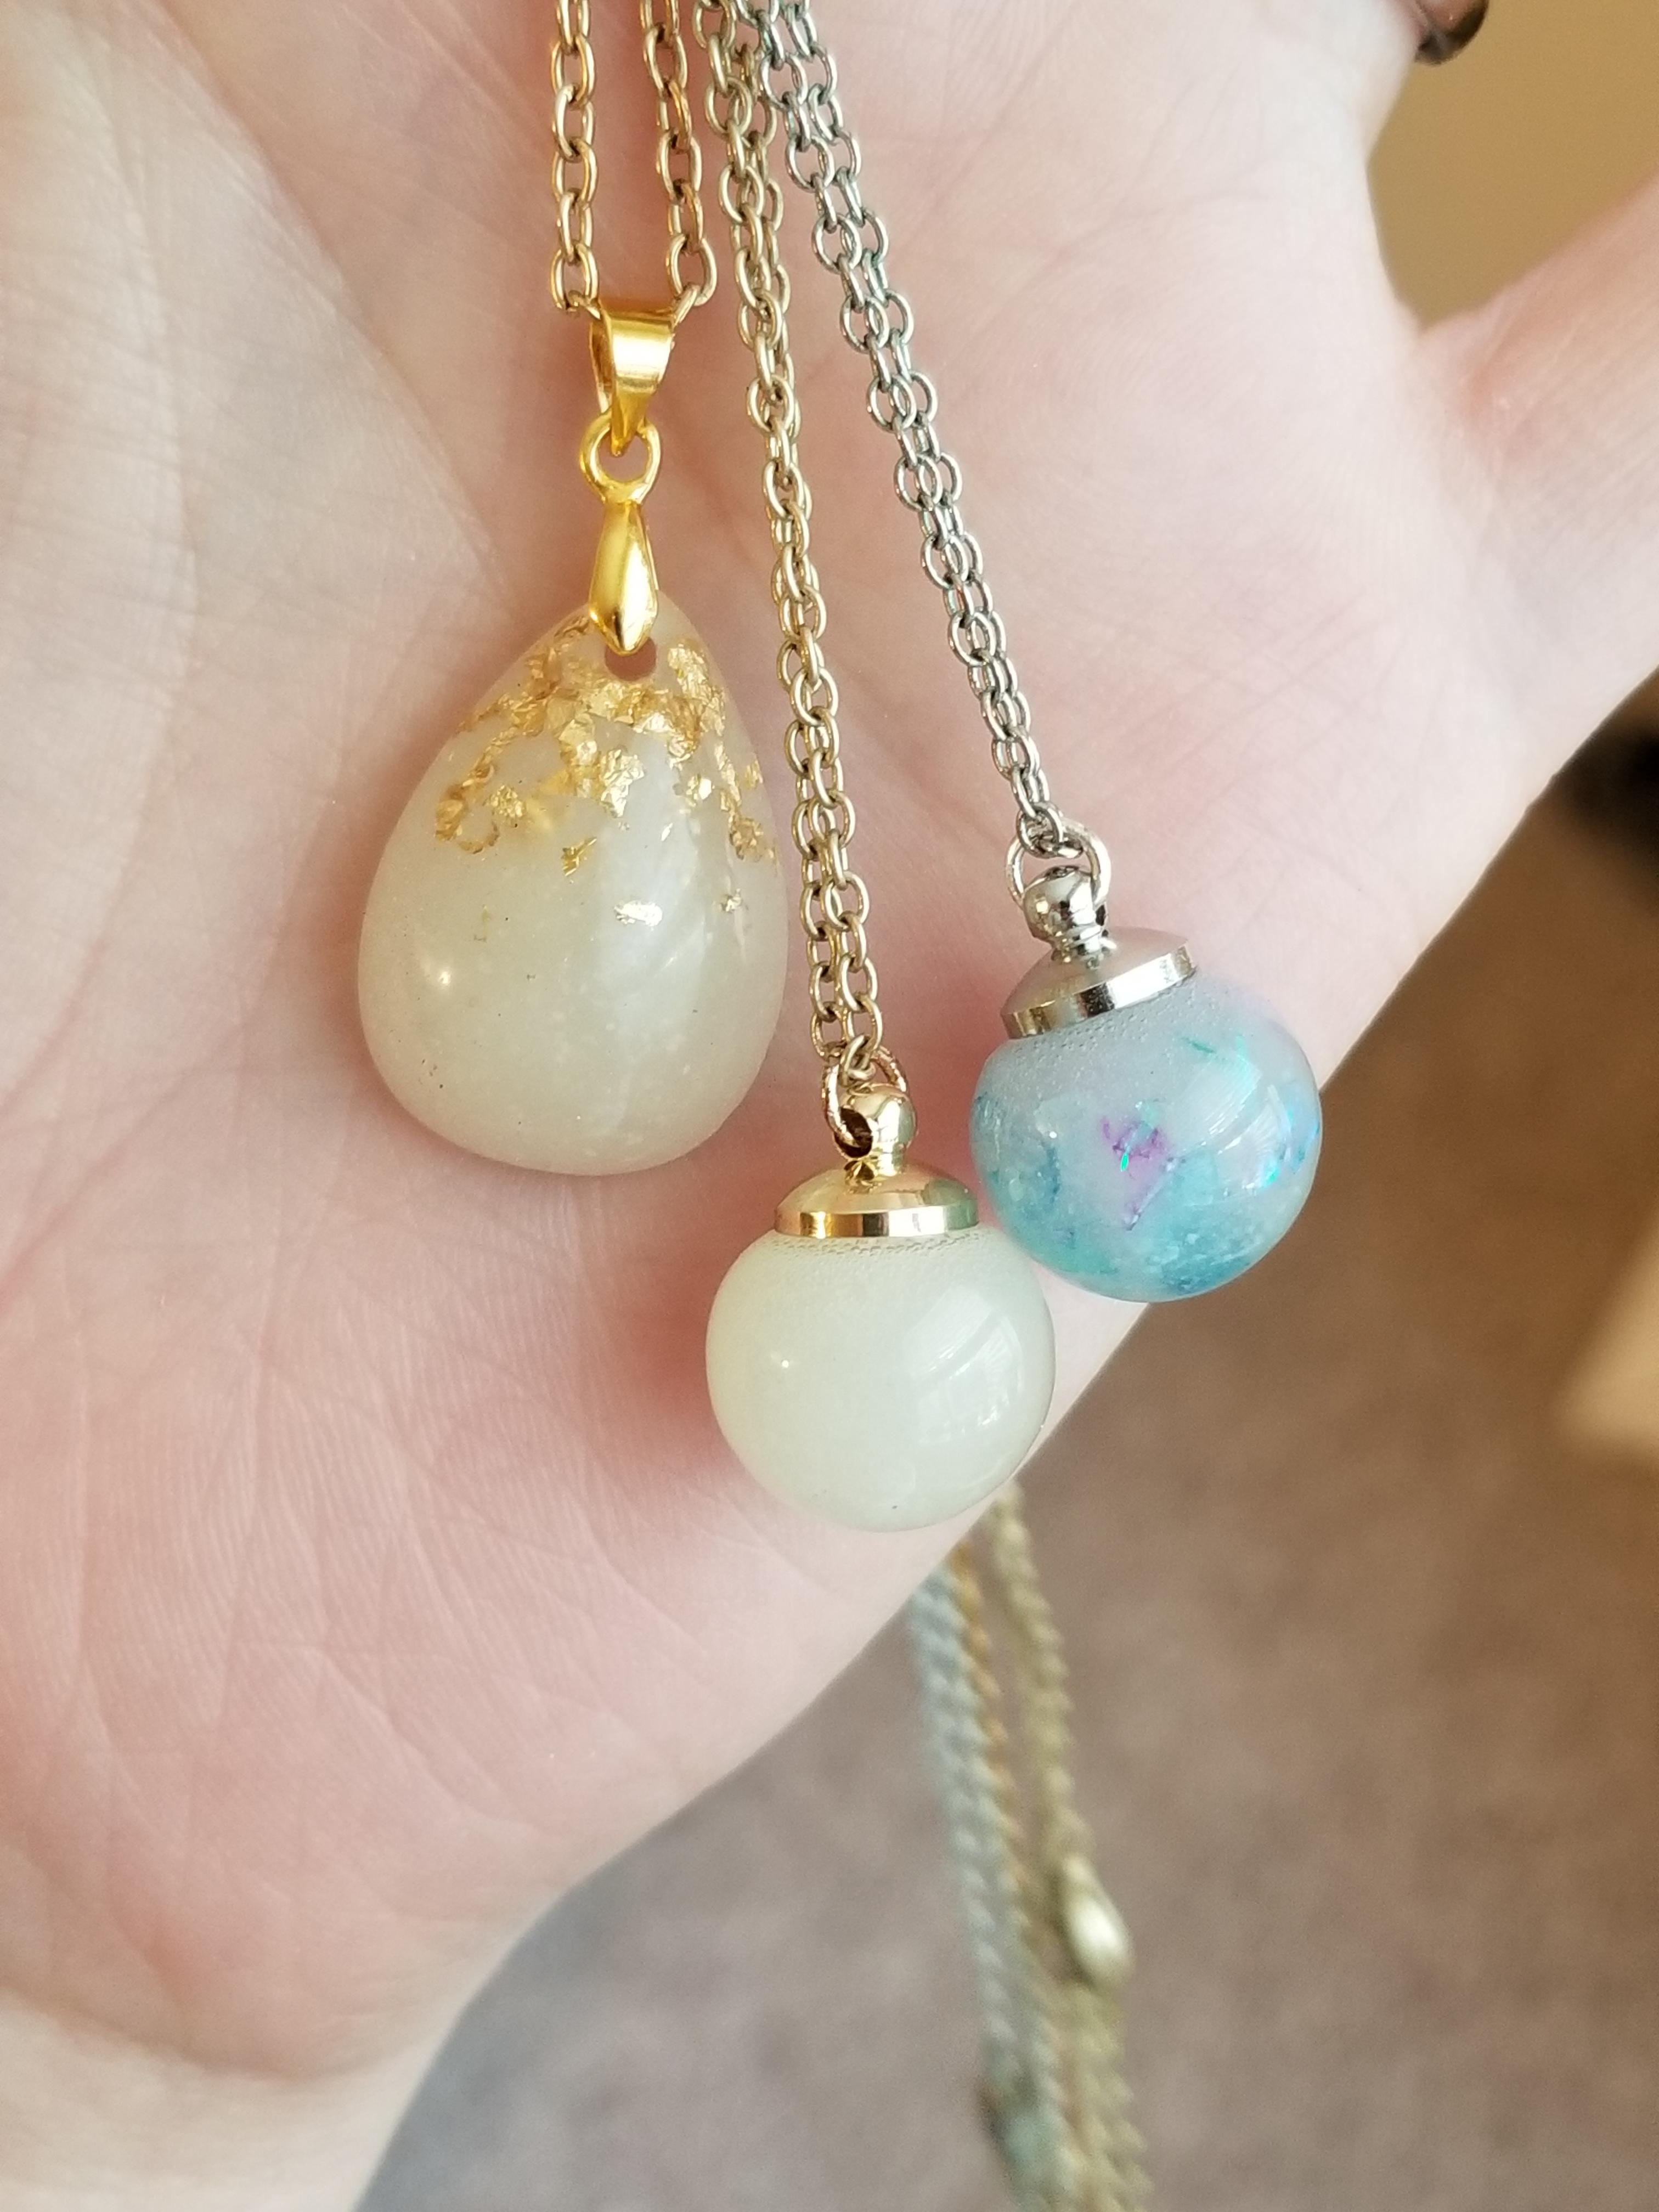
After what felt like forever, it was time to demold! I carefully popped the breastmilk “stones” out of the molds. They were a little rough around the edges, so I used sandpaper to smooth them down.
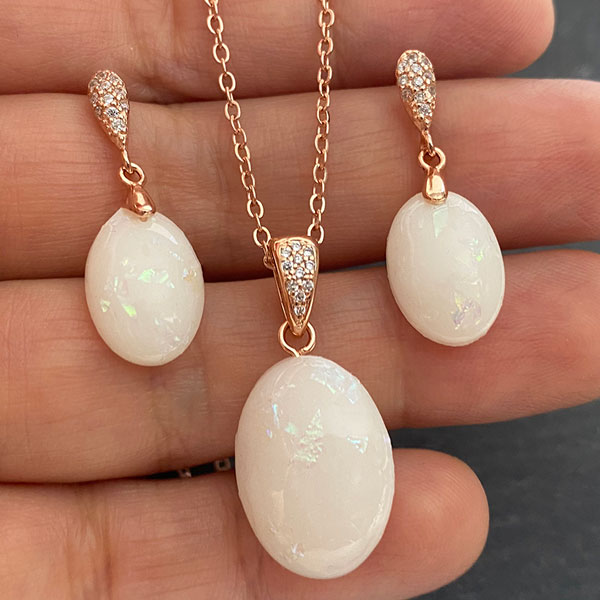
I was actually pretty impressed with how they turned out! They had a slightly creamy color and a delicate texture. I drilled a small hole in one and turned it into a pendant. It’s such a unique and special keepsake.
Things I Learned:
- Patience is key! This process takes time, so don’t rush it.
- Use high-quality resin to prevent yellowing.
- Practice makes perfect. My first attempt wasn’t perfect, but I got better with each try.
All in all, making breastmilk jewellery was a really cool experience. It’s a unique and personal way to preserve a special memory. I’d definitely recommend giving it a try if you’re feeling crafty and sentimental!
