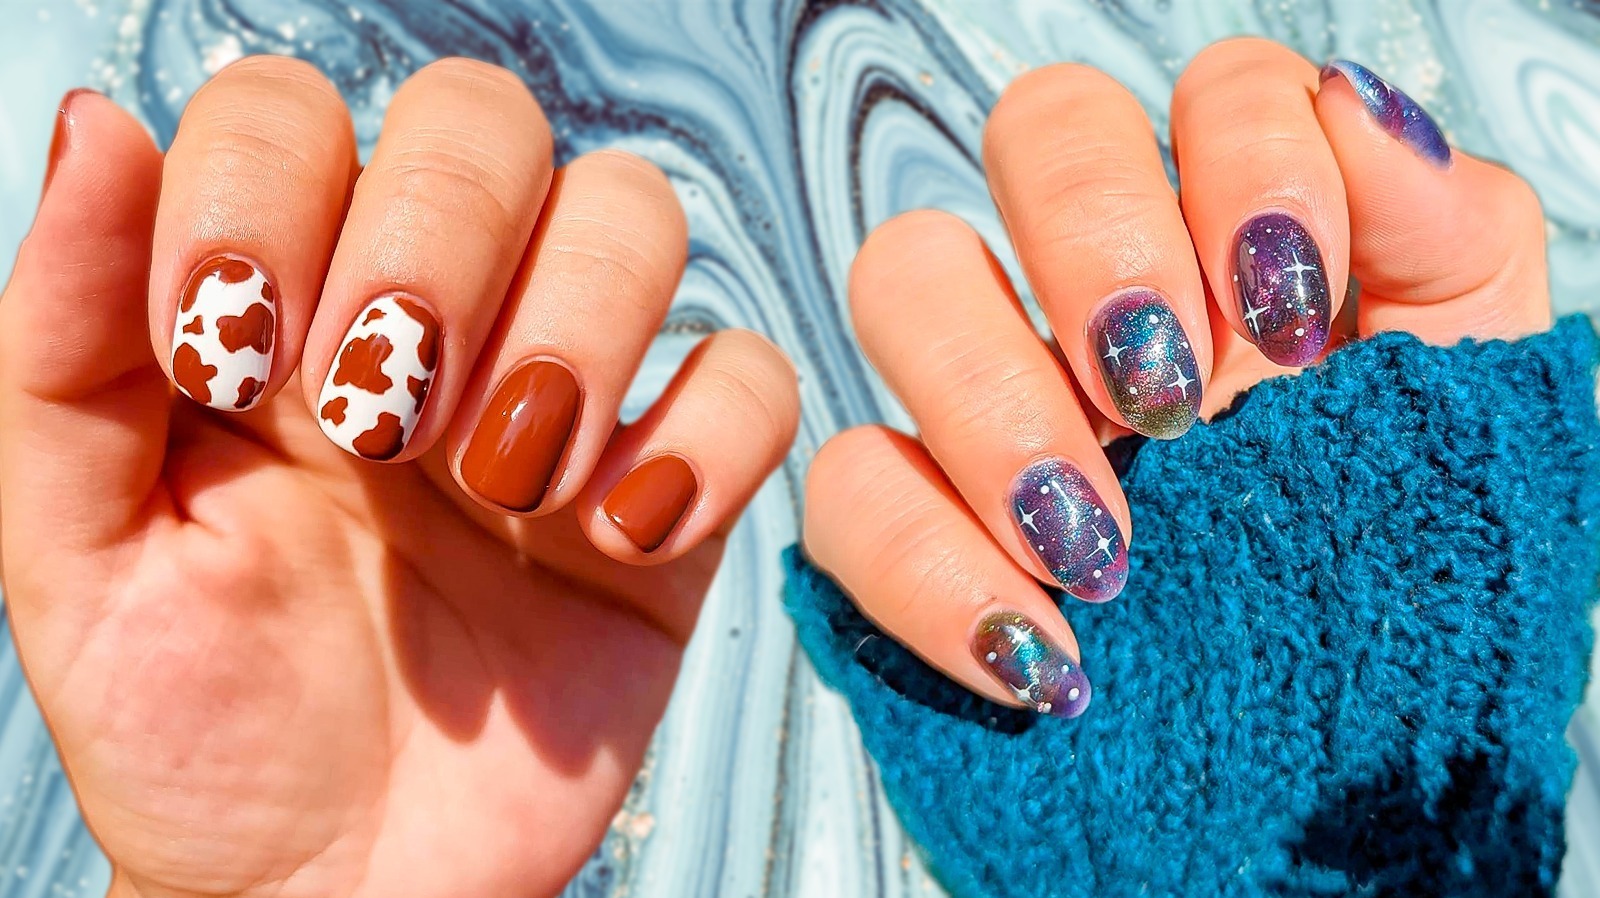
Alright, so I got down to doing my nails again today. They’re short, always short, can’t seem to grow them long without breaking one. Decided gel was the way to go for a bit of strength and some simple design that wouldn’t look weird on shorties.

Getting Started – The Prep
First thing, gotta get the canvas ready. I pushed back my cuticles, gently, didn’t want to make them angry. Then I filed the edges smooth, kept that squarish-oval shape I like. Buffed the shine off the nail plate just a bit, really lightly, so the gel has something to grab onto. Wiped everything down with an alcohol wipe afterwards. Super important step, this cleaning part. Skip it, and you’ll get lifting later, guaranteed.
Laying the Foundation
Okay, prep done. I grabbed my trusty UV/LED lamp, plugged it in. Got out the base coat, the color I picked (a nice milky white this time), and the top coat. Oh, and a little dotting tool, thought I might add something super basic.
Put on the base coat first. Thin layer, really tried not to get it on my skin. Flooding the cuticles is a nightmare to fix and looks messy. Capped the free edge, even though it’s short, gotta seal it. Popped my hand under the lamp for 60 seconds. Done.
Adding Some Color (and tiny dots)
Next up, the milky white gel polish. Again, thin coat. Trying to go thick just makes it cure unevenly and look lumpy. First coat went on, looked a bit streaky, but that’s normal. Cured that for 60 seconds.
Second coat of the white. Much better coverage this time. Smoothed it out nicely. Before curing this layer, I took the dotting tool, dipped the very tip into a dark grey polish I had handy. Placed three tiny dots in a triangle near the base of my ring finger nail. Just something small. Then, cured the second coat (and the dots) for another 60 seconds.
Sealing the Deal
Time for the top coat. This makes everything shiny and protected. Applied it carefully, making sure to cover the whole nail and cap that edge again. One final cure under the lamp, maybe a bit longer this time, like 90 seconds just to be sure everything was hard.
The Finish Line
Once it was out, I used another alcohol wipe to get rid of that sticky layer some gels leave behind. My top coat isn’t a ‘no-wipe’ so gotta do this step. Last thing, rubbed some cuticle oil all around the edges. Makes everything look neat and feels good.
And that’s it! Simple white gel nails, short and practical, with just a tiny dot detail. Feels much stronger than bare nails, and hopefully, this will last me a couple of weeks. Took about maybe 45 minutes total, not too shabby.