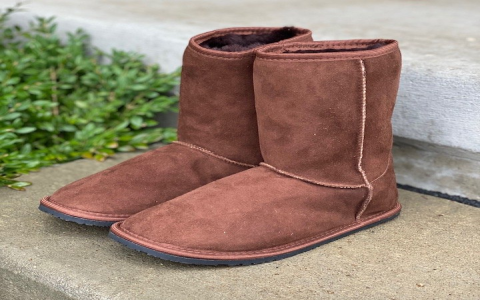
Alright, let’s talk about rescuing my fave pair of Uggs. They were looking ROUGH, I’m talking holes worn right through the suede. Instead of chucking them (never!), I decided to give a repair a go. Here’s how I tackled it:

1. Assess the Damage: First things first, I really took a good look at those holes. Noticed the size, location, and how much surrounding suede was still…sort of there. This helped me figure out what I needed.
2. Gather My Gear: Hit up my local craft store (and raided my toolbox) for these goodies:
- Suede patches (found a color that was close – close enough!)
- Heavy-duty needle and thread (color matched the patches as best I could)
- Leather glue (the kind that’s flexible when it dries)
- Scissors
- Sandpaper (fine grit)
- Something to stuff the Uggs with (old rags worked a treat)
3. Prep the Area: Okay, this is where I got my hands dirty. I used the sandpaper to gently rough up the edges of the hole and the surrounding suede. This helps the glue and thread grip better. Then, I cleaned the area with a slightly damp cloth and let it dry completely.
4. Patch It Up: Here’s the tricky part. I cut the suede patch slightly larger than the hole. Then, I applied a thin layer of leather glue to the back of the patch and carefully positioned it over the hole, pressing down firmly. I let that glue dry for a good few hours (the instructions on the glue bottle told me how long).
5. Stitching Reinforcements: Once the glue was totally dry, I started stitching around the edges of the patch. I used a simple running stitch, making sure to catch both the patch and the original suede. Took my time with this part, because I wanted it to be strong and not super obvious. I went around twice for extra security.

6. Blending the Edges: After stitching, the patch edges were a little…stark. So, I used the sandpaper again to gently blend the edges of the patch into the surrounding suede. Worked a charm!
7. The Big Reveal: I pulled out the rags and gave my “new” Uggs a good look. Were they perfect? Nope. Did they look a heck of a lot better than before? YES! And more importantly, they were wearable again.
8. Final Thoughts: This repair isn’t going to win any awards, but it definitely extended the life of my Uggs. It wasn’t too hard, saved me some cash, and was kinda satisfying, to be honest. If your Uggs are looking sad, give it a try!


