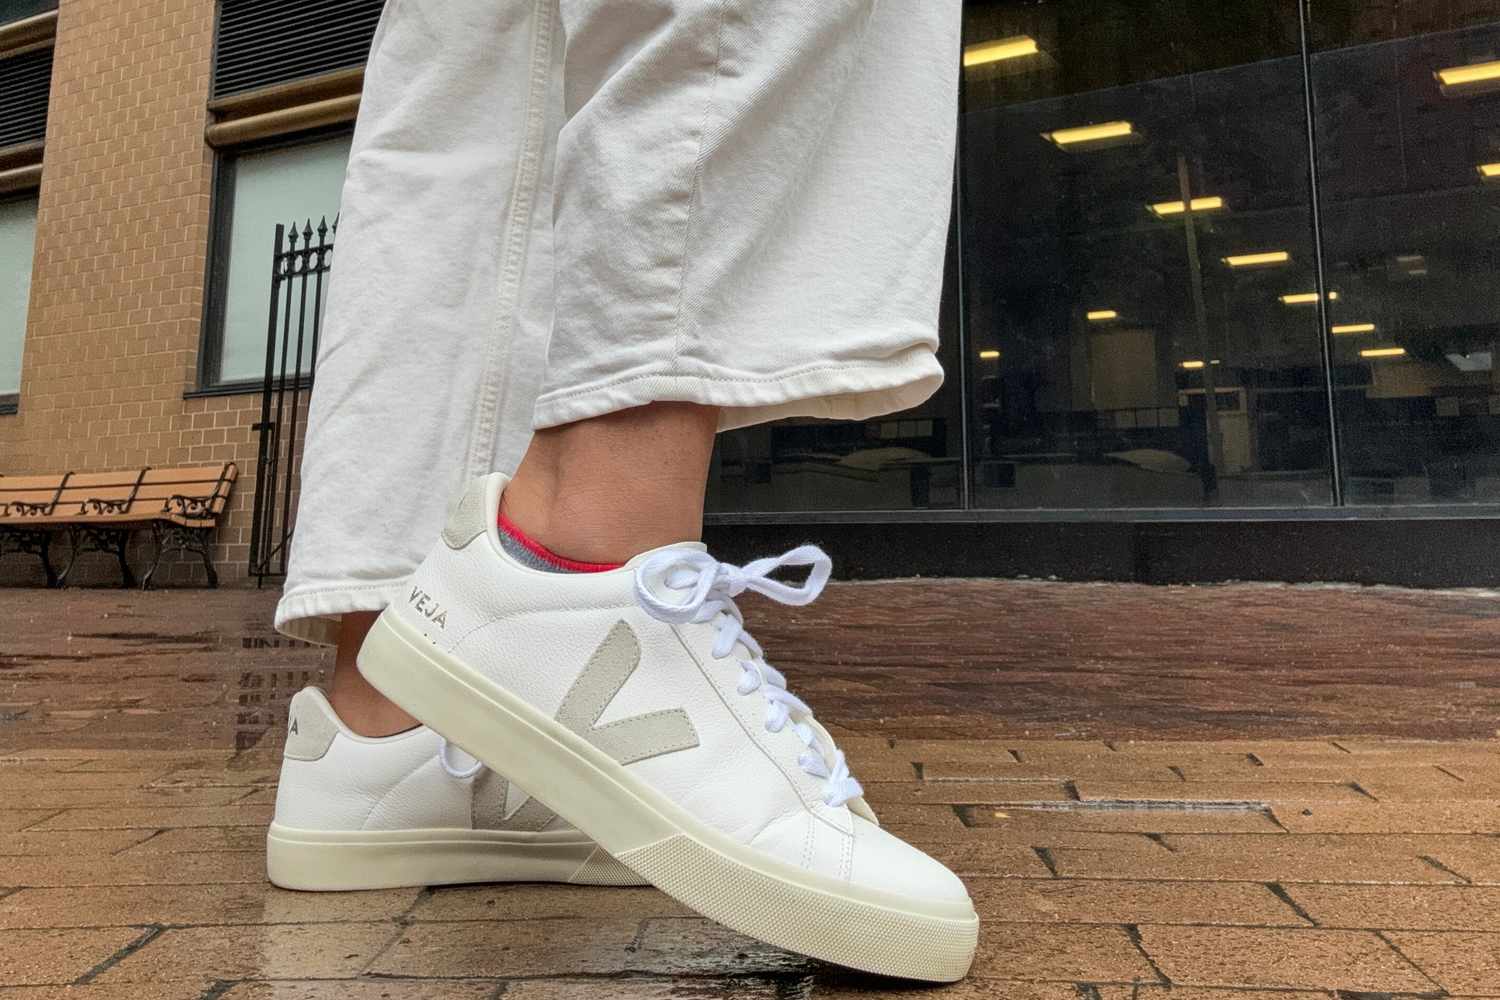
Okay, so I’m gonna walk you through my latest DIY project: women’s leather sneakers. It was a journey, let me tell ya!

It all started ’cause I was browsing online and saw these super cute, but crazy expensive leather sneakers. I thought, “Hey, I can probably make those myself!” Famous last words, right?
First thing’s first: I needed leather. I hit up my local leather supply store. Spent a good hour just pawing through different colors and textures. I finally settled on a nice, supple, creamy white leather for the main body, and a contrasting tan for the accents. Got some leather for the lining too – gotta keep those feet comfy!
Next up, the pattern. Now, I’m no professional shoemaker, so I didn’t have a fancy pattern lying around. What I did was grabbed an old pair of sneakers that fit me well and basically dissected them. Carefully took them apart, piece by piece, and traced each section onto paper. This gave me a rough template to work with. It was messy, but it worked!
With my template ready, I transferred the shapes onto the leather. This is where you gotta be precise. Used a sharp utility knife and carefully cut out all the pieces. I made sure to leave a little extra around the edges for adjustments later on. Better to have too much than not enough, you know?
Then came the fun part: sewing! I have a heavy-duty sewing machine that can handle leather, thank goodness. I started by stitching together the upper part of the shoe, piece by piece. It was a bit like putting together a 3D puzzle. Took a few tries to get everything lined up right, and I definitely pricked my fingers a few times. Leather is tough stuff!

Pro tip: Use clips to hold the leather pieces together before you sew. Pins will leave holes, and you don’t want that. Also, a leather sewing needle is a must. Don’t even try using a regular needle, it’ll just break.
Once the upper was assembled, I moved on to the lining. Sewed that in place, making sure everything was nice and smooth. Then came the tricky part: attaching the sole. I bought a pre-made sneaker sole online. I roughed up the bottom of the leather upper and the top of the sole with sandpaper, then applied a strong contact cement. Let it dry for a bit, then carefully stuck them together. It was a bit like putting on a giant sticker!
To make sure the sole was securely attached, I hammered around the edges with a rubber mallet. This helped to really bond the leather and the sole. I also added some stitching around the edge of the sole for extra reinforcement. It’s not pretty, but it’s strong!
After that, it was just a matter of adding the laces and finishing touches. I used some leather laces that I made myself. Punched some holes for the laces, threaded them through, and voila! A pair of handmade leather sneakers!
Were they perfect? Nope. Definitely some wonky stitching and a few imperfections here and there. But they were mine, and I made them with my own two hands. And you know what? They’re actually pretty comfortable. I’ve been wearing them everywhere!

- Sourcing the leather took the longest.
- The sewing was definitely the most challenging part.
- Attaching the sole was surprisingly satisfying.
Would I do it again? Absolutely! It was a challenging but rewarding project. Plus, now I have a unique pair of sneakers that no one else has. And that’s pretty cool.


