Okay, here’s my attempt at writing a blog post based on your instructions.

## Hermes Sandals Men: My DIY Journey
Alright folks, let me tell you about my latest obsession: Hermes sandals. Specifically, the men’s version. I’m not gonna lie, the price tag is insane. So, being the resourceful (and cheap) person I am, I decided to try and make my own. Here’s the whole messy story.
Phase 1: The Hunt for Inspiration (and Cheap Leather)
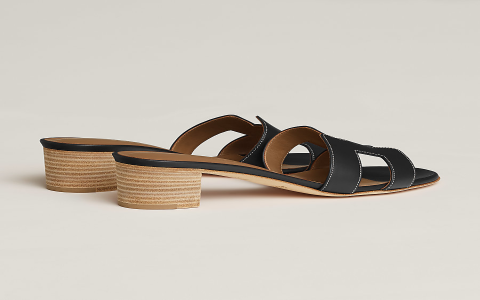
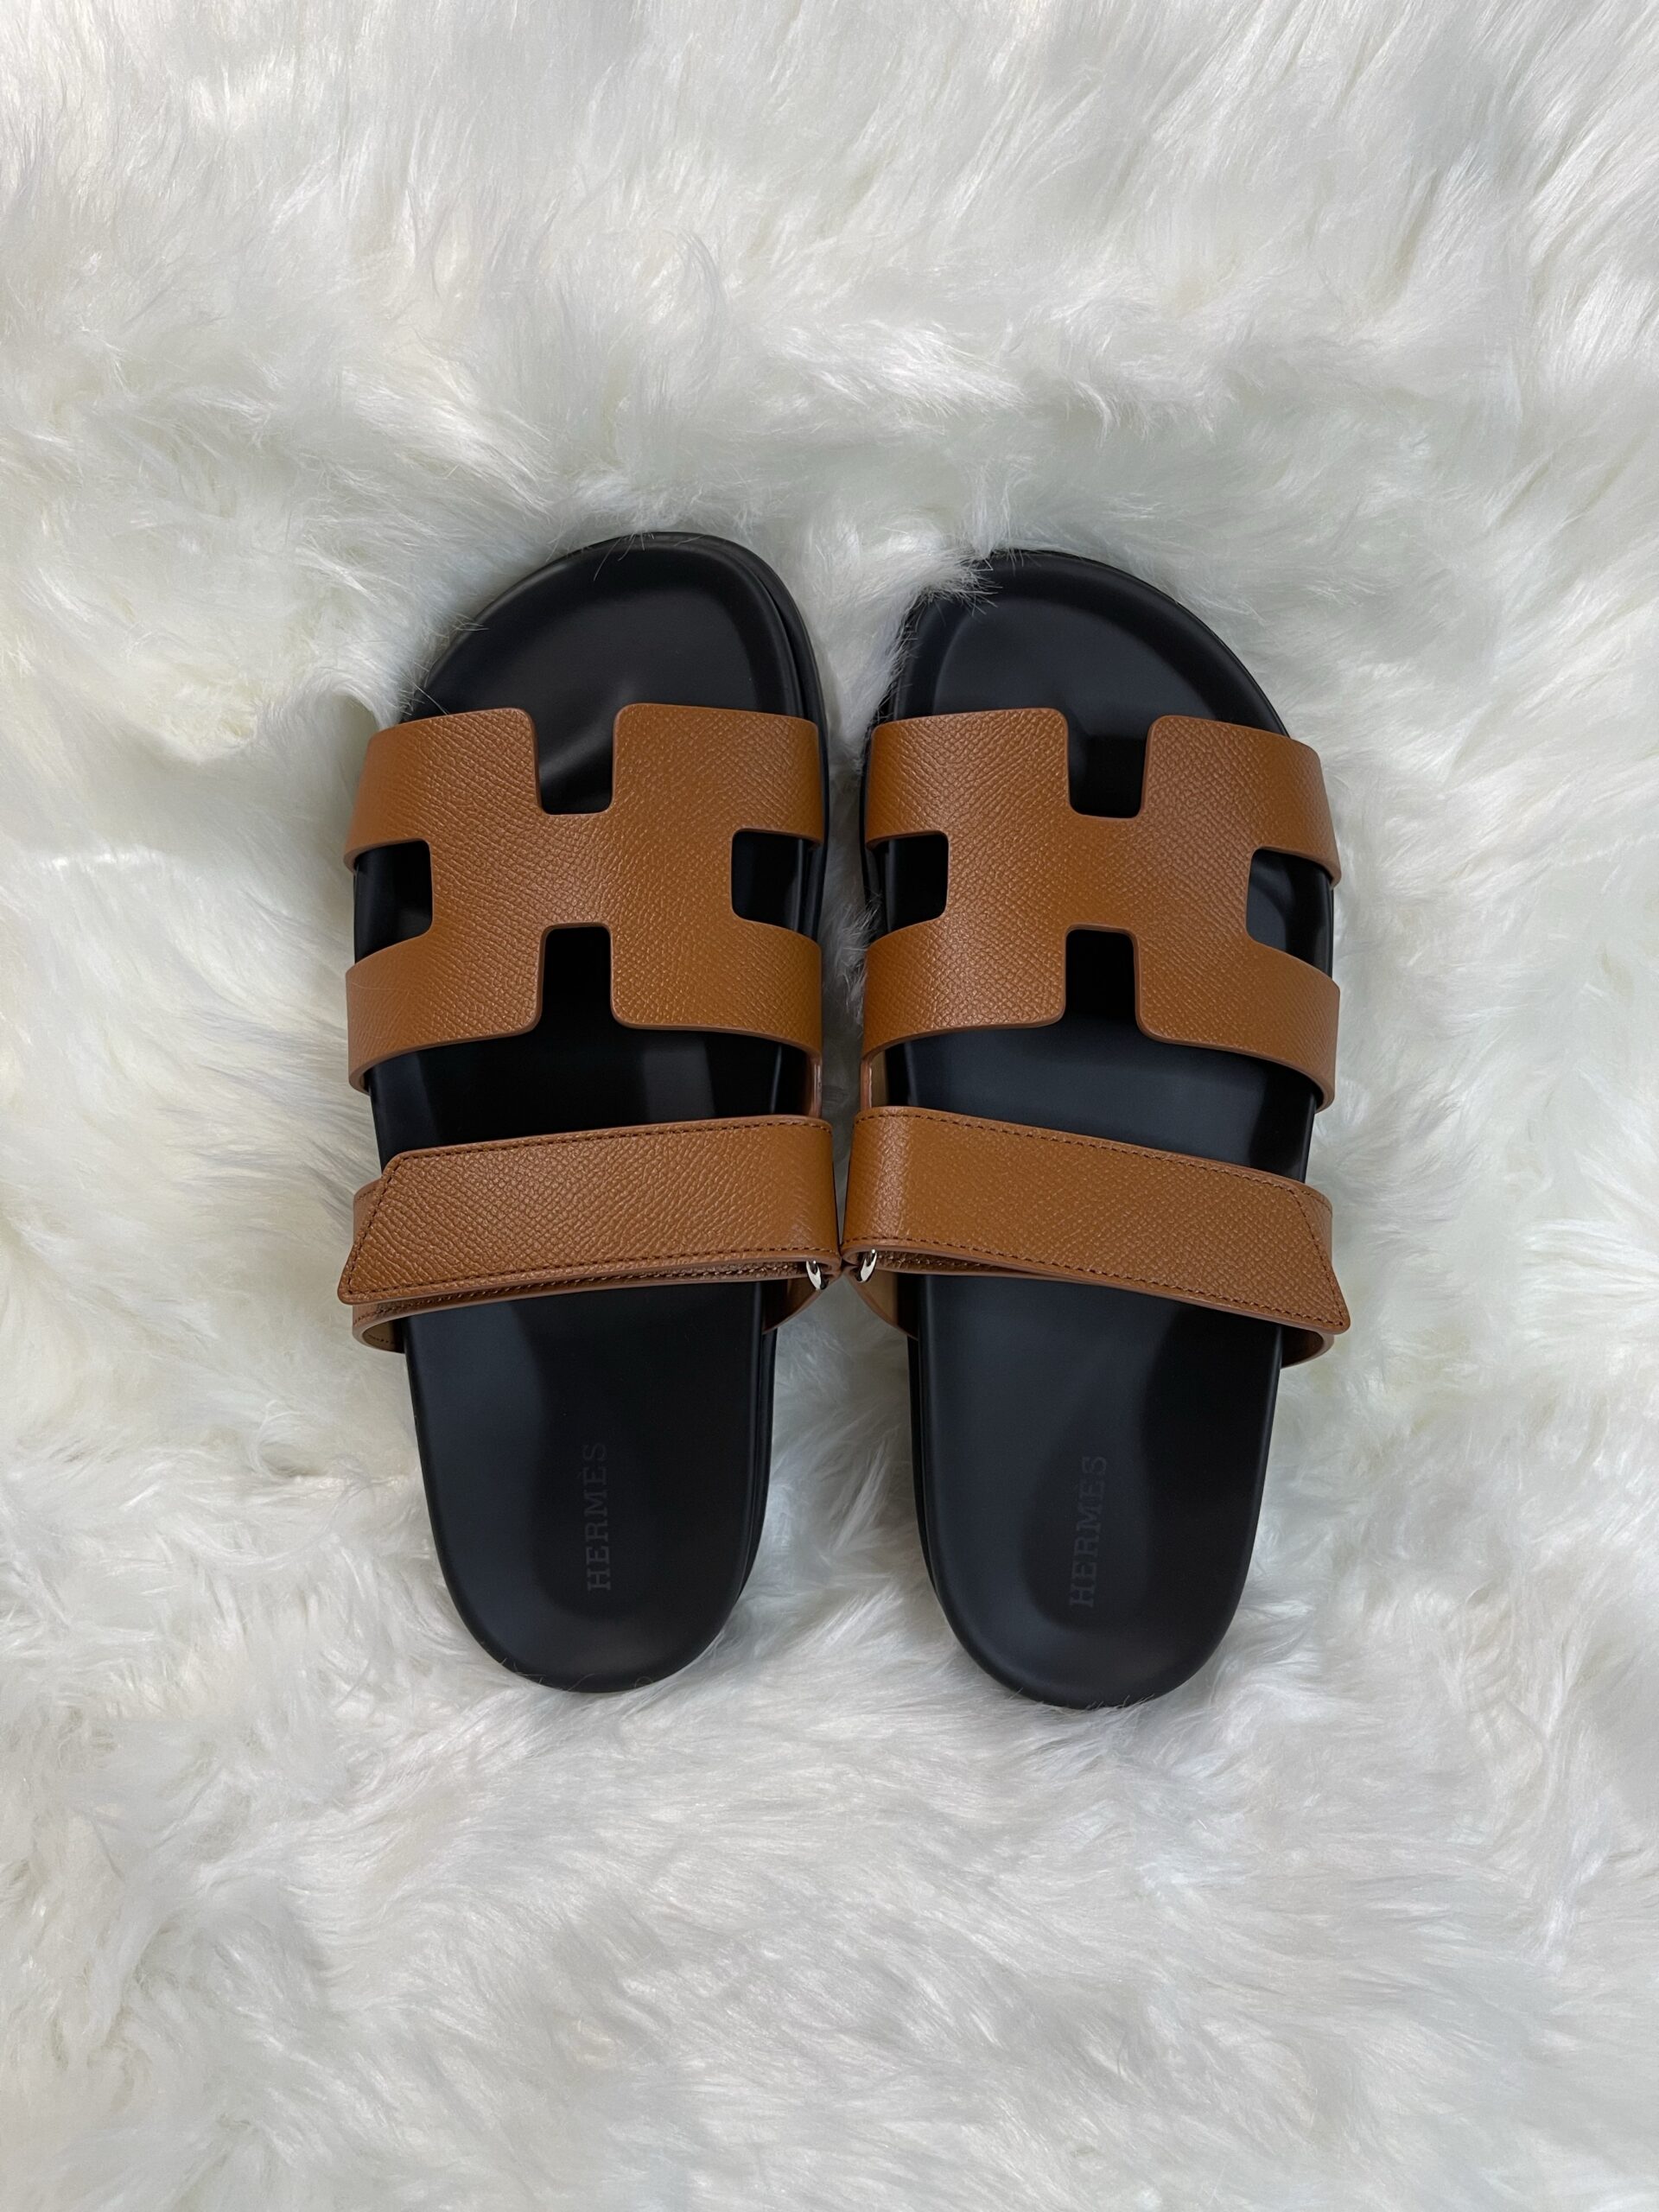
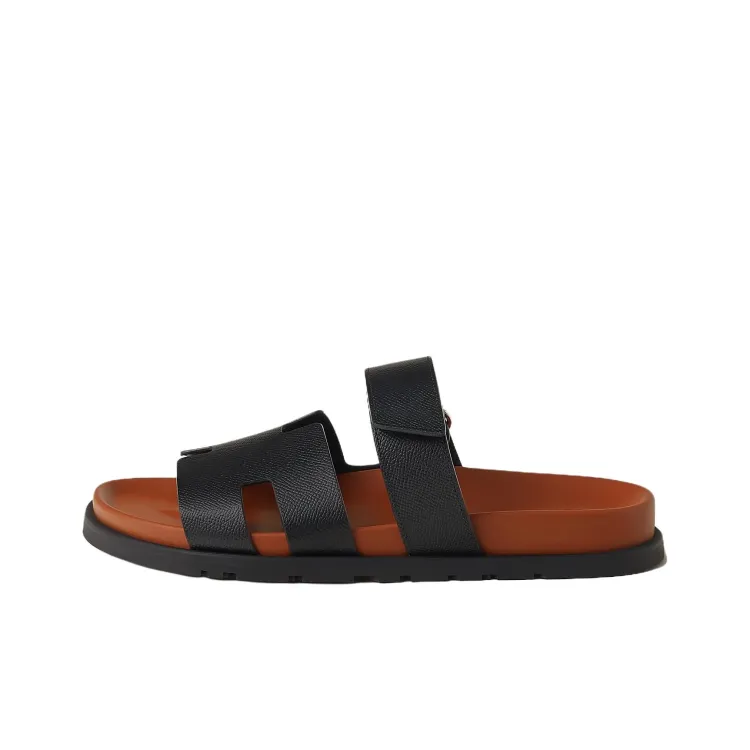
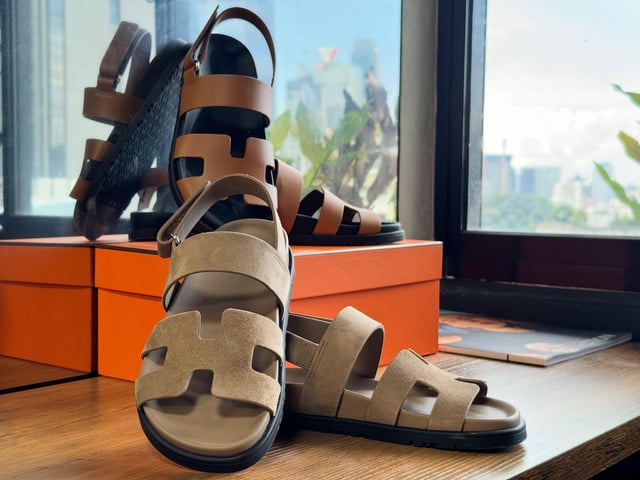
So, first things first, I needed to figure out exactly what I was trying to replicate. I spent way too much time browsing online, staring at pictures of the various Hermes sandal styles. Eventually, I settled on a simple, classic design. Looked achievable, you know?
Next up: materials. Real leather was a must, but I wasn’t about to drop a fortune. I hit up a few local craft stores and even checked out some thrift shops. Scored some decent-looking leather scraps for a fraction of the retail price. Felt like a real win.

Phase 2: Template Time (and a Few Fails)
Okay, now came the tricky part: making a template. I tried tracing the outline of an old sandal I owned, but it just didn’t look right. Too clunky. I ended up sketching a few different shapes on paper, cutting them out, and holding them up to my foot. Lots of trial and error, let me tell you.
I eventually landed on something that looked promising. I transferred the template to a piece of cardboard and then carefully cut it out. This would be my master template.
Phase 3: Cutting and Shaping (Accidents Happen)
Time to put the leather to work. I laid my cardboard template onto the leather scraps and carefully traced around it with a pen. Then, using a sharp utility knife, I started cutting. Let’s just say, my cuts weren’t exactly perfect. A few wobbly lines here and there. But hey, it’s handmade, right? That’s what I told myself, anyway.

Next, I needed to shape the leather. I soaked it in water for a bit to make it more pliable and then used some basic leatherworking tools to curve and mold it around my foot. It was a slow process, and my hands were aching by the end of it.
Phase 4: Stitching and Strapping (This is Where I Almost Gave Up)
Alright, this is where things got really challenging. I needed to stitch the leather pieces together and attach the straps. I tried using a regular sewing machine, but the leather was too thick. So, I ended up having to hand-stitch everything. My fingers were not happy.
Finding the right straps was another hurdle. I wanted something that looked good and was comfortable to wear. I ended up using some leather cord that I braided together. It took forever, but I think it looks pretty decent.
Phase 5: The Big Reveal (and a Few More Tweaks)

Finally, after hours of work, I had a pair of (sort of) Hermes-inspired sandals. They weren’t perfect, by any means. The stitching was a little wonky, and the shape was a bit off. But hey, I made them myself!
I wore them around the house for a few days to break them in and identify any problem areas. I ended up having to add some extra padding to the straps to make them more comfortable.
The Verdict
So, would I do it again? Probably not. It was a lot of work, and I definitely learned a few things along the way. But honestly, I’m not sure the end result was worth the effort. I might just save up and buy the real thing next time. But hey, at least I can say I tried! And who knows, maybe you’ll have better luck than me.
- Leather scraps: Cheap is key!
- Sharp utility knife: Be careful!
- Leatherworking tools: Basic set will do.
- Leather cord: For the straps.
- Patience: You’ll need a lot of it.
Would I recommend it? Only if you’re really bored and have a lot of time on your hands. Otherwise, just buy the real deal. Your feet (and your sanity) will thank you.