
So, I decided to make this thing I’m calling a ‘takashi pillow’. Don’t ask me why ‘takashi’, it just sort of popped into my head. I’d seen some colorful, almost cartoonish pillows around, and I thought, “I could probably make something like that.” I like keeping my hands busy, you know? And store-bought stuff is fine, but sometimes you just want something specific.

Getting Started
First thing, I had to dig out my supplies. I had some leftover fabric from another project – a bright yellow and a kind of funky blue. Perfect, I thought. You need good fabric, otherwise, the whole thing feels cheap. Always check your fabric stash first, that’s my rule. Saves a bit of money. Then, of course, thread, needles, pins, the usual suspects. And stuffing. I always seem to underestimate how much stuffing these things eat up.
I didn’t have a proper pattern. I just sketched out a sort of lumpy, cloud-like shape with a few extra bits that I thought would look interesting. Not very professional, I know. Some people get all precise with patterns, but for a one-off thing like this, I often just wing it. If it goes wrong, well, it’s just fabric and time, right?
Making the Pillow
Okay, so cutting the fabric. I laid out the yellow fabric, pinned my rough sketch to it, and started cutting. I decided to make two main body pieces. Getting the curves smooth when you’re cutting freehand is always a bit of a gamble. My scissors are old too, probably need sharpening. I managed, though. Then I cut out some smaller shapes from the blue fabric – sort of like big, friendly blobs – to applique on one side later for a bit of character.
Then came the sewing. I dragged out my old sewing machine. It’s one of those heavy, ancient things, but it usually gets the job done. Most of the time. Today, it was being a bit temperamental. Skipped a few stitches here and there, made me unpick a seam twice. That’s the joy of old equipment, I guess. I sewed the main yellow pieces together, right sides facing, leaving a gap for turning and stuffing. For the blue blobby bits, I decided to hand-sew them onto one of the yellow pieces before sewing the whole pillow up. I thought it would give it a more homemade look. Plus, wrestling those small shapes under the machine foot would have been a nightmare.
- Pinned the blue shapes in place.
- Used a simple blanket stitch around the edges. Took a while.
- Then, back to the machine for the main pillow seams.
After the main sewing was done, I turned it right side out. Always a satisfying moment, seeing the shape come together. Then, the stuffing. I used polyester fiberfill. You just have to keep pushing it in, making sure it gets into all the corners and curves. It’s easy to get lazy and end up with a lumpy pillow. I used a wooden spoon handle to poke it into the tighter spots. Like I said, you always need more stuffing than you think. I had to rummage around for an extra half-bag I thought I’d finished.

Once it was nicely plump, I had to close up the opening. I did this by hand, using a ladder stitch. It’s pretty good for making the seam almost invisible. Or, at least, invisible enough for me.
The Finished Thing
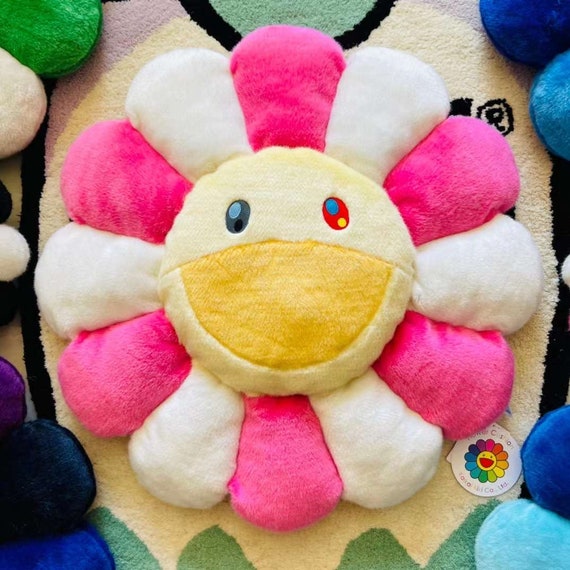
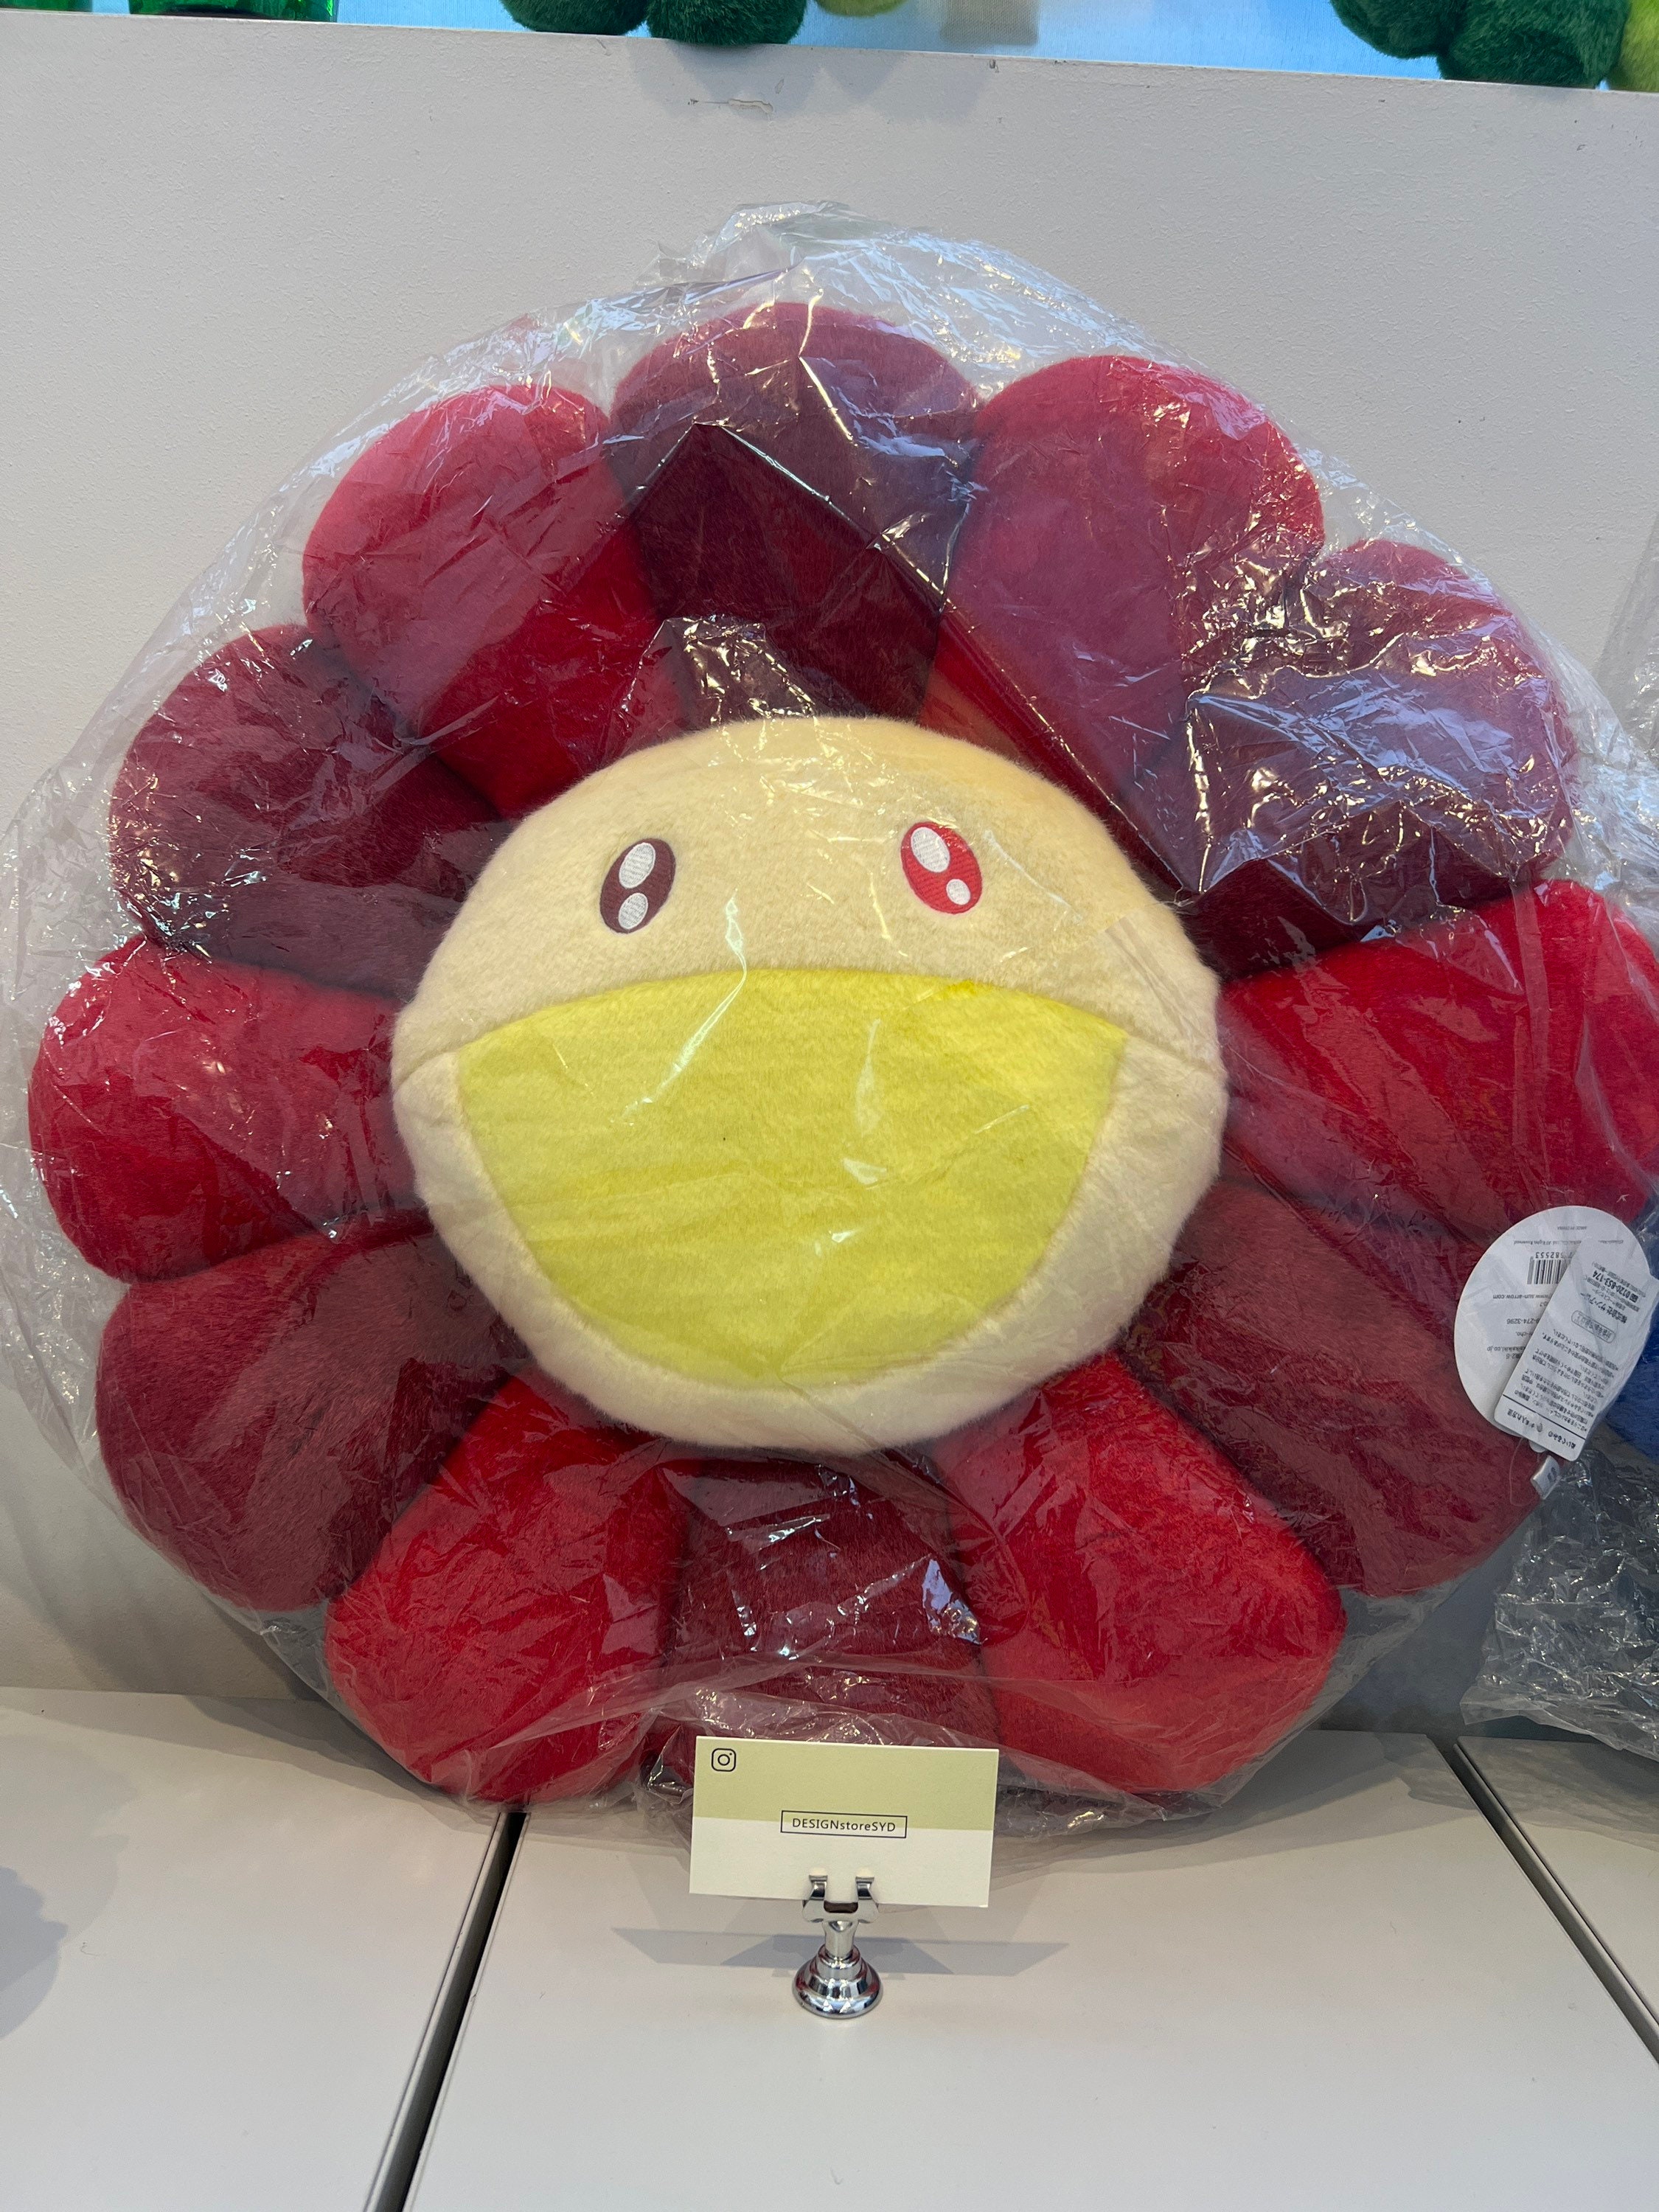
So, there it is. My ‘takashi pillow’. It’s… unique. The shape is a bit more lopsided than I first sketched, and one of the blue blobs is a little off-center. But it’s done, and it’s soft. It’s definitely not something you’d find in a fancy store, that’s for sure. But it has character, I suppose. It sits on the old armchair in the corner now.
It took me a good afternoon, mostly because of the hand sewing and fighting with the machine a bit. Sometimes I wonder why I bother with these little projects. But then, when it’s finished, and you’ve made something with your own hands, even if it’s not perfect, there’s a certain satisfaction. It’s better than just buying everything, isn’t it?