

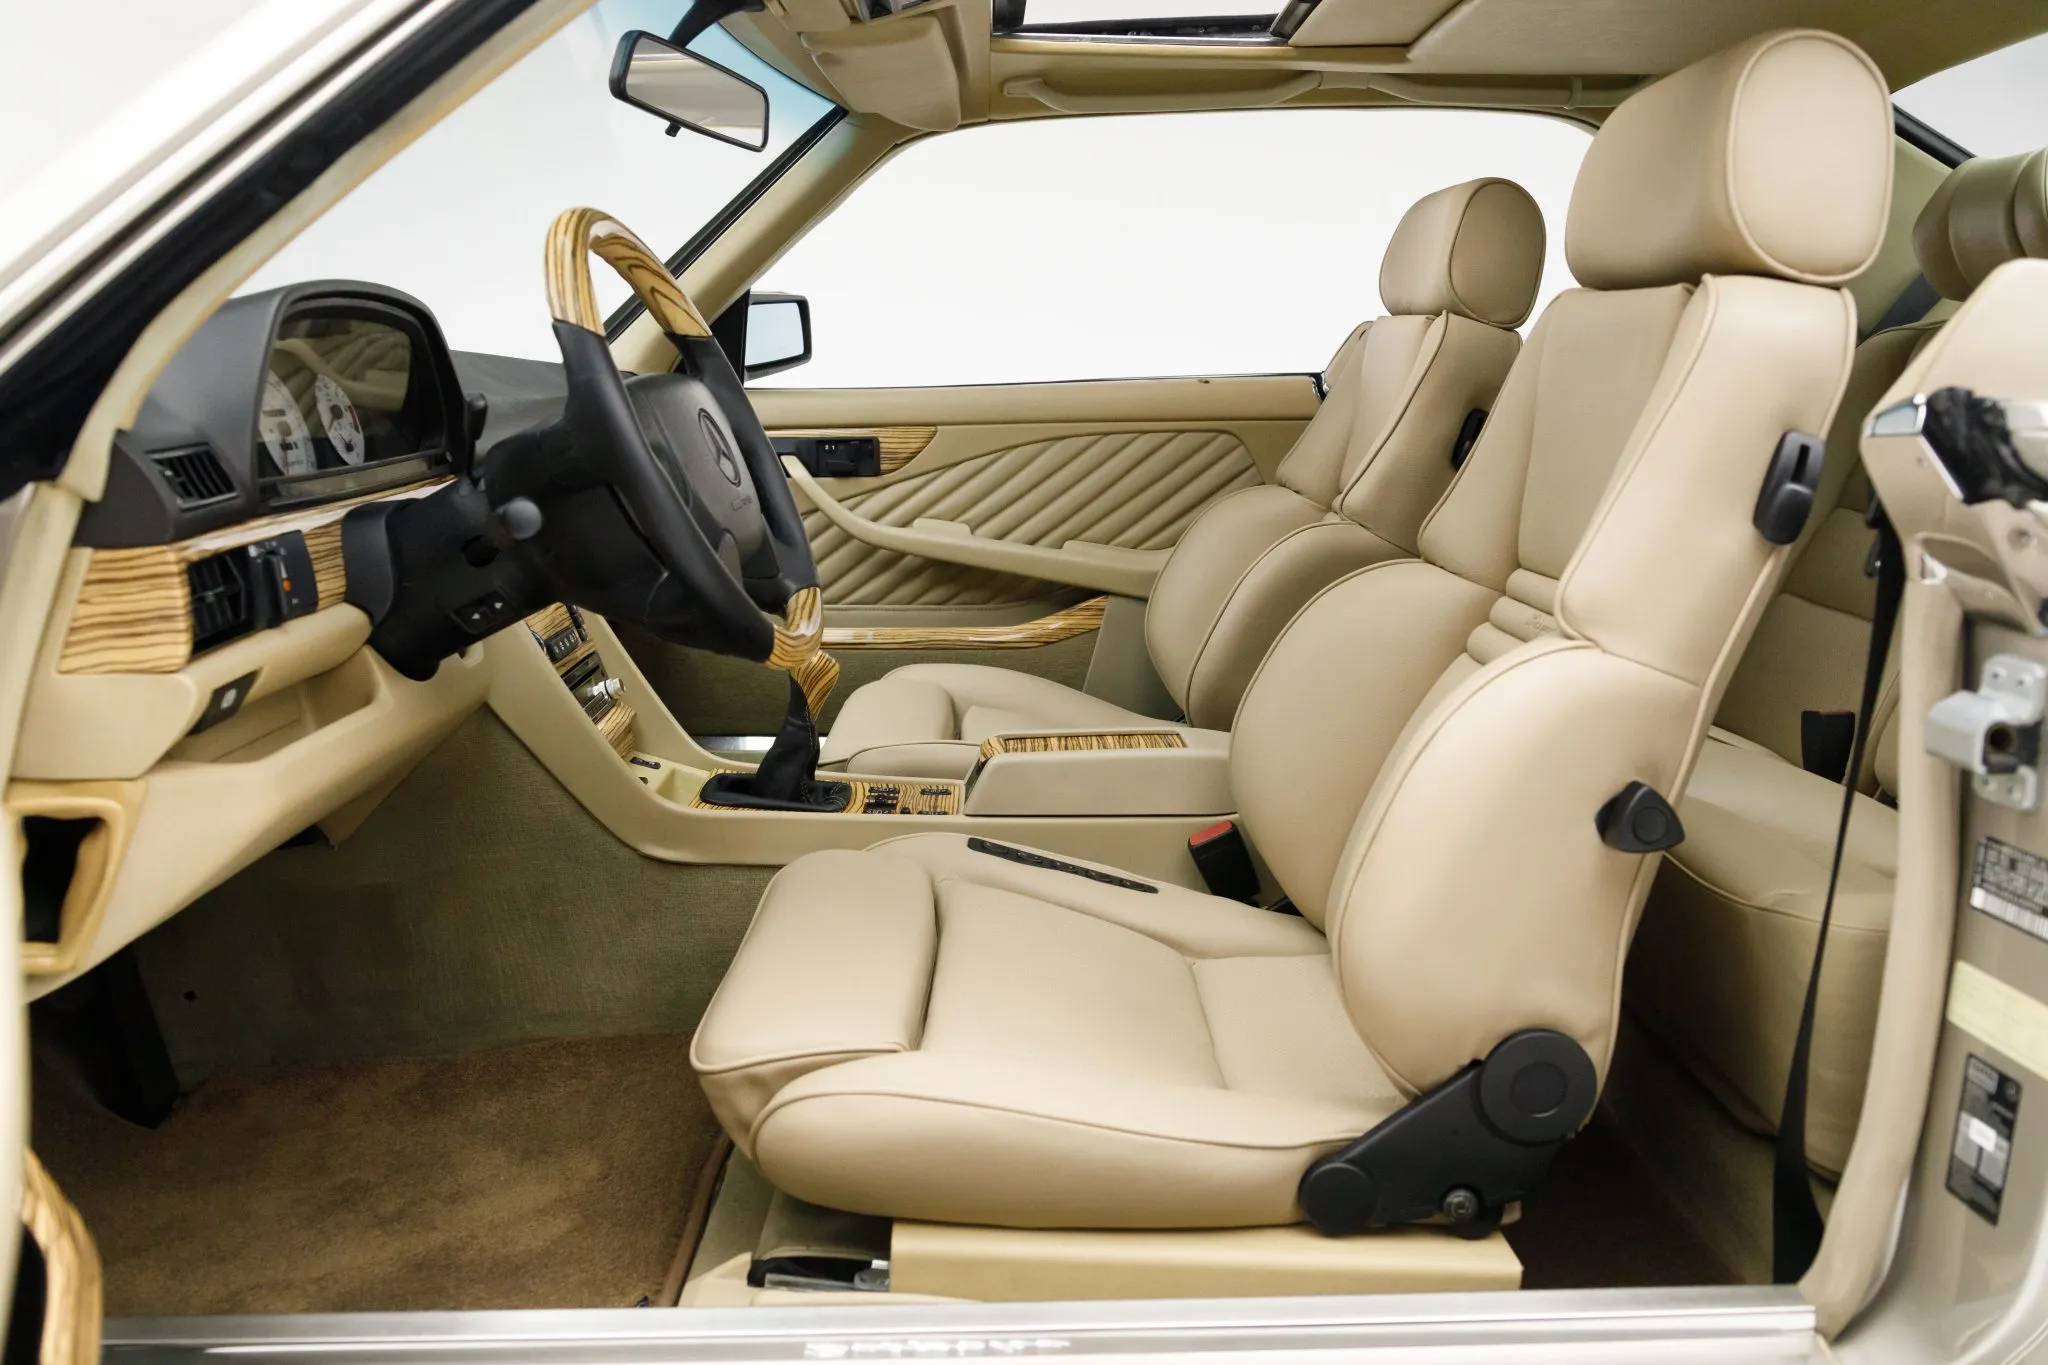
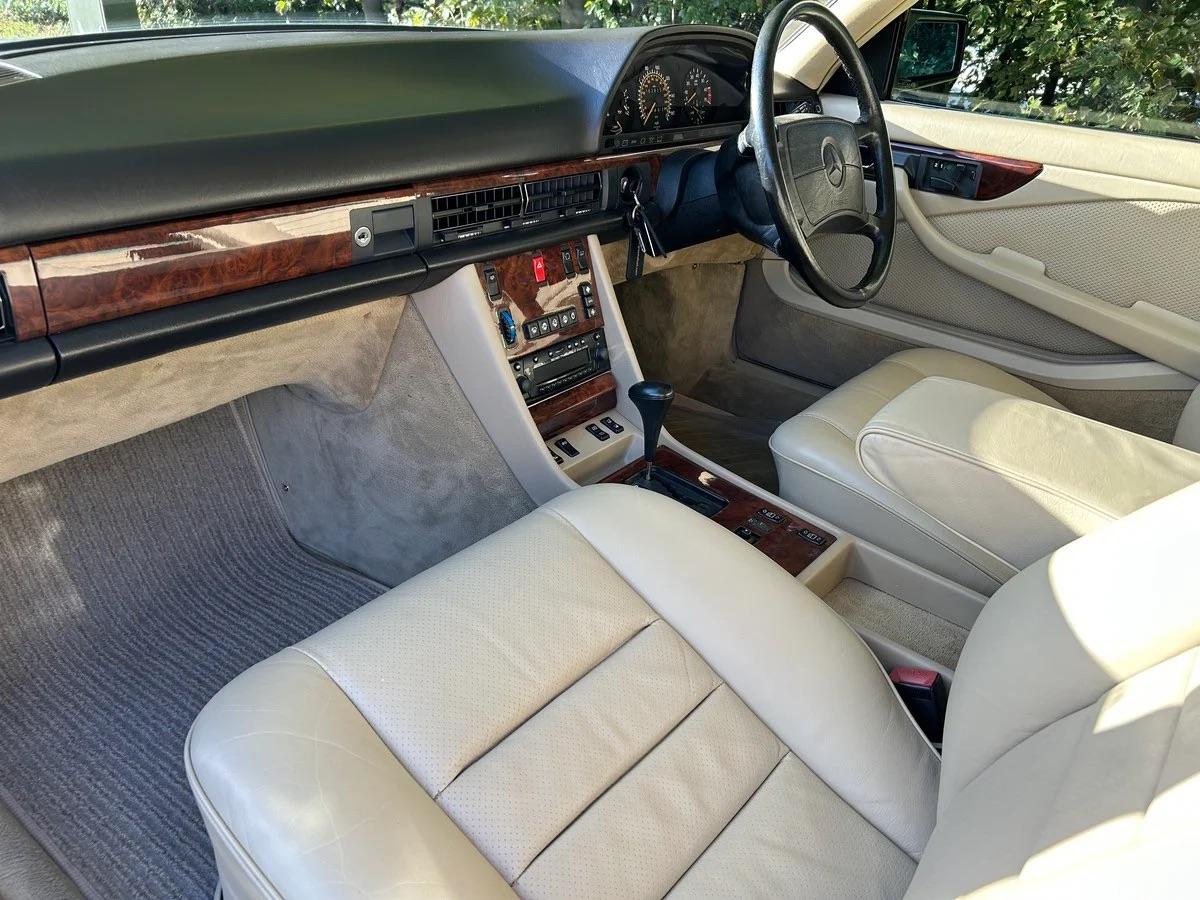
Alright, let’s talk about getting the inside of my Mercedes 560 SEC AMG sorted out. When I first got the car, well, the outside looked mean, but the interior? It had seen better days, for sure. The leather on the seats was cracked, especially the driver’s side bolster, you know how it gets. Carpets were a bit grungy, and the whole thing just felt… old. Not in a cool vintage way, but just worn out.

Getting Started – The Teardown
First things first, I had to gut it. Pulled the front seats out – heavy buggers, those Recaros. Then the back seat came out, which was a bit easier. Ripping up the old carpet was messy but satisfying. Found some old coins and stuff under there, always a bit of a treasure hunt.
Took off the door panels carefully. Lots of little clips and screws you don’t want to break or lose. The dash stayed mostly in, thankfully, didn’t want to mess with that wiring nightmare too much, but the center console had to come out to get the carpet fitted right later.
Prepping and Cleaning
With everything out, it was cleaning time. Vacuumed every nook and cranny. Wiped down all the surfaces that were staying. Checked the seat frames for any rust or cracks – luckily, they were solid. Gave the floor pan a good clean too, just to make sure everything was sound before the new stuff went in.
New Materials – The Fun Part
Finding the right materials was key. I wanted to keep it looking original AMG spec as much as possible. Sourced some really nice quality black leather, felt pretty close to the original texture. Getting the perforated stuff for the seat centers took a bit longer to find.
The carpets were easier, found a good match for the original charcoal color in the right type of loop pile. Headliner material too, went with the classic light grey.

- Pulled off the old leather covers from the seats. Kept them as templates.
- Cleaned up the seat foam, repaired a couple of small tears with foam adhesive.
- Handed off the leather and old covers to my trusted upholstery guy. Doing the actual stitching and fitting right is an art, and honestly, beyond my patience level for a perfect finish. He did a fantastic job replicating the AMG pattern.
Putting It All Back Together
Once I got the reupholstered seats back, things started moving faster. First, laid down sound deadening material on the floor pan. Made sense while everything was out. Then came the new carpet kit. Lots of trimming, test fitting, trimming again. Used contact adhesive to get it sitting right, especially around the transmission tunnel.
Installed the new headliner. This part always makes me nervous. You need patience, spray adhesive, and smooth hands. Started from the middle and worked my way out. Got a few small wrinkles but managed to smooth most of them out.
Then, piece by piece, reassembly:
- Center console went back in.
- Door panels, carefully snapping the clips back into place. Replaced a few broken ones.
- Bolted the rear seats back into position.
- Finally, wrestled the front seats back in and bolted them down. Connected all the power seat wiring.
Finishing Touches
Cleaned up all the plastic trim pieces before they went back on. Gave the wood trim a gentle polish. Found some decent aftermarket floor mats with a similar style, as original AMG ones are like finding hen’s teeth.

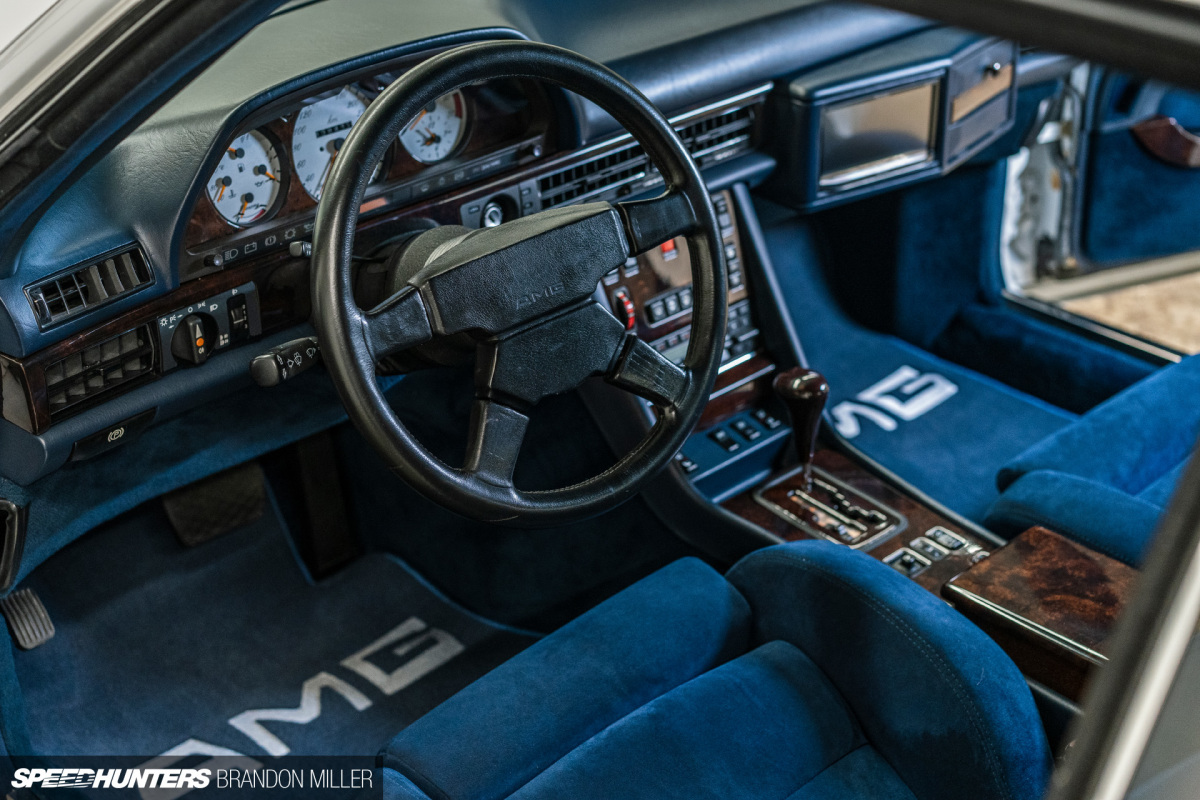
Stepping back and looking at it… huge difference. Sitting inside, the smell of the new leather, the clean carpets underfoot – it just feels right now. Feels solid, feels like it should. Took a lot of weekends and skinned knuckles, but totally worth it to bring this AMG interior back to life. Now the inside matches the outside.