

Okay, so I’ve been wanting to customize my sneakers for a while, and I finally decided to take the plunge. I had this pair of plain black Nikes, and I thought, “What’s more classic than a white check?” So, I went for it. Here’s how it all went down.


Getting Started
First, I gathered my materials. Here’s what I used:
- Plain black Nike sneakers (obviously!)
- White acrylic paint (I made sure it was the kind that works on fabric)
- A thin paintbrush
- Masking tape (the blue painter’s tape worked best)
- A pencil
- An old towel (to protect my workspace)
The Prep Work
I laid down the towel on my table – didn’t want to get paint all over the place. Then, I carefully started applying masking tape around the area where the Nike swoosh would be. This was probably the trickiest part because I wanted to get the curves just right. I took my time and used small pieces of tape to get a smooth outline. It looked a little messy with all the tape, but I trusted the process.
Painting Time!
With the tape in place, I took a deep breath and started painting. I dipped my thin brush into the white acrylic paint and carefully applied it to the exposed area within the tape. I made sure not to use too much paint to avoid it bleeding under the tape. I actually applied several thin coats, like three of four, make the white check strongger. I let each coat dry completely before I paint the next one. That’s important! Patience is key, people!
The Big Reveal
After the final coat of paint was completely dry, I did several checks, and here came the moment of truth. Slowly and carefully, I started peeling off the masking tape. I held my breath a little… and… YES! It looked awesome! The lines were super crisp, and the white swoosh really popped against the black.
And Finally I got what I perfer!

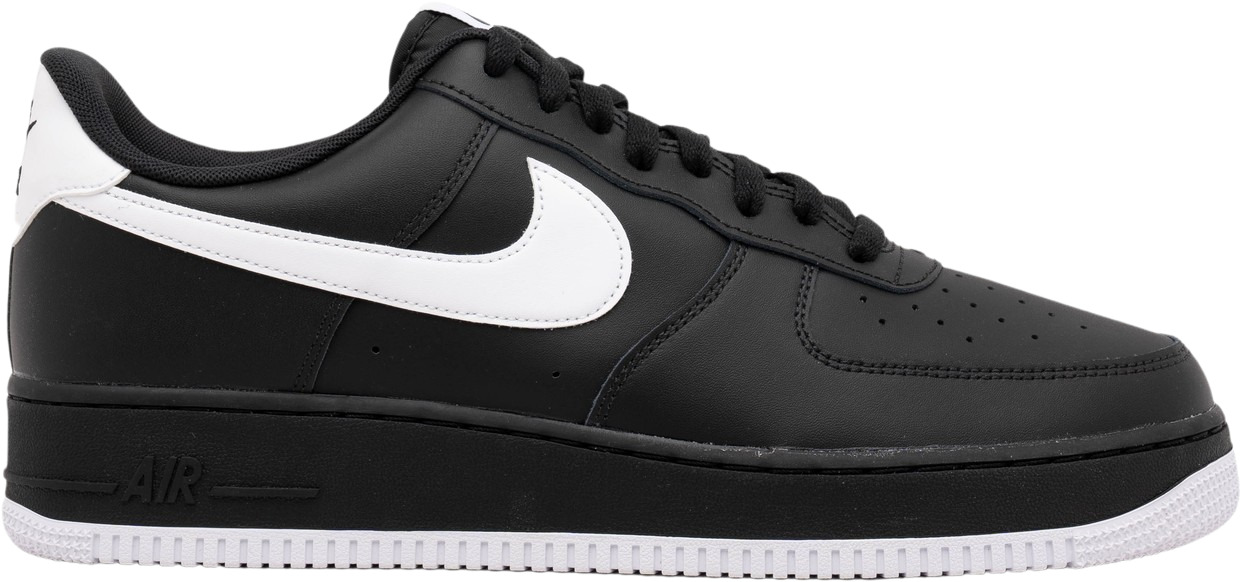
I’m so stoked with how they turned out! It’s a simple customization, but it makes such a big difference. My plain black Nikes now have that classic look I was going for.