

Alright, so I’m gonna walk you through my latest project: patch pants. I’ve been seeing these all over the place, and I figured, “Hey, I can totally do that!” Plus, I had a bunch of scrap fabric lying around that I needed to use up. Let’s dive in!

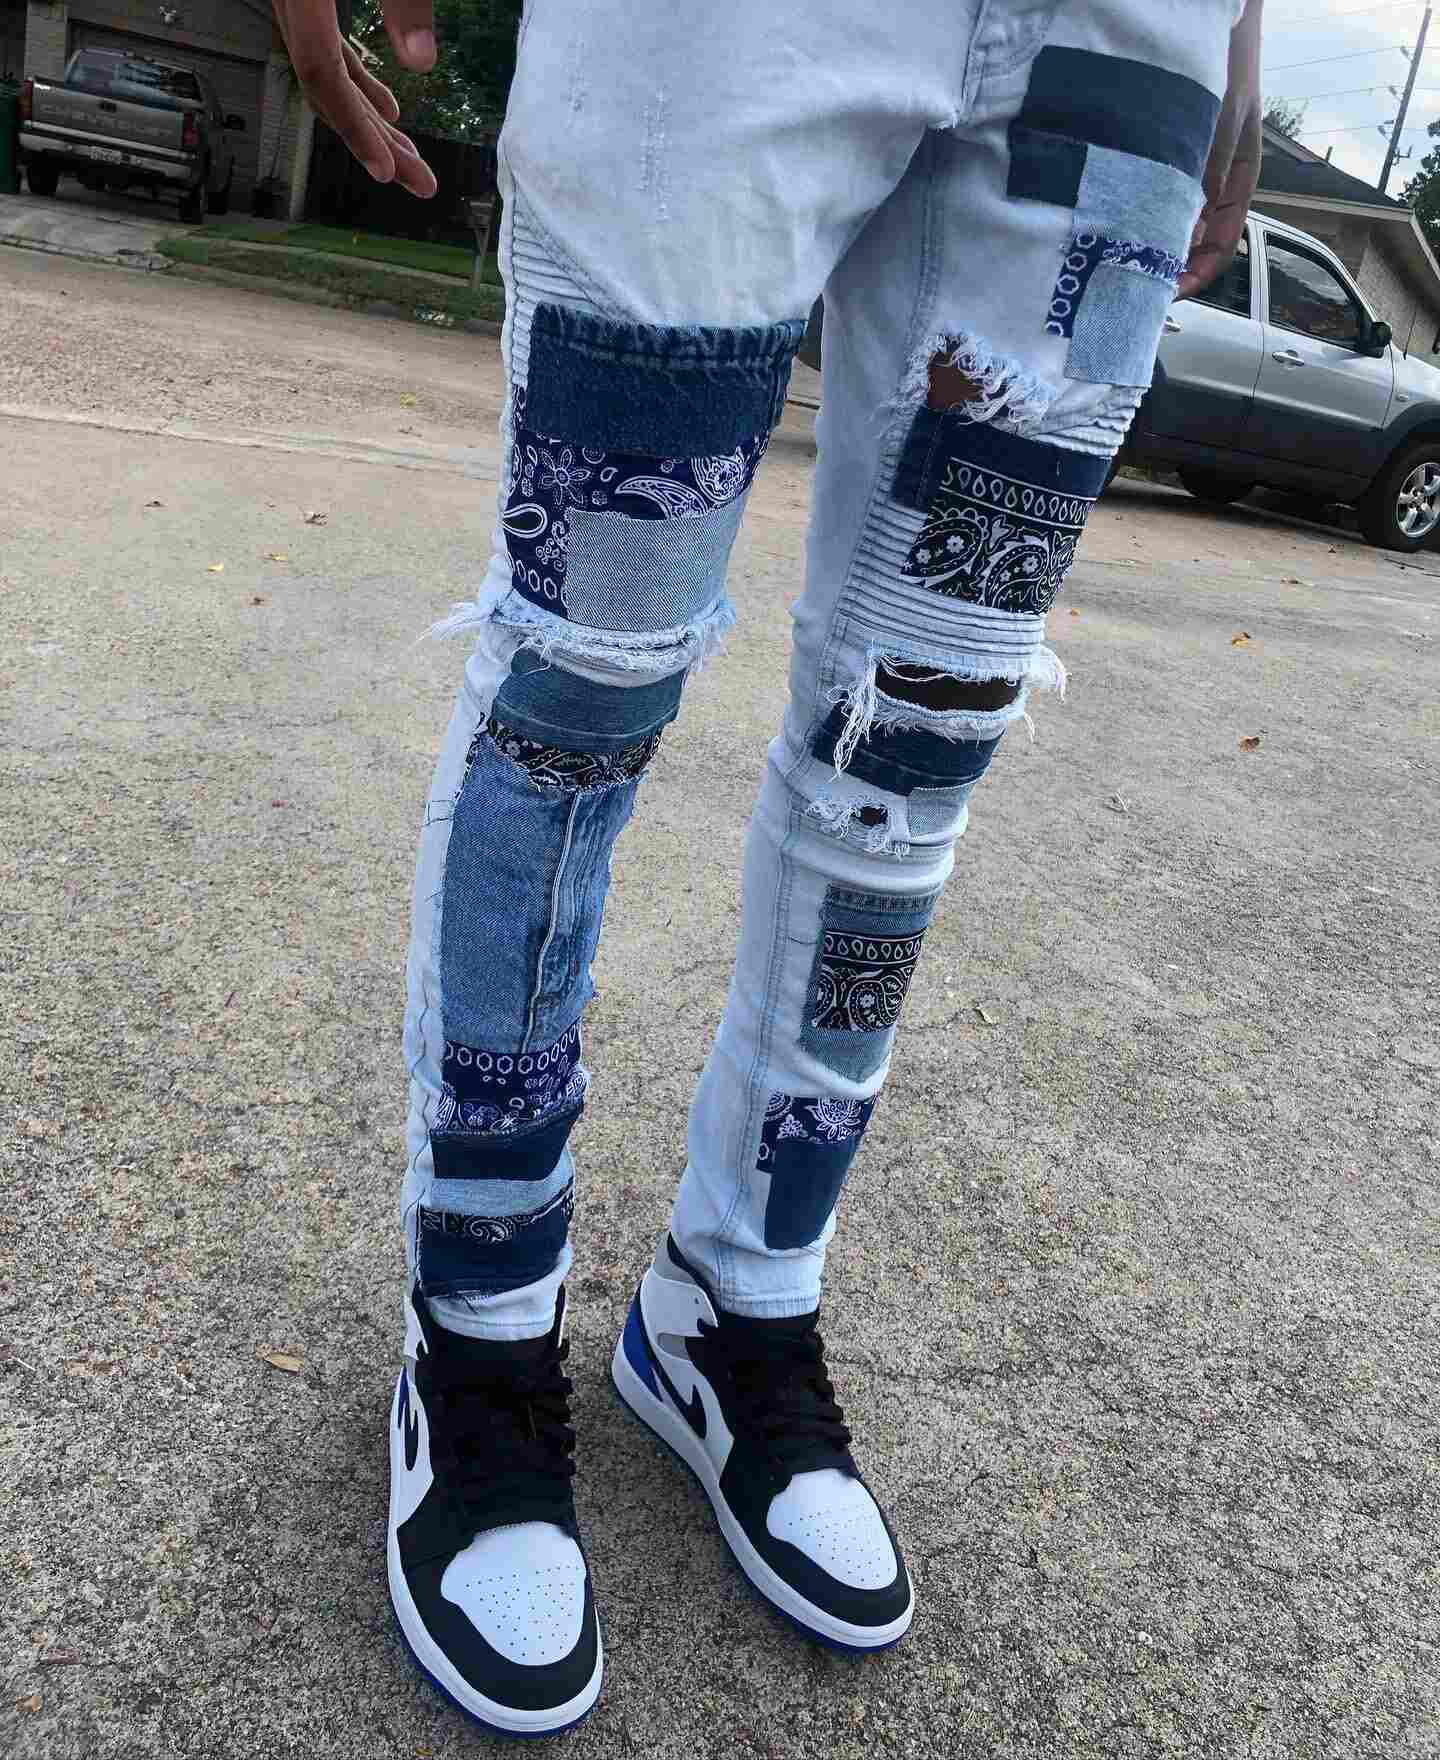
First things first, I grabbed a pair of old jeans that were already a bit worn. You know, the kind you wouldn’t be caught dead wearing out, but are perfect for experimenting. I laid them out on my work table and started thinking about the design. I didn’t want anything too symmetrical, so I decided to go for a more random, “artsy” look.
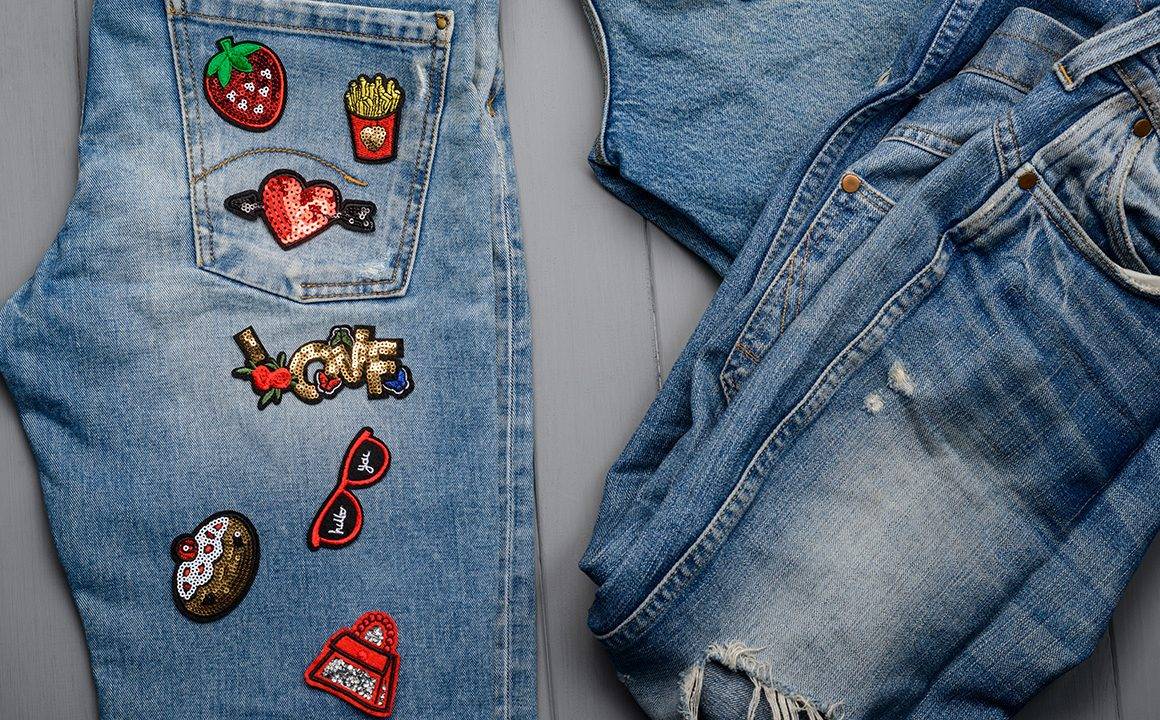
Then came the fun part: the patches! I dug through my scrap bin and pulled out all sorts of fabrics – denim scraps from old projects, some colorful cotton prints, even a bit of corduroy. I cut them into various shapes and sizes, not worrying too much about being precise. The messier, the better, right?
Next, I arranged the patches on the jeans. This took a while, I’m not gonna lie. I moved them around, swapped them out, and generally just fiddled with them until I liked the overall look. I snapped a few pictures with my phone to make sure I liked the layout from different angles.
Once I was happy with the arrangement, I pinned everything in place. This is super important! Don’t skip this step. It’ll save you a ton of frustration later. I used a ton of pins, making sure each patch was securely attached to the jeans.
Now for the sewing! I set up my sewing machine with some sturdy thread and started sewing the patches on. I chose a simple straight stitch and just went around the edges of each patch. I didn’t worry too much about making it perfect – a little bit of imperfection adds character, right? For some of the smaller patches, I even added a few decorative stitches just to spice things up.

After all the patches were sewn on, I gave the jeans a good press with my iron. This helps to flatten everything out and make the seams look a bit neater. I also trimmed any excess fabric around the edges of the patches.
Finally, I threw the patched pants in the wash to give them a lived-in look. And that’s it! My patch pants were done. They’re definitely not perfect, but they’re unique and totally me. Plus, I used up a bunch of scrap fabric, which is always a good feeling.
Tips and tricks I learned along the way:
- Use a variety of fabrics: It makes the pants way more interesting.
- Don’t be afraid to overlap patches: It creates a cool, textured look.
- Experiment with different stitch types: Add some decorative stitches for extra flair.
- Don’t stress about perfection: Patch pants are supposed to look a little rough around the edges.
Overall, this was a fun and rewarding project. I highly recommend giving it a try if you’re looking for a creative way to upcycle old clothes. You might just surprise yourself with what you can create!