
Okay, so I had this shoulder bag, right? Loved the thing, used it all the time. But the strap? Ugh, it was starting to look ragged. Fraying all over the place. I figured, “Hey, I can fix this!” Turns out, it was a little more involved than I thought, but I got there.
First thing I did was rip out the old strap. Seriously, just took some scissors and snipped it off where it connected to the bag. It was already falling apart anyway, so it wasn’t like I was destroying anything valuable. Made sure to save the metal hardware – the little rings and clips – ’cause I wanted to reuse them. Those things can be expensive!
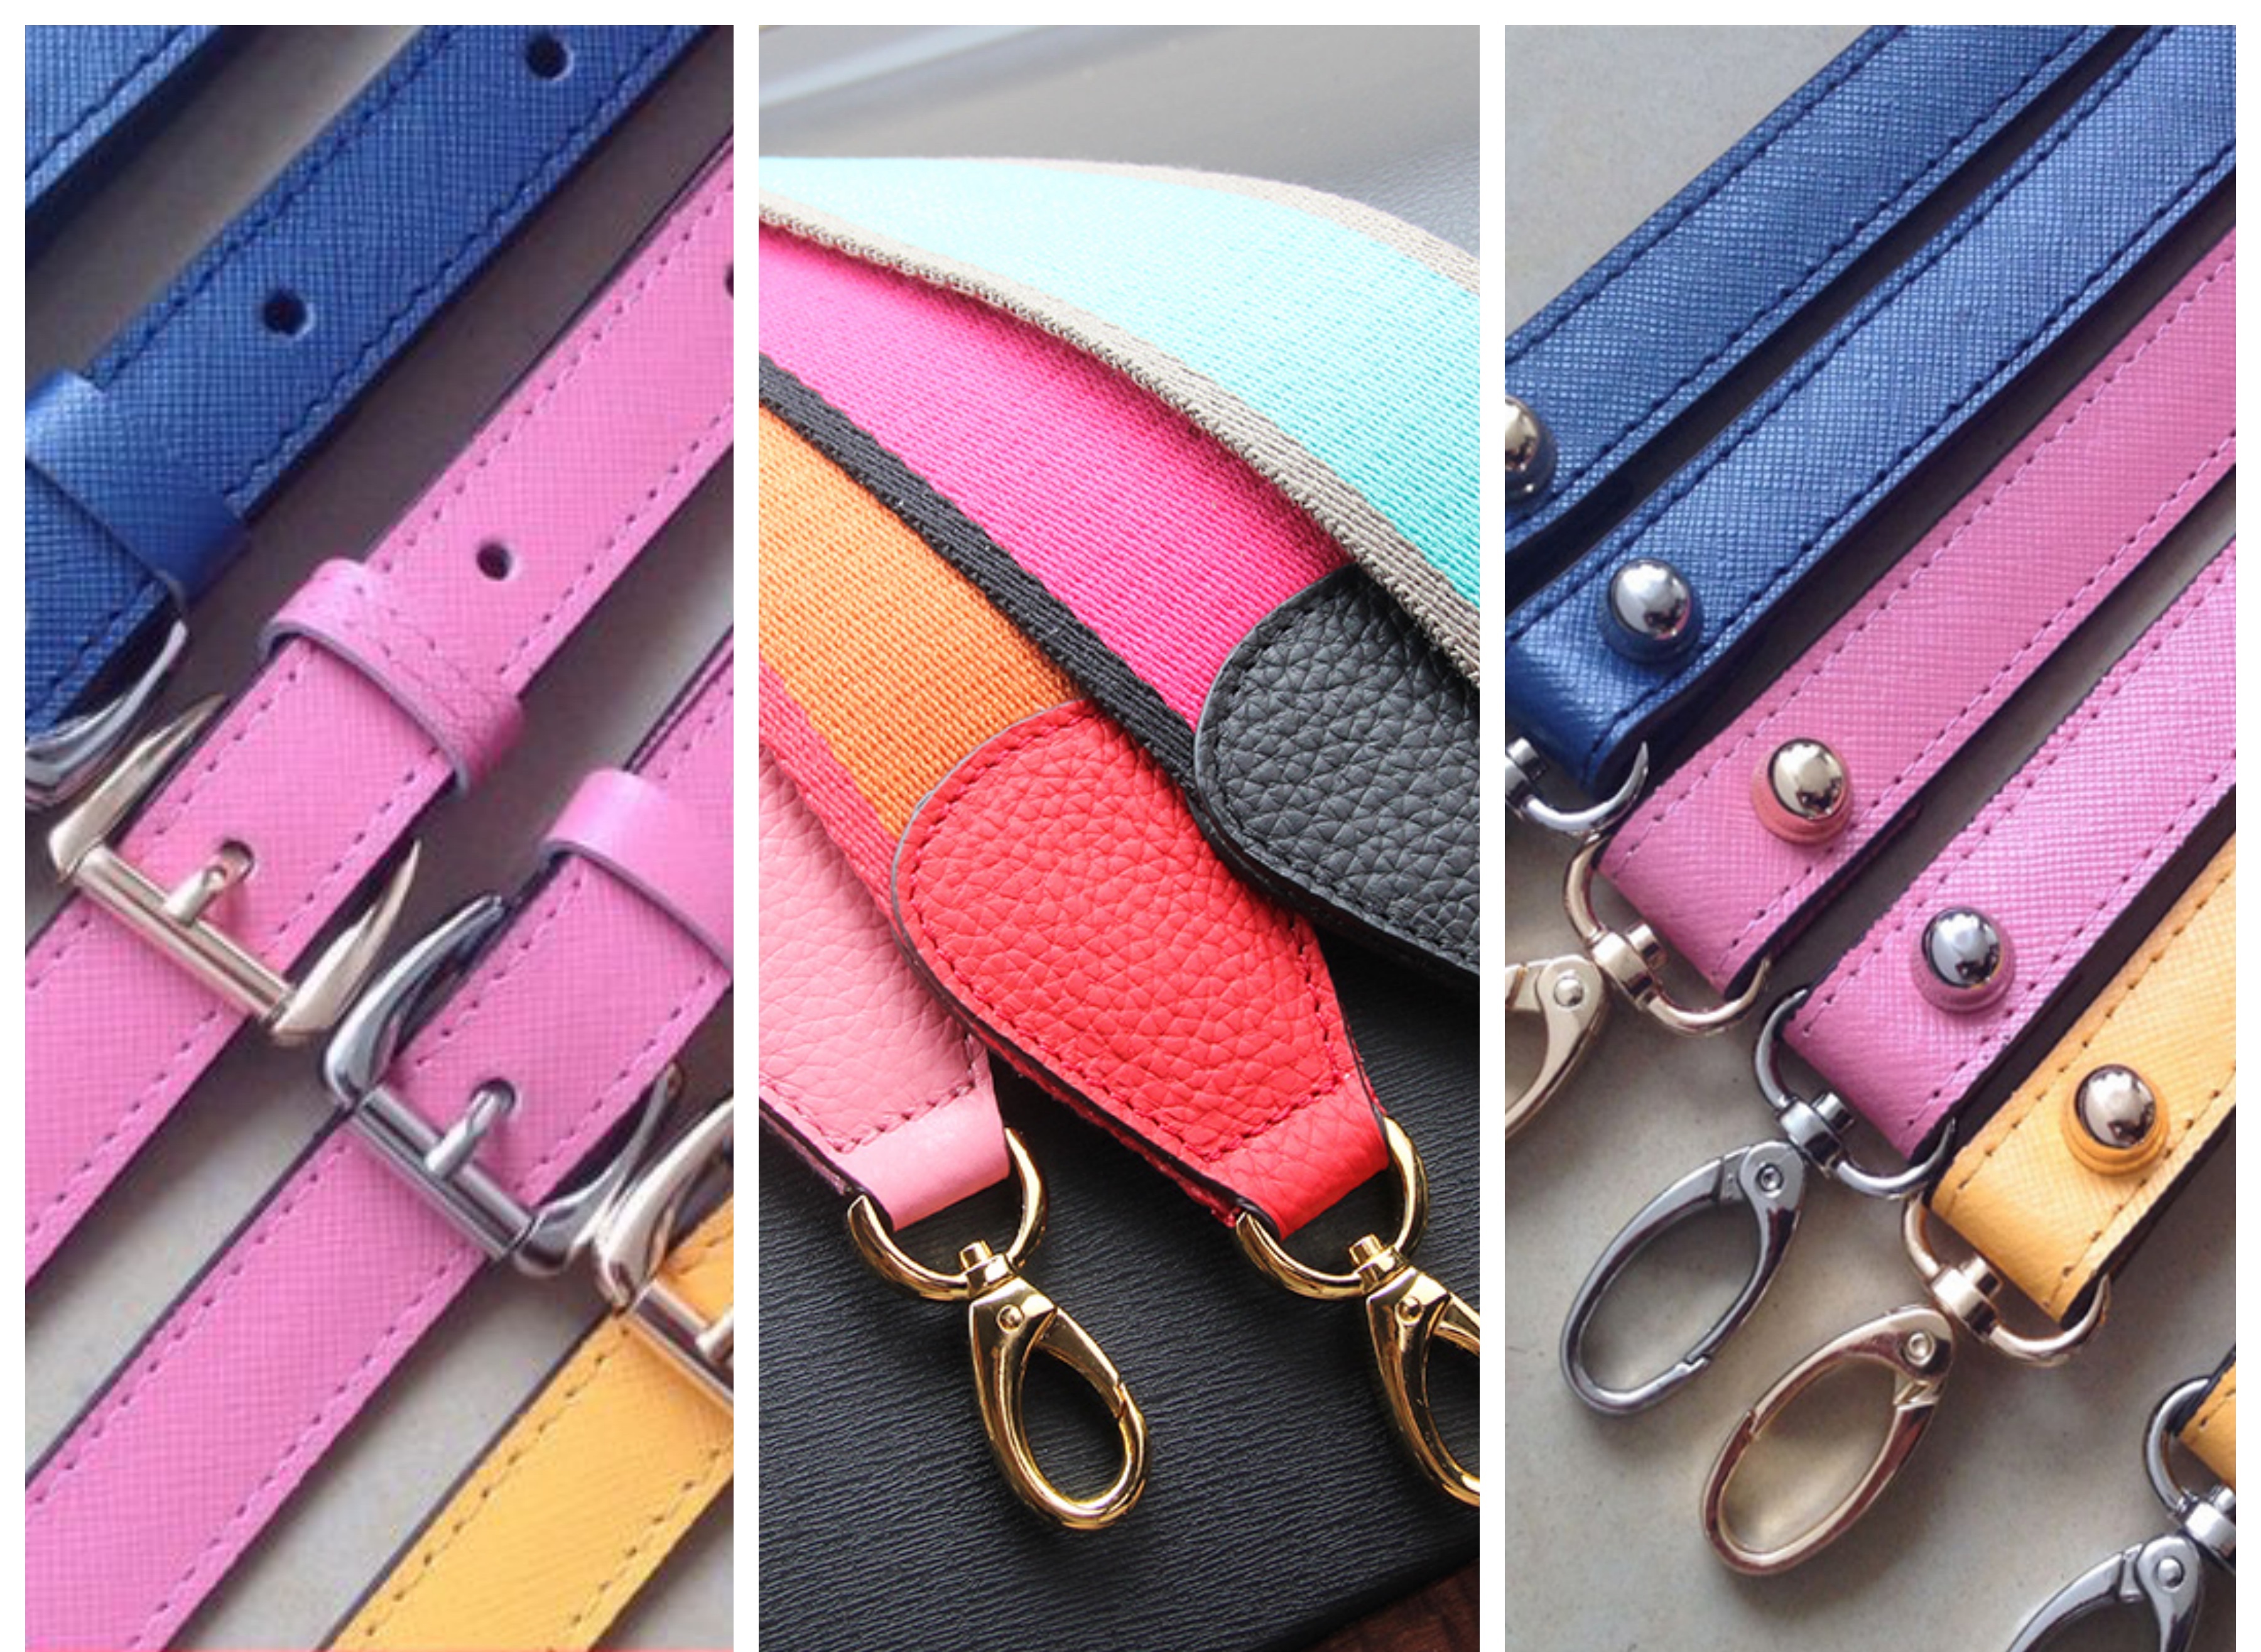
Next up: finding a replacement strap. I didn’t want to just buy a pre-made one. I wanted something a little more… me. So I hit up the local fabric store. Spent a good hour digging through different materials. Ended up going with a heavy-duty nylon webbing. It felt strong and durable, and the color was a good match for the bag. Bought a couple of yards, just to be safe.
Then came the fun part: cutting the strap to size. I measured the old strap (before I totally destroyed it, thankfully) and added a few inches for good measure. Better to have too much than not enough, right? Used a sharp utility knife to cut the webbing. This stuff can be tough, so a good blade is key.
Now, to attach the hardware. This is where it got a little tricky. I needed to thread the webbing through the metal rings and then secure it so it wouldn’t slip. I tried a few different methods. Initially, I thought about just sewing it. But the webbing was too thick for my little sewing machine. It just kept jamming up.
So, I went with rivets. Bought a rivet kit from the hardware store. Basically, you punch a hole through the fabric, insert the rivet, and then hammer it down. It takes a little practice, but once you get the hang of it, it’s pretty straightforward. I put a couple of rivets on each end of the strap to make sure it was nice and secure.
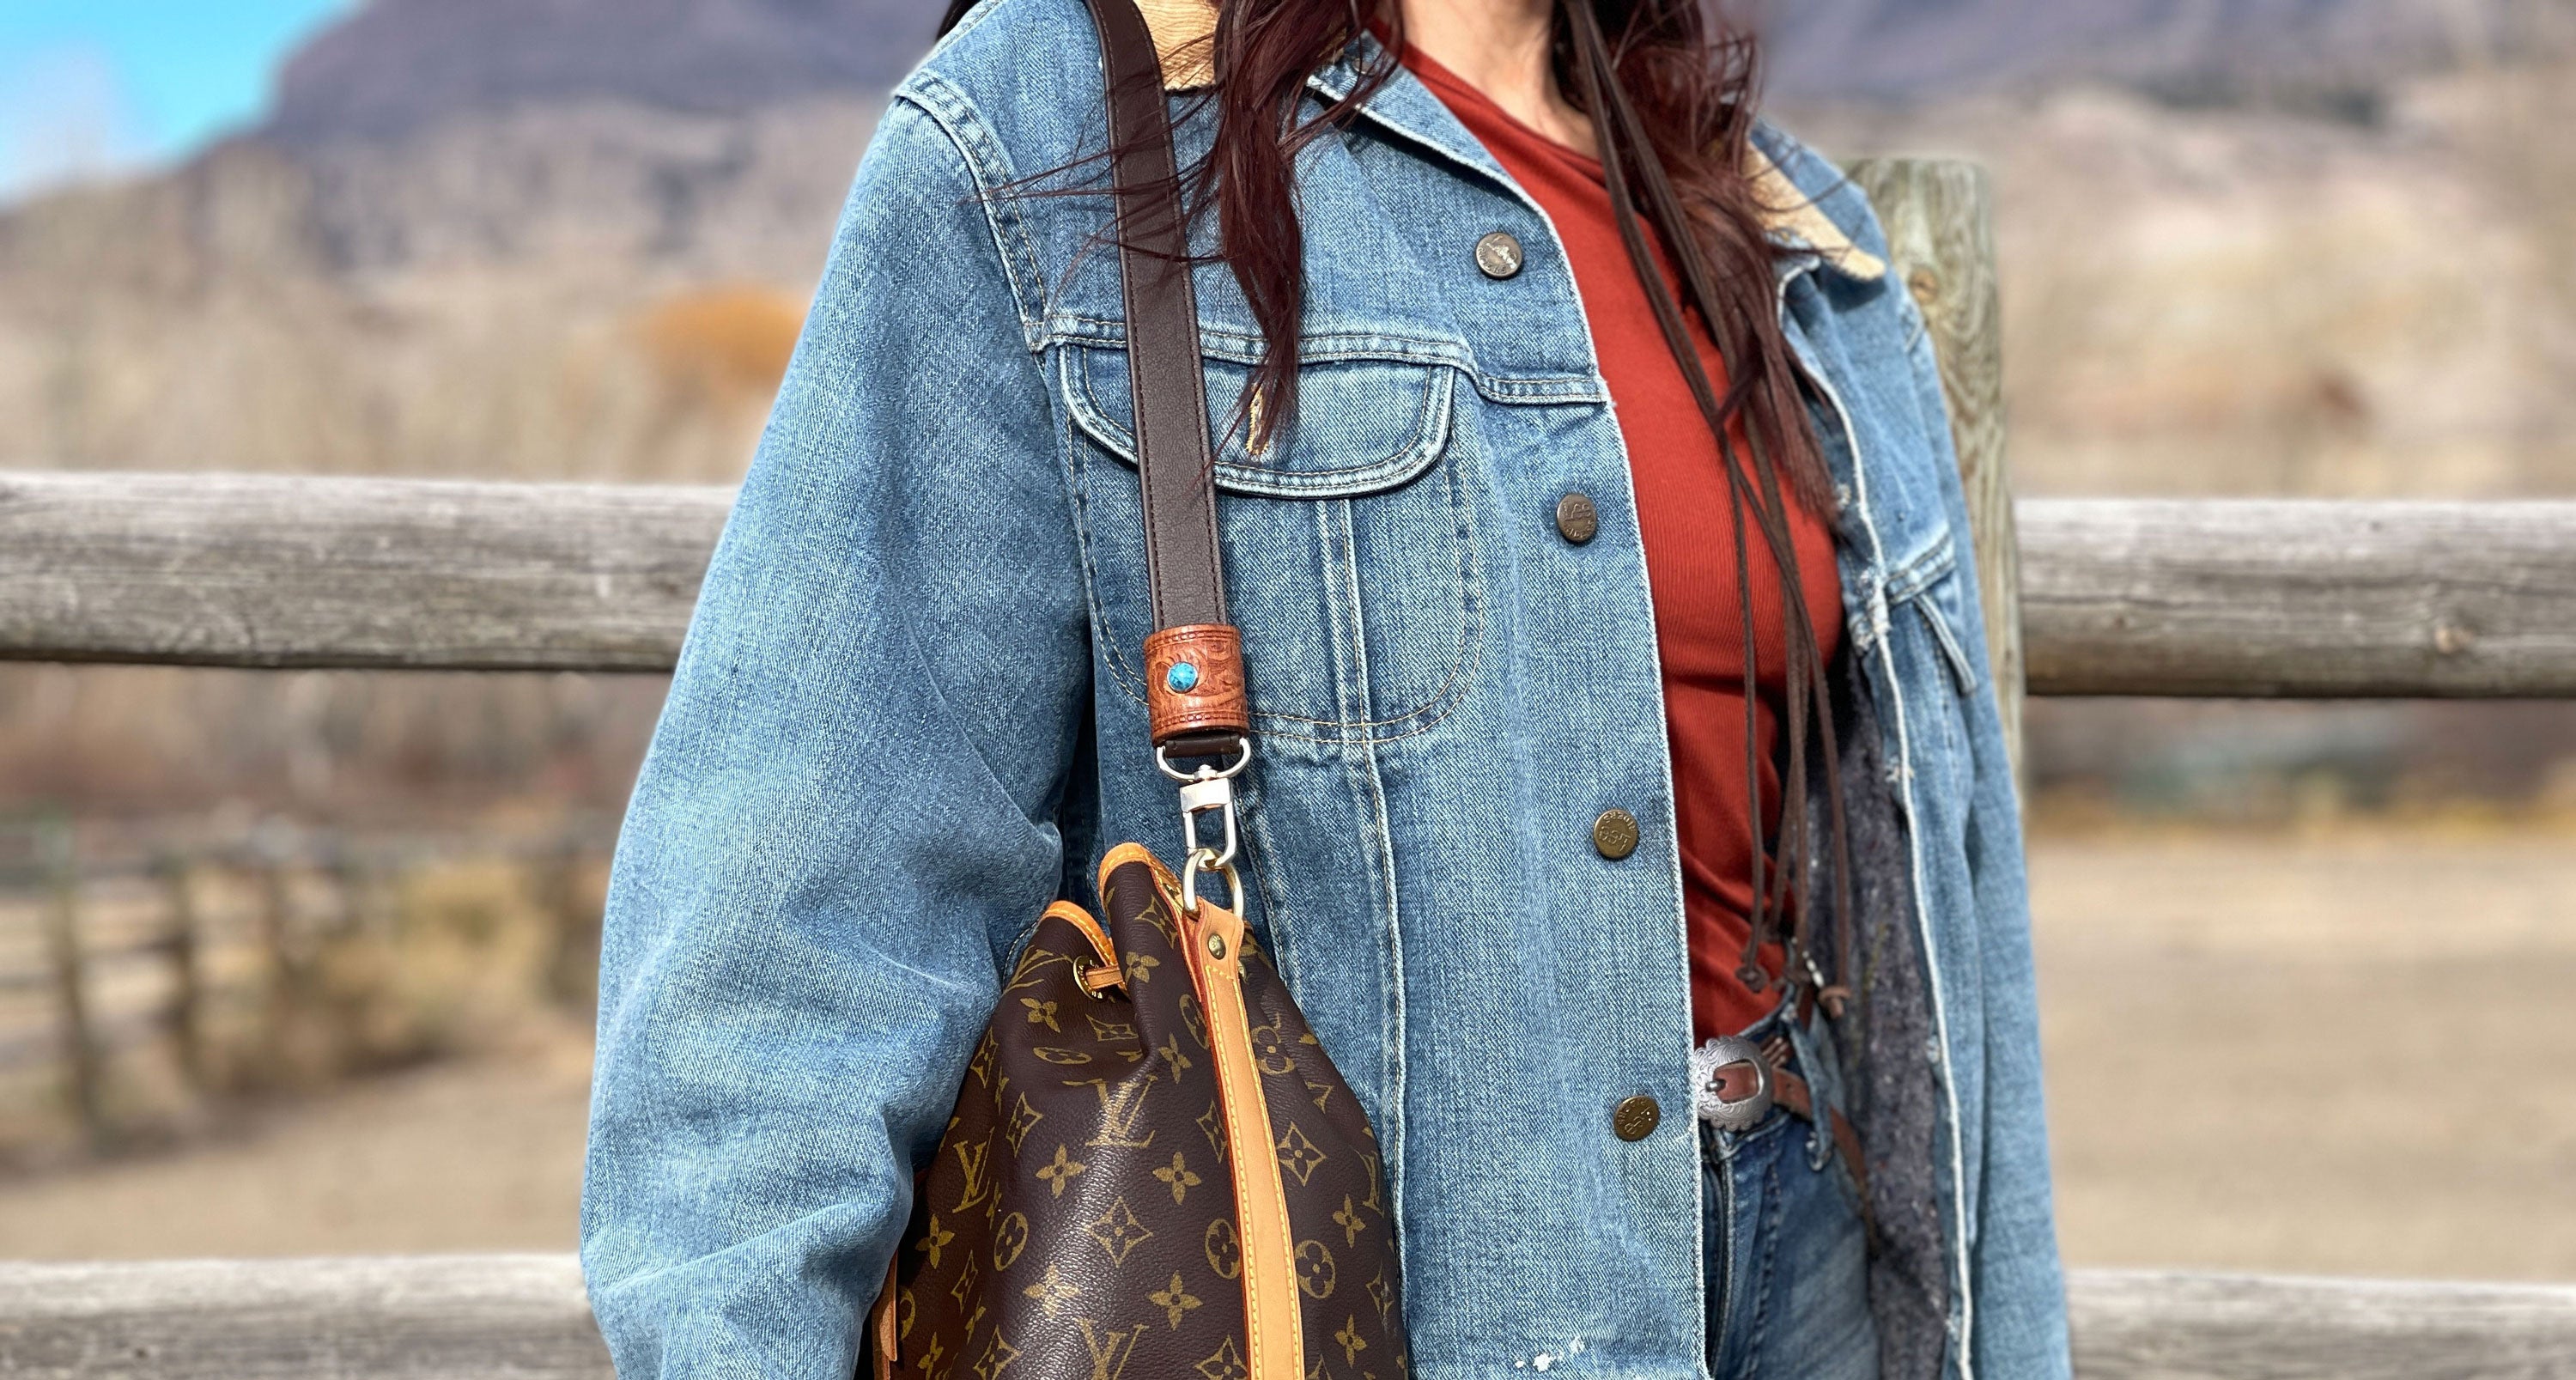
Finally, attaching the strap to the bag. This was the easiest part. I just clipped the metal hardware onto the existing loops on the bag. And that was it! New strap, good as new (or maybe even better!).
It wasn’t the prettiest job in the world, I’ll admit. You can definitely see the rivets. But it’s functional, and it’s mine. Plus, it saved me from having to buy a whole new bag. So, yeah, I’m pretty happy with how it turned out. Would I do it again? Definitely. Just maybe invest in a better rivet tool next time!
