")
Man, today I’m gonna talk about my little adventure with Mexican opals. You know, those fiery gemstones everyone’s been going crazy about. I got my hands dirty, literally, trying to find these beauties, and let me tell you, it was quite the ride.
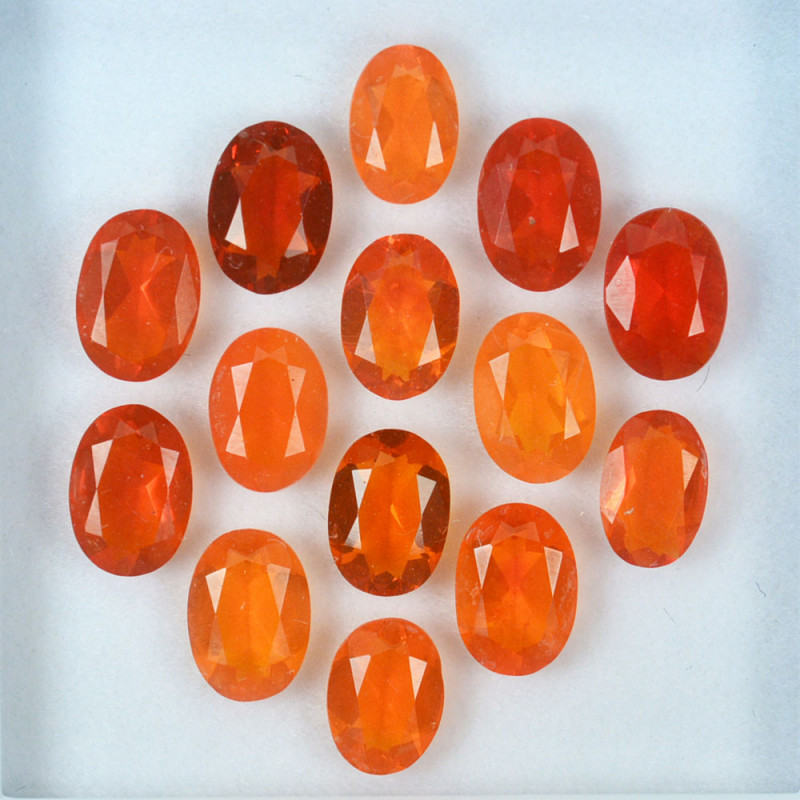
So, it all started with me reading about these stones online. They’re called fire opals, mainly found in Mexico, and they’re known for their crazy bright colors. I’m not much of a jewelry guy, but the pictures I saw? Amazing. Yellows, oranges, reds – it’s like they trapped a sunset inside a rock. I thought, “I gotta see these for myself.”
First thing I did was book a trip to Queretaro, Mexico. That’s where most of these opals come from. I packed my bags, grabbed my camera, and off I went. When I got there, I linked up with some local miners. These guys really know their stuff. They took me to the mines, and wow, it’s a whole different world down there. We’re talking about digging through layers of earth, hoping to strike gold – or in this case, opal.
The miners showed me how it’s done. It’s not easy work, let me tell you. You’re using pickaxes, shovels, sometimes even your bare hands. And it’s not like the opals are just sitting there waiting for you. It’s a real treasure hunt. After a few hours of digging, my back was killing me, but then, one of the miners yelled out. He found something.
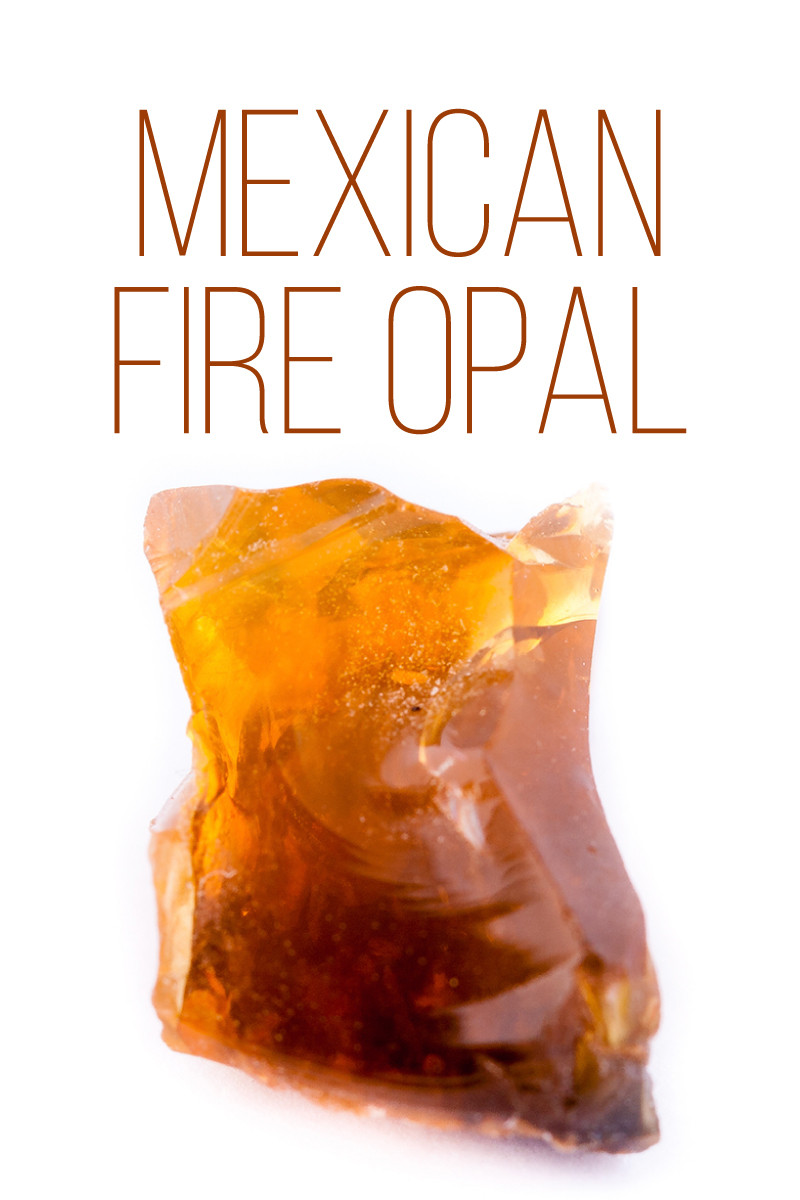
We all crowded around as he carefully brushed away the dirt. And there it was, a small, rough-looking stone. But even in that state, you could see the colors starting to peek through. It was like magic. They explained to me that this was a raw, uncut opal. To get it to look like those shiny gems you see in stores, it has to go through a whole process of cutting and polishing.
- Finding the Opal: This is the hardest part. It involves a lot of digging and searching in the mines.
- Cleaning the Opal: Once you find a raw opal, you gotta clean off all the dirt and debris.
- Cutting the Opal: This is where the experts come in. They carefully cut the opal to bring out its best colors and shape.
- Polishing the Opal: After cutting, the opal is polished to give it that beautiful, glossy finish.
I spent the next few days learning about the different types of opals. It’s not just about the color, but also the clarity, the cut, and something called “play-of-color.” That’s like a fancy way of saying how the colors shift and dance when you move the stone around. And here’s a fun fact: opals are the birthstone for October. So, if you’re born in October, you’ve got a pretty cool birthstone.
I even tried my hand at cutting and polishing a small opal myself. It’s way harder than it looks! You need a steady hand and a lot of patience. Mine didn’t turn out perfect, but hey, I made it, and it’s a nice little reminder of my trip.
Before I left, I bought a few polished opals from a local shop. They were not super expensive, and they had a little bit of everything – from light yellows to deep reds. The shop owner told me that these opals are pretty tough, about 5.5 to 6.5 on the Mohs hardness scale. So, they’re good for earrings, pendants, or brooches – not that I wear any of those, but it’s good to know.
Wrapping It Up
This whole experience was eye-opening. I went in not knowing much about opals, and I came out with a whole new appreciation for these gemstones and the work that goes into finding and preparing them. It’s not just about the pretty colors; it’s about the history, the hard work of the miners, and the skill of the craftsmen who turn these rough stones into stunning pieces of art. If you ever get a chance to see Mexican opals in person, do it. They’re even more impressive up close.
