")
Okay, so I’ve been wanting to customize a pair of Nike Dunks for a while, and I finally decided to go for it. The idea? Low Dunks, all red. Simple, clean, and hopefully, pretty striking.

Getting Started
First things first, I needed the shoes. I managed to snag a pair of plain white Low Dunks online. It wasn’t super easy, they sell out pretty fast, but I got lucky after checking a few different sites. Pro tip: set those restock alerts!
Prepping the Shoes
Once I had the shoes, the real work began. I knew I couldn’t just slap paint on them and call it a day. I started by carefully cleaning the shoes with some rubbing alcohol and cotton balls. This gets rid of any factory finish or dirt, so the paint sticks better. I made sure to get into all the little creases and corners.
Next, I used masking tape to cover up the parts I didn’t want to paint – mostly the soles and the Nike swoosh, at first. This took some patience. It’s all about getting those lines super crisp.
The Painting Process
- First Coat: Thin and even. I used a special leather paint, which I found online after some reading. I went with a bright red, and applied a thin, even coat with a small brush. The key is to avoid globs of paint.
- Drying Time: Let it dry completely. Seriously, don’t rush it. I waited, like, a full day between coats, just to be safe.
- Repeat: I ended up doing about three or four thin coats, letting each one dry fully. This built up the color and made it look more solid and less streaky.
The Swoosh Dilemma
I did a red swoosh. I carefully removed the tape from swoosh, cleaned it with rubbing alcohol on cotton balls, and applied three thin coats with full dry between each coat.
Finishing Touches
Once everything was dry and looked good, I used a leather sealant to protect the paint. I sprayed on a couple of light coats of the sealant and let it cure for another day. Gotta protect all that hard work, right?
The Final Result
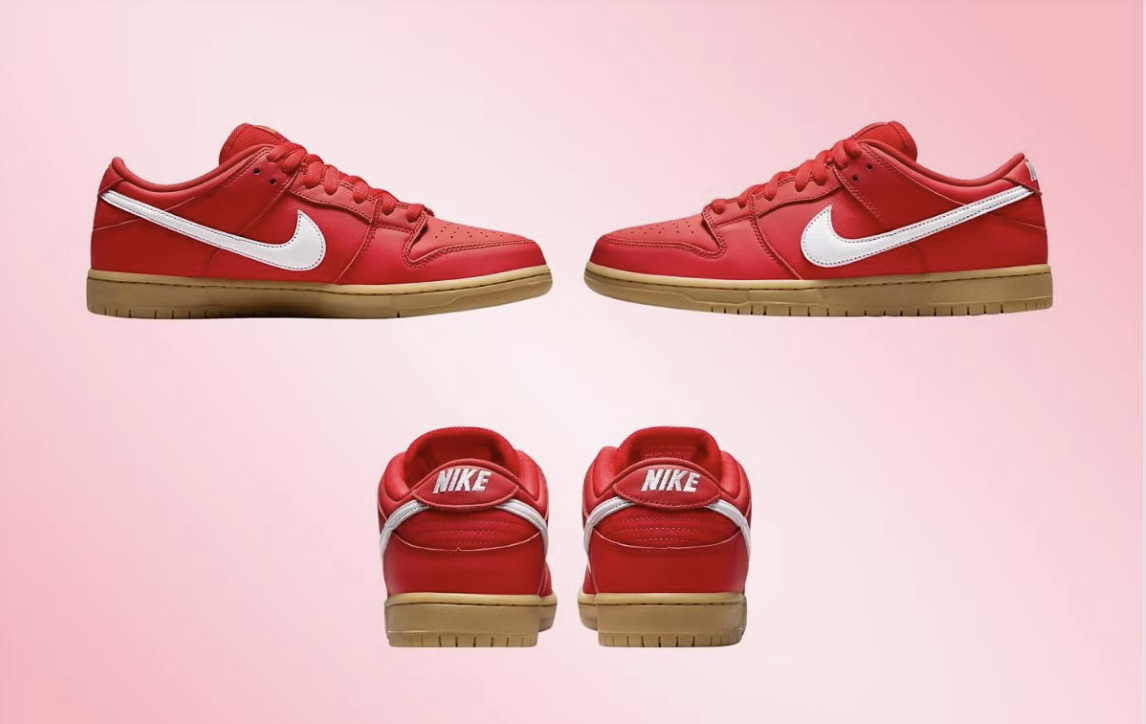
Honestly, they turned out pretty awesome! The red is super vibrant, and the finish looks surprisingly professional, if I do say so myself. It was definitely a learning process, but totally worth it. I’m already thinking about my next custom project…
