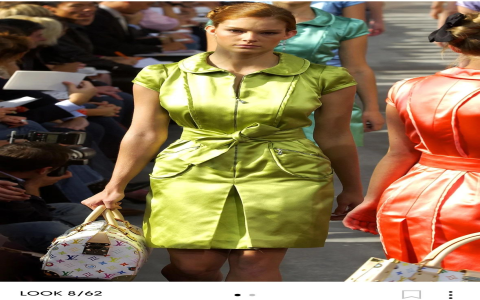
Alright, let’s talk about my little adventure with the Louis Vuitton Bellagio. Man, that was a project!

First off, finding one! I was on the hunt for a Bellagio for ages. Scouring the usual spots – resale sites, auction houses, even some sketchy-looking corners of the internet. Finally, I spotted one that looked promising. The leather looked decent, the price wasn’t totally insane, so I jumped on it. Big gamble, I know, but hey, gotta take risks, right?
The Unboxing and Inspection: So, it arrives. Heart pounding. I rip open the box (carefully, of course, it’s still LV!), and… okay, it wasn’t perfect. There were some scratches I hadn’t seen in the photos, the vachetta was a little darker than I’d hoped, and the inside smelled vaguely of grandma’s attic. But overall, structurally sound. I could work with this.
Cleaning Time: My first step was a deep clean. I grabbed my trusty leather cleaner (a mild one, you don’t want to strip the leather!), a soft cloth, and got to work. Gently wiping down every surface, inside and out. That grandma smell? Gone! The vachetta still needed some love, though.
Vachetta Revival: Now, this is where it gets tricky. Vachetta is notoriously delicate. I used a specialized vachetta cleaner and conditioner, applying it in thin layers. I even let it sit in the sun for a bit (indirect sunlight, of course! Don’t want to bake it!). It helped even out the tone and brought back some of that suppleness. Not perfect, but a huge improvement.
Hardware Polish: The hardware was looking a little dull. I used a gentle metal polish and a soft cloth to buff it up. Be careful not to get any polish on the leather! The shine made a big difference. Suddenly, the whole bag looked brighter.

Addressing the Scratches: Okay, the scratches. This was the most challenging part. I tried a couple of different leather fillers, but nothing seemed to completely hide them. In the end, I went with a leather balm that was a close match to the color of the bag. I massaged it into the scratches, hoping to blend them in. It didn’t erase them completely, but it definitely minimized them.
Final Touches: I conditioned the entire bag one last time, let it dry, and then stuffed it with tissue paper to help it hold its shape. I even added a little bag charm to give it some extra personality.
The Reveal: And there it was. My Louis Vuitton Bellagio, revived and ready to go. It wasn’t a brand new bag, but it was my bag. I put in the work, I learned a few things, and I saved a ton of money compared to buying a new one. Was it worth it? Absolutely! It’s got character, it’s got history, and now, it’s got my touch.
- Lessons Learned:
- Be patient when searching for vintage bags. The perfect one might take time to find.
- Inspect photos carefully before buying. Ask for more if needed.
- Always test cleaning products in an inconspicuous area first.
- Don’t be afraid to experiment, but be gentle!
So yeah, that’s my Bellagio story. Hope you found it helpful or at least entertaining! Now, what bag should I tackle next?


