")
So, I decided to tackle oval nails today. Been a while, and I fancied a bit of a change from my usual squoval or almond. Figured I’d walk you through how I went about it, my little practice run, you know?
Getting Started with the Prep
First things first, I had to get my nails ready. I grabbed my trusty nail file – nothing fancy, just one that works for me. Then I got out my buffer, a base coat, the color I was in the mood for, and a top coat. The usual suspects.
I made sure to take off any old polish. Can’t start a new look on a messy canvas, right? Gave my hands a quick wash too. Clean slate and all that.
The Main Event: Shaping those Ovals
This is where the real work began, trying to get that oval shape. It’s not always as straightforward as it looks on those perfect pictures, let me tell you.
- I started by filing the sides of my nails. I tried to keep them fairly straight, sort of leading up to the curve. If you go too wide or too narrow here, the whole oval thing can look a bit off.
- Then, I focused on the free edge. I gently started rounding it off. My aim was that classic egg shape, you know? Not too pointy like an almond, but definitely not flat. I sort of rock the file from one side to the center, then the other side to the center, trying to make it smooth.
- I kept looking at my fingers. Sometimes a shape looks good on one nail but weird on another. Had to do a bit of back-and-forth, filing a little here, a little there, until they looked somewhat like a cohesive set. It’s a bit of an art, or maybe just a lot of squinting and hoping for the best.
- Once I was reasonably happy with the shape – or, let’s be honest, when I got tired of fiddling – I grabbed my buffer. Just a light buff to smooth out any roughness from the filing. Makes the polish go on nicer.
Time for Some Color
With the shaping done, it was time for the fun part: polish!
Base coat first. I never skip this. I feel like it helps the color stick better and stops my nails from getting stained, especially with darker colors. Just a thin layer.
Then, I went in with my chosen color. I always do thin coats. The first one usually looks a bit streaky and sad, doesn’t it? So, I let that dry a bit, then went in with a second coat. That usually does the trick for good, solid color.
And finally, the top coat. This is the magic that brings the shine and hopefully makes the whole thing last a bit longer without chipping. Another thin layer of that, making sure to cap the edges.
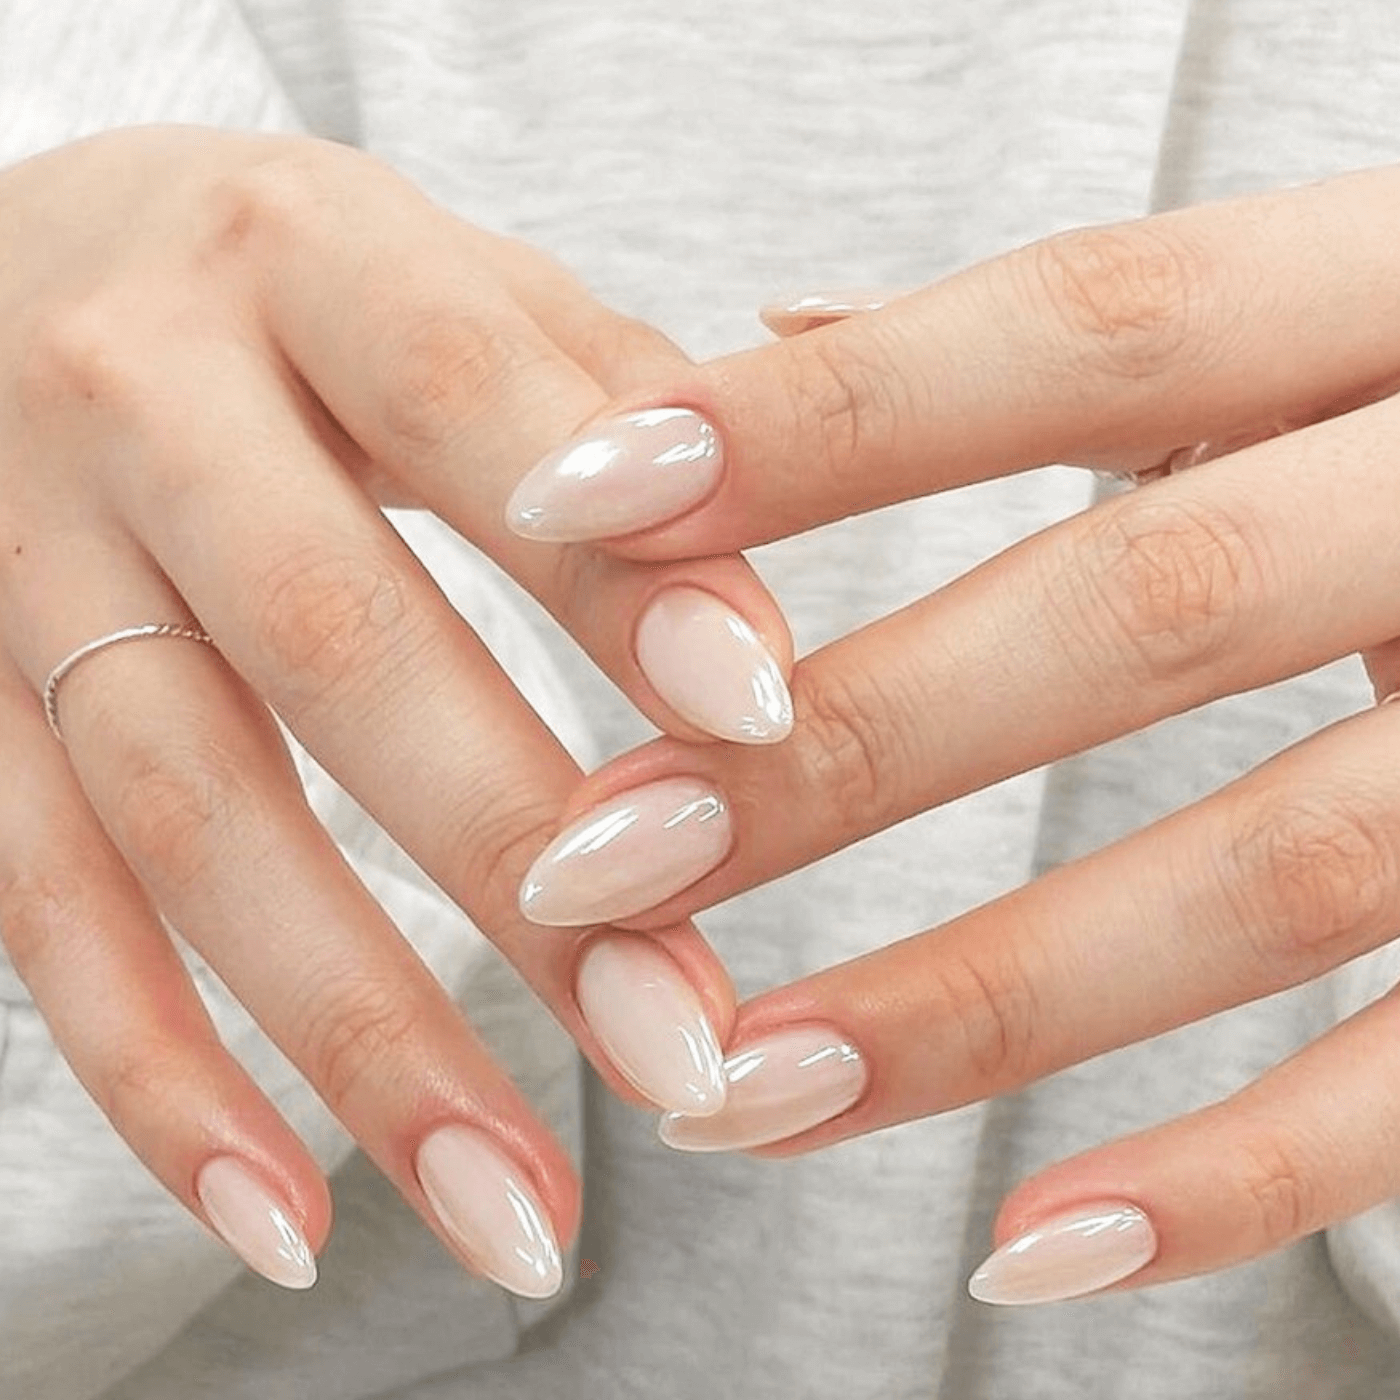
The Finished Look
After letting everything dry properly – which always takes longer than I think – I had a look. The oval shape, I gotta say, it’s quite elegant. Makes my fingers look a bit longer, I think. For today’s “nail art,” the art was really just getting that clean oval shape and a nice, smooth application of color. Sometimes simple is best.
Cleaned up a tiny smudge on one finger with a bit of remover on a brush. And that was that. My oval nail practice for the day, done. Pretty happy with how they turned out, actually. It’s a nice change, and not too difficult once you get the hang of the filing rhythm.
