
Okay, so I finally got around to tinkering with that Rado Captain Cook reissue I snagged a while back. Been meaning to do this for ages, but life, ya know?
First things first, I popped the case open. I’d watched a bunch of videos online, so I kinda knew what to expect. Used my trusty case opener – the kind with the little adjustable prongs. Took a bit of fiddling to get it just right, but eventually, pop, it was open. Felt like a mini-victory, haha.
Next up was removing the movement. Now, I’m no watchmaker, so I was extra careful here. I used some plastic tweezers to gently lift out the movement retaining ring. Then, I carefully tipped the watch over and the movement slid right out. I made sure to keep it face up on a clean, anti-static mat. Didn’t wanna risk scratching anything or getting dust in there.
The hands. Ugh. The bane of my existence. Those things are TINY! I used a hand removal tool (the kind that looks like a little fork) to gently pry them off. Key word: GENTLY. I’ve bent a few hands in my day, so I was being extra cautious. Thankfully, they came off without any drama.
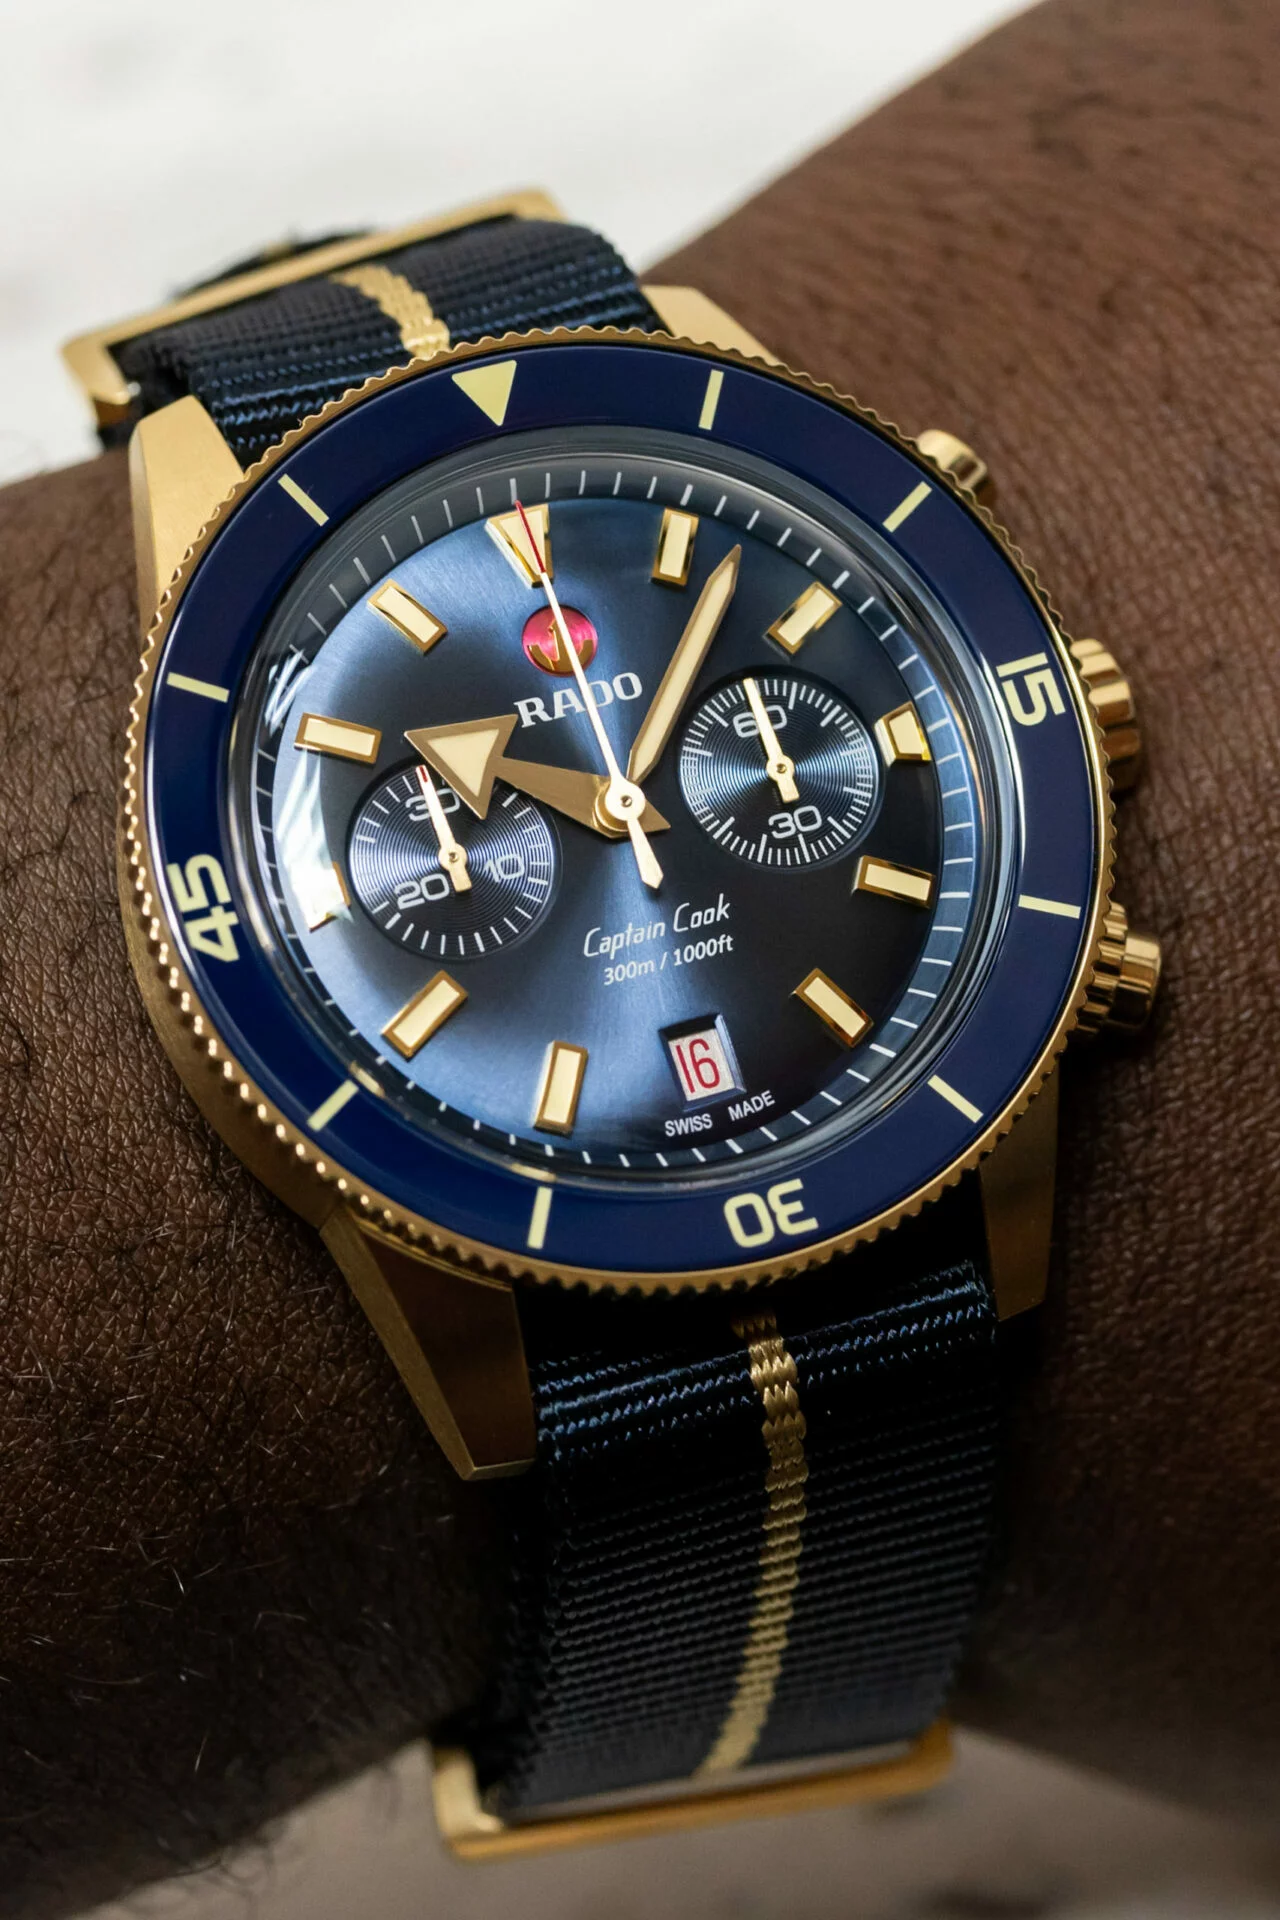
Dial time! There were two tiny screws holding the dial in place. I loosened them up (don’t take ’em all the way out, you’ll lose them!), and the dial lifted right off. The dial on this Captain Cook is really nice, so I was extra careful not to scratch it. Put it aside in a safe place.
Then came the crystal. I wanted to try and replace it. So I used my crystal press and the correct die, it gave me some headache as it was a press fit. Got it all aligned and slowly pressed the new crystal in place. It was a little nerve-wracking, but it worked! It’s was an extremely smooth process and after a while I finally got the hang of it

Putting everything back together was basically the reverse of taking it apart. Dial went on first, secured with those tiny screws. Then the hands – this is where I really had to take my time. Making sure they were perfectly aligned was a pain, but I eventually got it looking right. Then I put the movement back in, secured it with the retaining ring, and carefully closed the case back up.
And that’s it! Not a super complicated job, but definitely one that requires patience and a steady hand. I learned a lot in the process, and it feels good to have tackled it myself. Now I just gotta wear the thing and enjoy it!
