
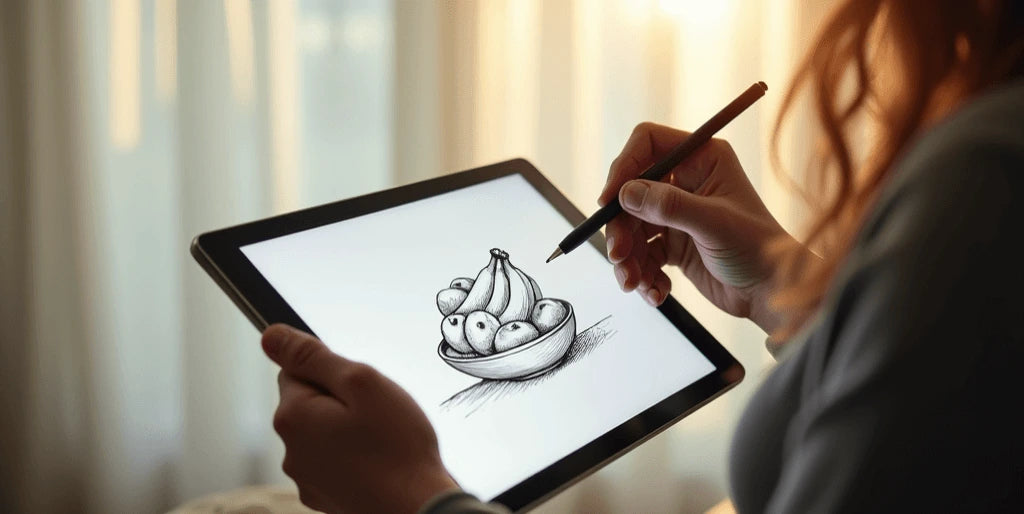
Alright, folks, grabbing my iPad and Apple Pencil today, totally pumped to crack this drawing-at-weird-angles thing. Sick of my stuff looking flat, you know? Saw a bunch of fancy artists do it, figured why not give it a whirl myself. Here’s how it actually went down, no sugarcoating.
The Frustrating Warm-Up
First things first, I fired up Procreate, obviously. Grabbed a new canvas, picked a simple mug – yeah, a boring coffee mug. Tried drawing it straight on like usual, easy-peasy. Then the trouble started. Tilted the iPad like I saw in those videos? Boom. My brain scrambled. Lines went all wonky. Felt like my hand forgot how to hand. Kept poking at the screen, undoing lines, muttering stuff my mom wouldn’t approve of. Seriously questioned my life choices for a solid ten minutes.
Technique #1: The “Flip & Stare”
Got frustrated and literally threw my Apple Pencil (onto the couch, not the floor!). Took a breath. Remembered something about flipping the canvas. Okay, tried that. Zoomed out, stared at my terrible, tilted mug sketch. Flipped the canvas upside down, sideways, every which way. Whoa. Suddenly all the weird bumps and perspective screw-ups jumped out like neon signs. It looked way more messed up flipped! Kinda obvious once you see it, but man, it works. Started fixing the lines while it was upside down. Flipped it back? Suddenly, the mug actually looked like it was sitting on a surface tilted away from me. Mind slightly blown. Progress! Kept doing this flip-check-fix dance every few minutes.
Technique #2: “Lazy Lasso” for Structure
Still struggling hard with getting the shape right before I even thought about details. Saw a tip about using basic shapes. Ugh, sounded tedious. But hey, desperate times. Instead of meticulously drawing boxes, I got lazy. Used the Lasso Tool! Just roughly tapped out a boxy shape kinda where the mug should sit in 3/4 view. Filled it with grey. Then, again super roughly with the lasso, carved out the curve of the mug inside that grey blob. Not precise, not pretty, but wow. Suddenly I had a super rough, blocky framework. It was way easier to see the big angles I needed. Drew the actual mug outline over this messy grey shape guide. Deleted the grey after. Way faster than trying to draw perfect boxes from scratch.
Technique #3: “Noodle Arms” for Confidence
My lines? Still shaky garbage. Trying to do long, smooth curves for the mug rim? Disaster. Felt stiff, worried about each stroke. Switched brushes to something with max stabilization. Nah, didn’t click. Then, remembered a silly trick: Draw like you have wet noodles for arms. Sounds dumb, but I tried it. Relaxed my death grip on the pencil. Pretended my wrist and arm were all floppy. Made big, loose, fast swishing motions for the curves, almost like flicking the line onto the screen. Didn’t care if it missed a little, just got the flow down. Used the eraser to clean up the wobble afterwards. Surprise! Those super fast, loose “noodle arm” lines? After cleaning? They actually had way more life and flow than my careful, tense ones. And hitting the right angle felt more natural.
Putting it All Together (Sort Of)
So, after like an hour of flipping, lasso-boxing, and flinging noodle lines? I ended up with a… recognisable coffee mug! Definitely not masterpiece material. Some weird proportions if you squint. But hell, it looked like it was sitting at that awkward 3/4 angle! The rim wasn’t a perfect circle, but it had depth. The handle looked attached properly (mostly!). The techniques worked! It wasn’t magic, it was messy grinding, but it was improvement. Felt like a tiny boss.
Bottom line? Flipping exposes the lies. Rough shapes are your friends, even done lazy. Fast, loose lines beat careful, shaky ones every time. Still gotta practice loads, but now I feel like I got actual tools to fight the weird-angle war. Go give it a messy shot!
