
Alright, buckle up, folks! Today I’m gonna walk you through my latest obsession: restoring a vintage Mickey Mouse Seiko watch. It’s been a real journey, full of tiny screws and magnifying glasses, but totally worth it.

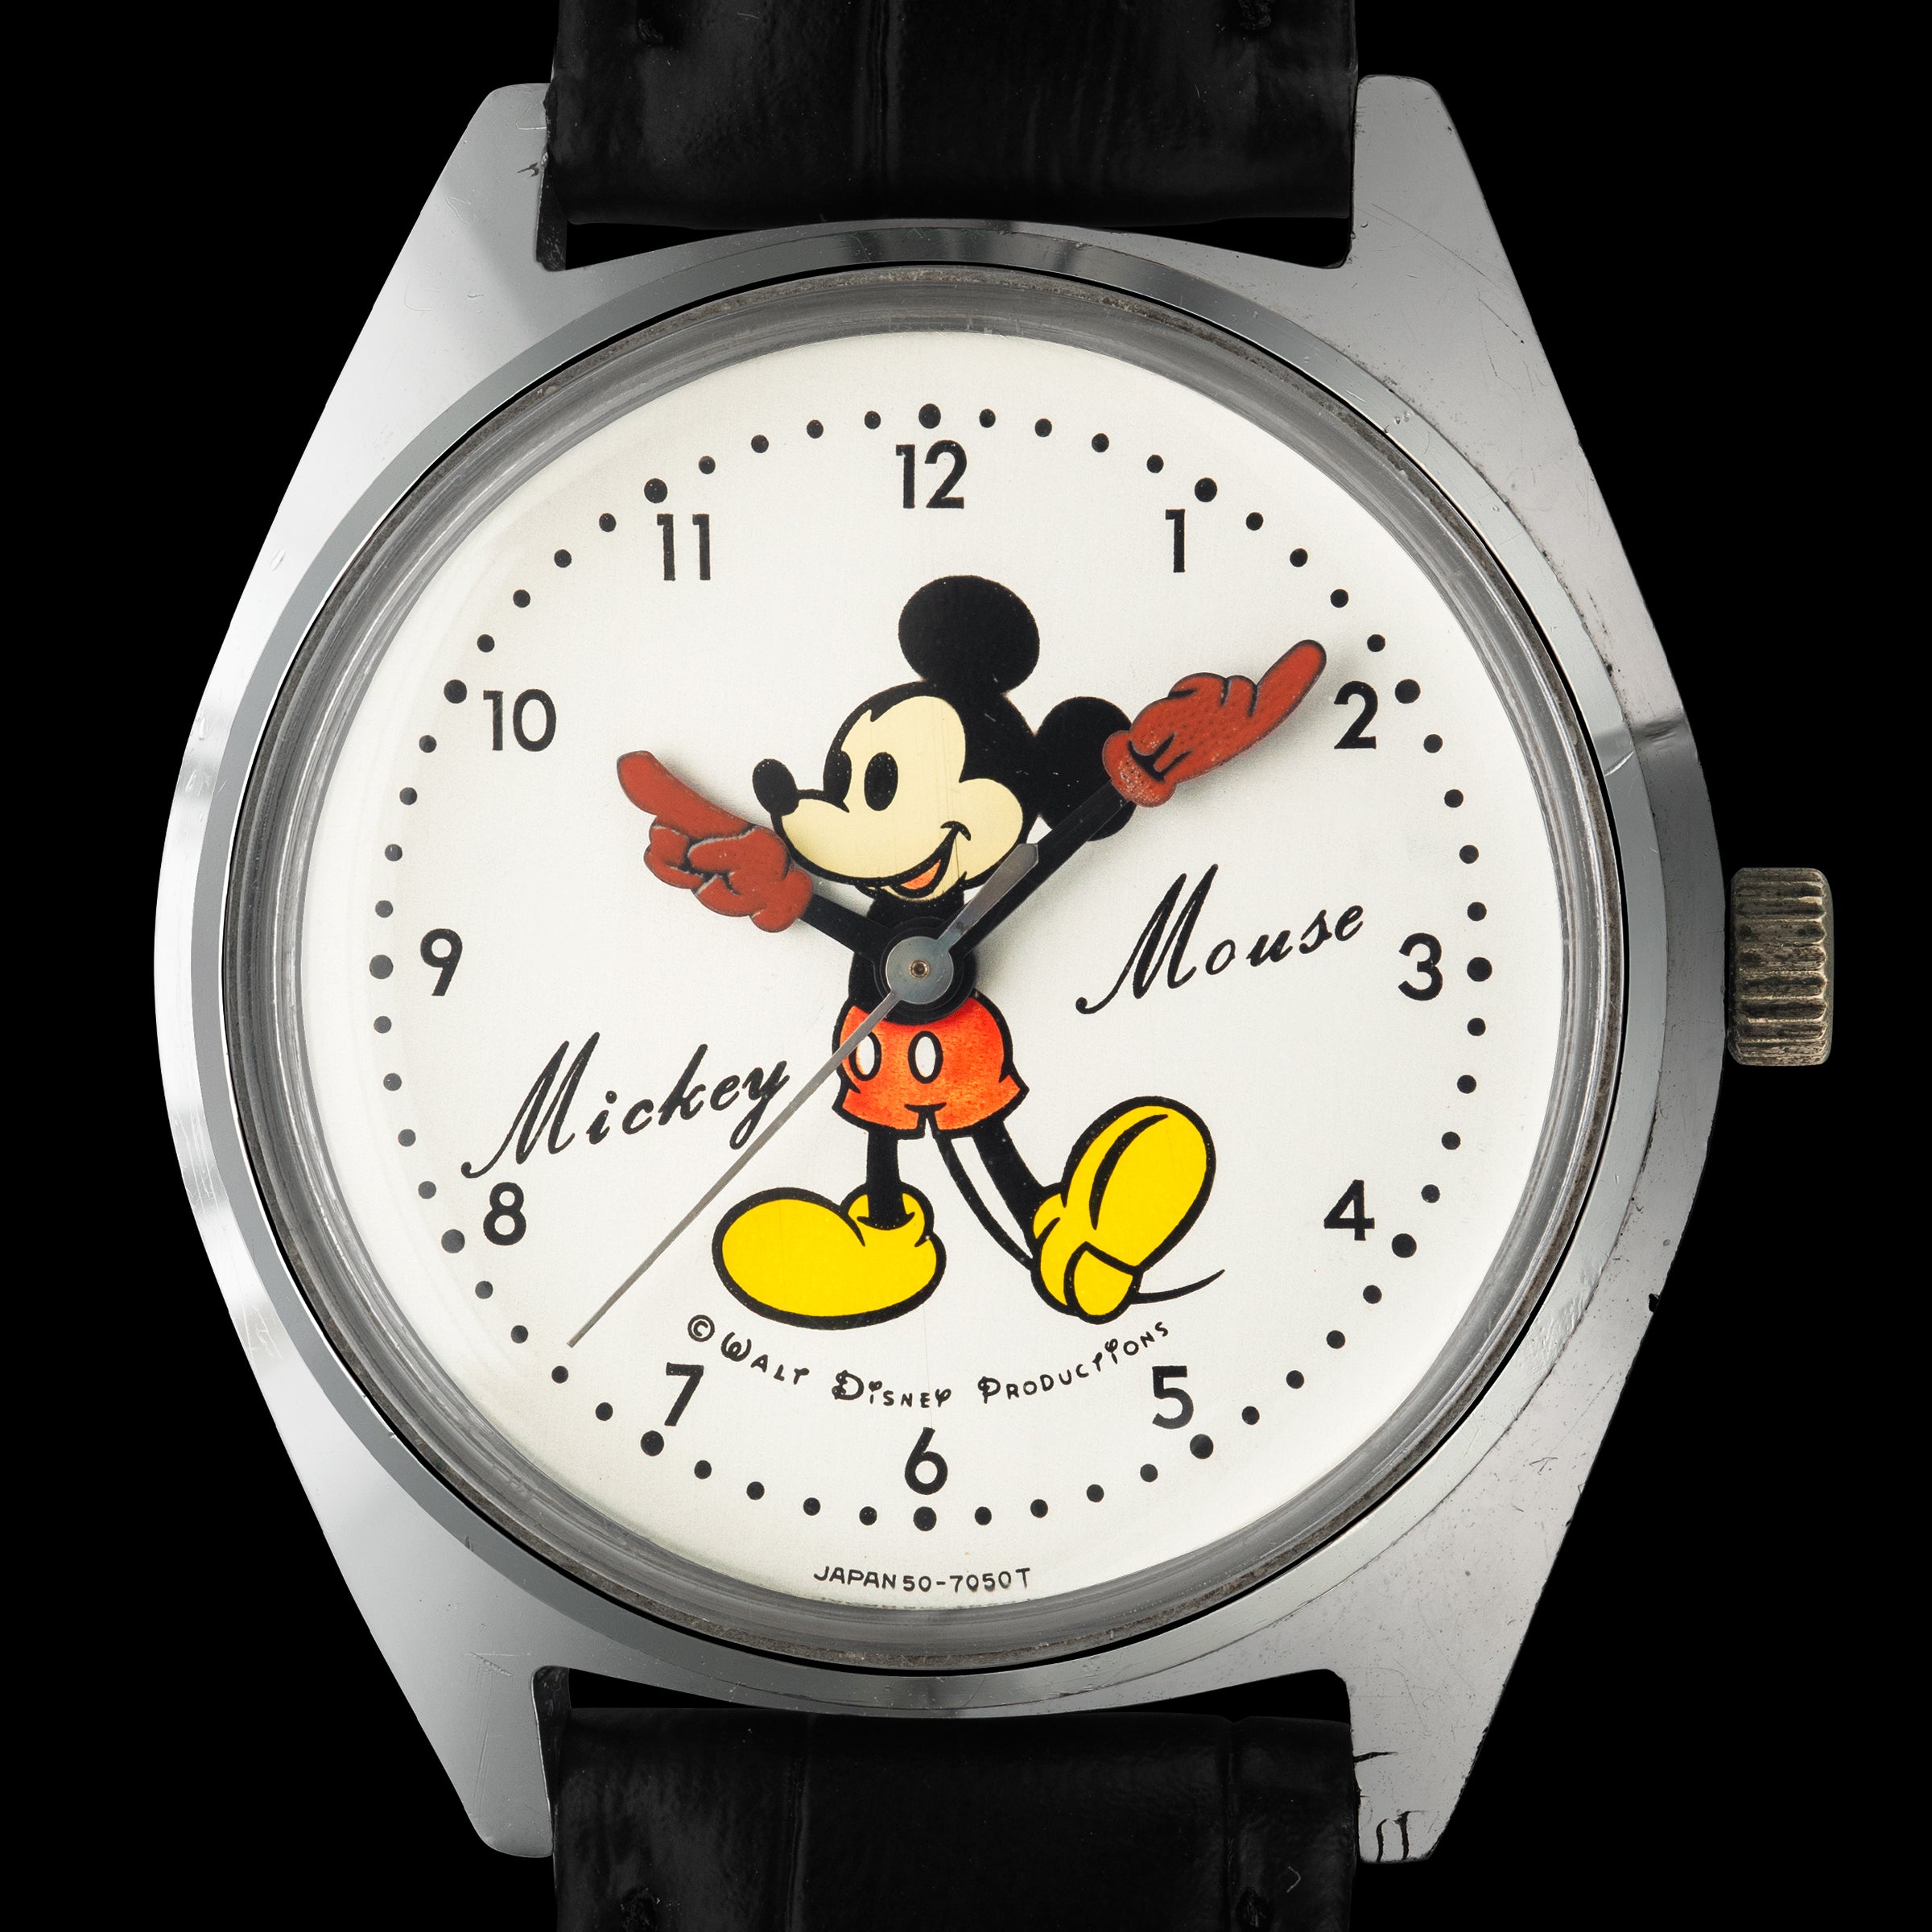
So, how did this whole thing start? Well, I stumbled upon this old Mickey Mouse watch at a flea market. It was beat up, the crystal was scratched to hell, and the band was completely shot. But something about it, that classic Mickey design, just screamed “rescue me!” I couldn’t resist. I handed over a few bucks, and the adventure began.
The Initial Assessment: A Hot Mess
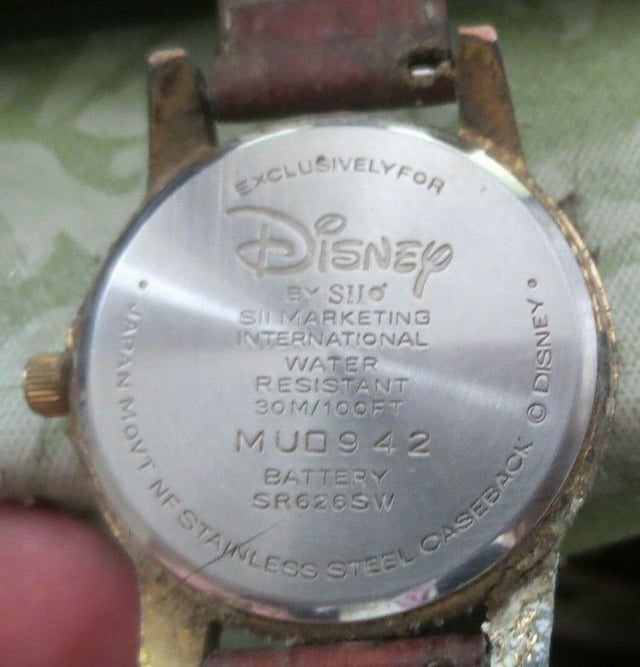
First things first, I needed to figure out exactly what I was dealing with. I popped open the back (carefully!), and it was clear this watch hadn’t seen the light of day in ages. Dust, grime, and what looked like petrified lint were everywhere. The movement, thankfully, seemed intact, but definitely needed a good cleaning.
- Crystal: Scratched beyond recognition. Replacement needed.
- Band: Completely deteriorated. Needed a new one.
- Movement: Dirty and sluggish. Needed cleaning and oiling.
- Case: Scratched and tarnished. Needed polishing.
Tools of the Trade (and Tribulation)
Okay, so I gathered my arsenal. This is where things get a bit nerdy. Here’s what I used:

- Watch repair kit (screwdrivers, tweezers, spring bar tool, etc.)
- Magnifying glass (my eyes ain’t what they used to be)
- Ultrasonic cleaner
- Watch oil
- Polywatch (for polishing the crystal, or what was left of it)
- Cape Cod polishing cloths (for the case)
- New watch band (a classic leather one to match the vintage vibe)
Diving In: The Disassembly
This is the scary part. Taking apart a watch movement is like performing surgery on something the size of a button. Patience is key. I carefully removed the hands (using a hand puller, of course – don’t want to bend them!), then the dial. Underneath, the movement was even dirtier than I thought. Each tiny screw, each tiny gear, had to be carefully removed and placed in a labeled container. I learned that lesson the hard way on a previous project – trust me, you don’t want to mix those up!
Cleaning Time!
Once the movement was completely disassembled, I tossed the parts into the ultrasonic cleaner with some warm, soapy water. This thing works wonders. It vibrates all the gunk and grime right off. After a good cleaning, I rinsed everything with distilled water and let it dry completely. Important: make sure everything is bone dry before reassembling!
Reassembly (and a Few Choice Words)

Alright, time to put Humpty Dumpty back together again. This is where I spent most of my time. Each gear had to be placed exactly right, each screw tightened just enough. There were definitely moments where I wanted to throw the whole thing out the window, but I persevered. I carefully oiled each pivot point with watch oil, making sure not to overdo it (too much oil is just as bad as not enough).
The Crystal Caper
The original crystal was toast. I tried polishing it, but it was too far gone. Luckily, I found a replacement online. Popped the old one out, pressed the new one in (with a crystal press, naturally), and voila! Clear as day.
Polishing the Case
The case was covered in scratches and tarnish. I used Cape Cod polishing cloths to buff it back to a shine. This took some elbow grease, but it made a huge difference. The metal looked almost new.


The Finishing Touches
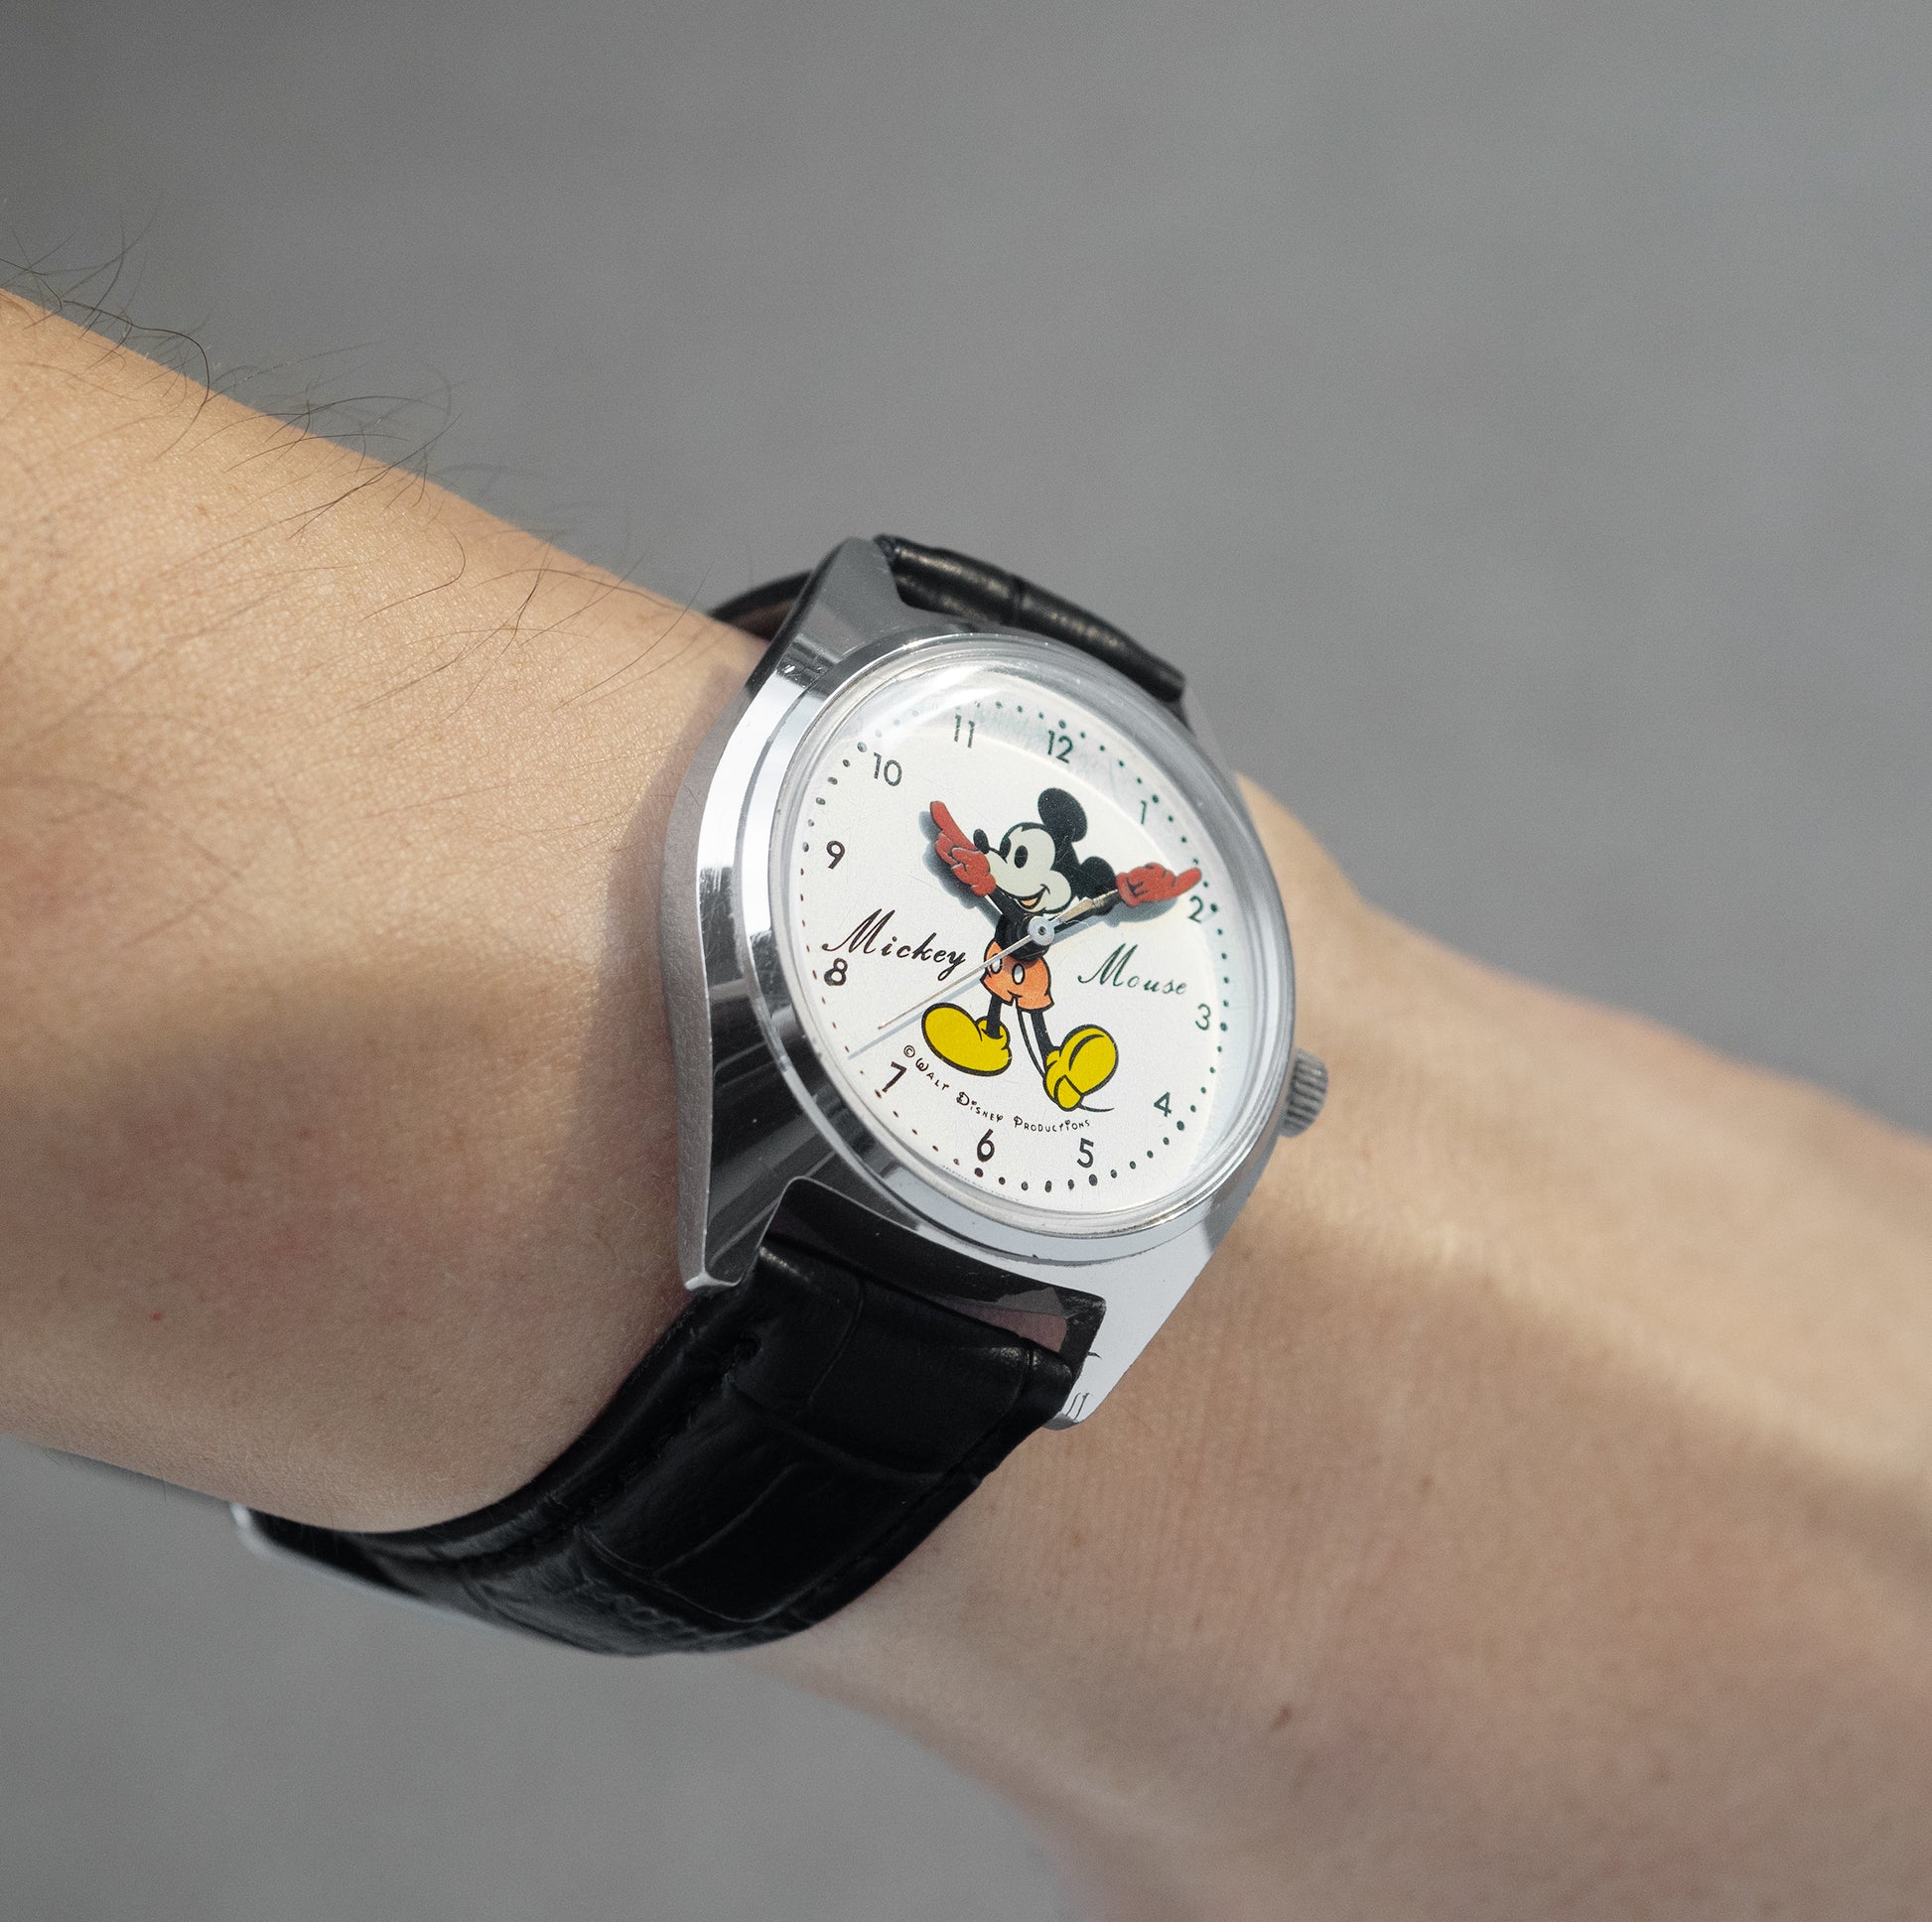
Finally, the moment of truth. I reattached the hands, making sure they were aligned correctly. Then I carefully placed the dial back on, making sure it was centered. I attached the new leather band, and the transformation was complete!
The Result: A Mickey Masterpiece!
Holding that restored vintage Mickey Mouse Seiko watch in my hand was an awesome feeling. It was a lot of work, but seeing it ticking away, looking almost brand new, made it all worthwhile. It’s not just a watch; it’s a piece of history, a piece of nostalgia, and a testament to the fact that even the most beat-up things can be brought back to life with a little patience and a lot of elbow grease.
So, there you have it! My vintage Mickey Mouse watch restoration journey. It was a challenging, frustrating, and ultimately rewarding experience. If you’re thinking about tackling a similar project, I say go for it! Just be prepared to lose a few screws (literally and figuratively) along the way.