")
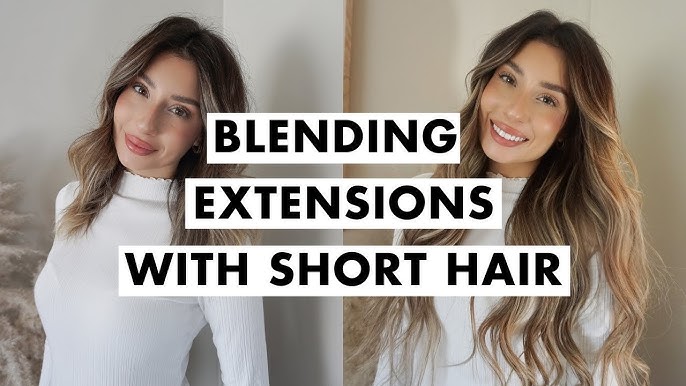
Okay, so you want the real deal on how I actually get my clip-in hair extensions to look like, well, my hair and not some weird helmet. It took me a while, let me tell you. I didn’t just pop them in and walk out the door looking like a hair model. Nope. There was some trial and error, and a few moments where I almost threw the whole set in the bin.
Getting My Act Together First
So, the first thing I learned, the hard way, was that you can’t just slap these things onto greasy, flat hair. It just doesn’t work. The clips slide, and it looks… obvious. So, I always start by making sure my own hair is clean, or at least day-two clean with a bit of dry shampoo at the roots. This gives the clips something to grab onto. I also grab my rat-tail comb – essential, trust me – and all my wefts, laying them out so I know what I’m working with. I used to just grab randomly, big mistake.
The Actual Clipping In – My Method
Right, so here’s how I go about it. I start at the bottom, like, the nape of my neck. I use my comb to make a clean horizontal part. Then, I take a weft – usually a 3-clip one for the back – and I do a little tease at the roots where the clips will go. Just a tiny bit, nothing crazy. Then I snap those clips in, making sure they’re snug against my scalp but not pulling like crazy.
Then I let down a thin layer of my own hair over that weft. And I mean thin. You gotta cover the track. Then I make another part, maybe an inch above the first one, and put in another weft. I kind of work my way up my head like this. For the back, I use the wider wefts. As I get towards the crown, I might use a slightly narrower one, depending on my head shape and how much volume I’m after.
- Bottom Wefts: Usually start with a 3-clip or 4-clip at the very bottom back.
- Middle Back: The widest wefts go here, stacked up.
- Sides: This is where the smaller 2-clip or 1-clip wefts come in handy. I angle them a bit sometimes, following my hairline, but not too close to the front. You don’t want the clips showing when you tuck your hair behind your ears.
The Blending Magic – Or What Finally Worked For Me
Okay, so once all the pieces are in, this is where the real work, or “art,” if you want to call it that, happens. Just clipping them in isn’t enough. It’ll look chunky and fake.
First, I gently brush everything. And I mean GENTLY. Start from the ends and work your way up, just like with your real hair, to avoid pulling the wefts out or making a tangled mess. This helps the extension hair and my hair start to mingle.
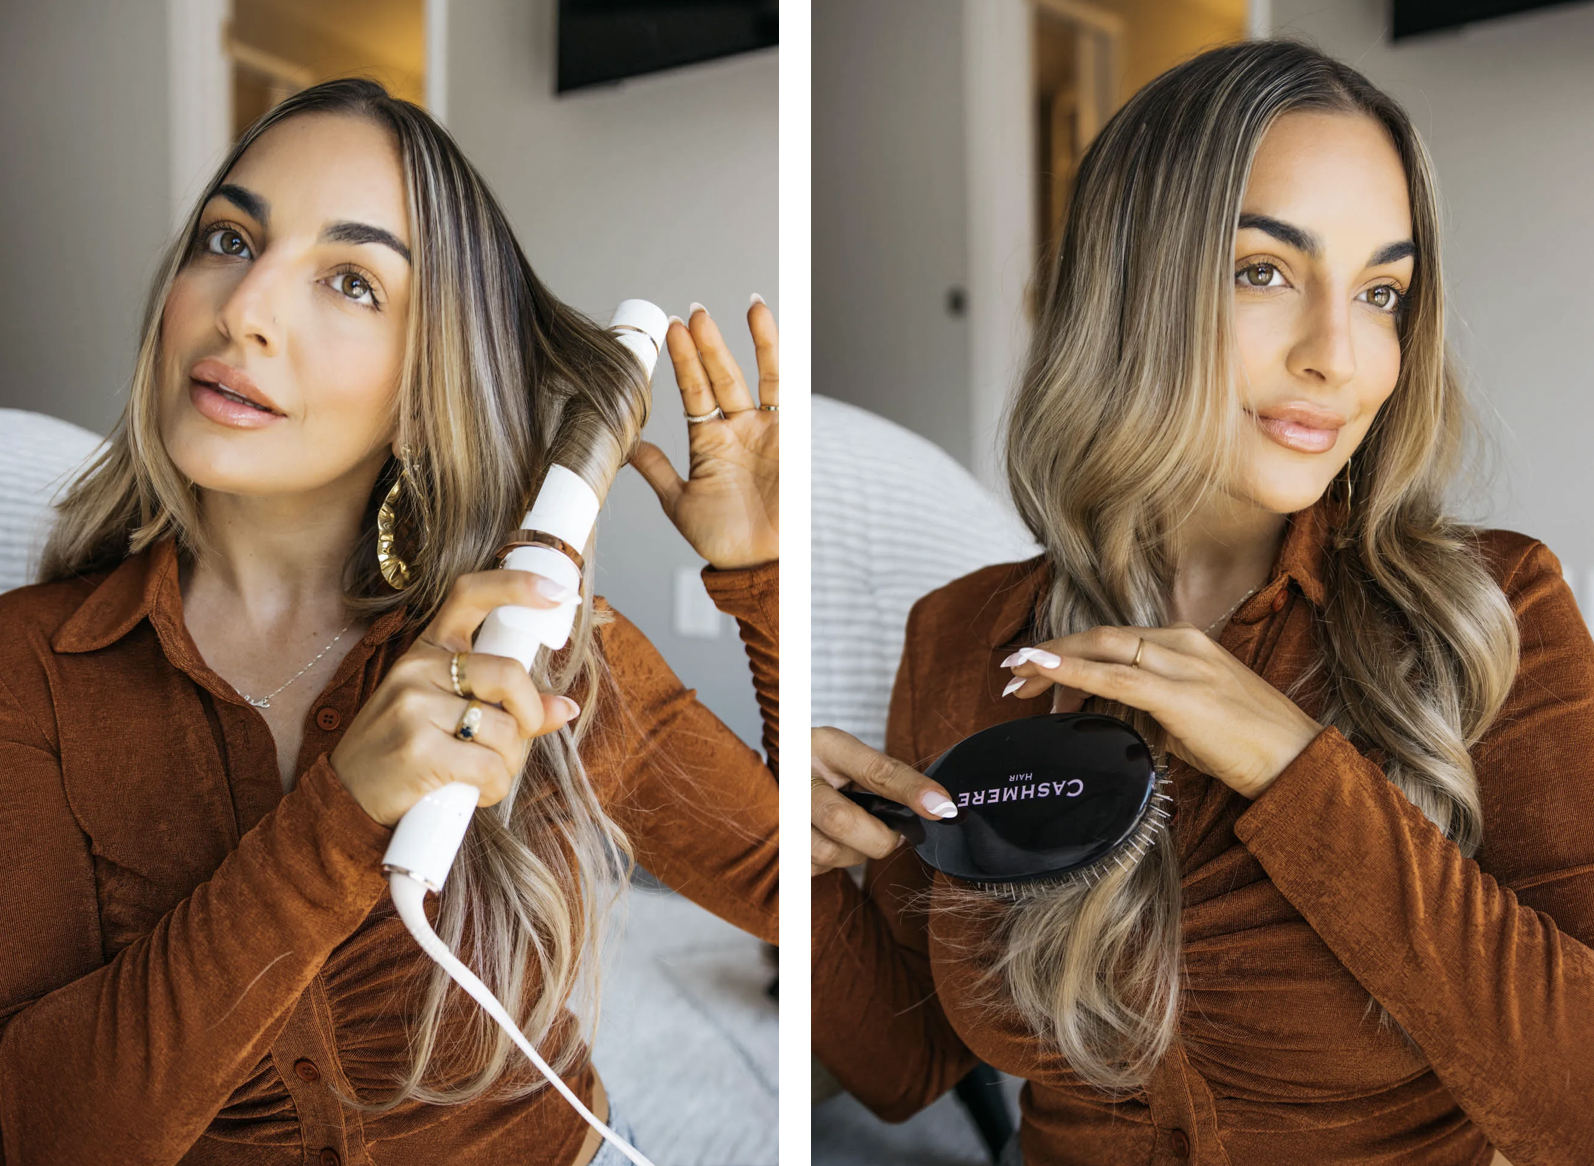
The game changer for me was styling. Seriously. If my hair is dead straight and the extensions are dead straight but they’re just slightly different textures, it’ll show. So, what I usually do is add some waves or curls. I use my curling wand or straightener (yes, you can curl with a straightener!) and I make sure to curl sections that include both my natural hair and the extension hair together. This really, really helps to meld it all. It kind of tricks the eye, you know? The different lengths and textures just blend better when there’s some movement.
If I’m wearing it straight, I make sure to run the straightener over my hair and the extensions together, piece by piece, again, to make them lay the same way. Sometimes, if the ends of the extensions look too blunt compared to my natural, more layered hair, I might verrrry carefully snip into the ends of the extensions while they are in my hair just to soften that line. But I go super slow with this, one snip at a time. I’m no hairdresser!
The Final Check
Then, I stand back, use a hand mirror to check the back, fluff it around, see if any tracks are peeking. If I see a harsh line where my short hair ends and the extensions begin, I might do a bit more targeted curling or even a tiny bit of teasing on my own hair right above that line to create some cover. Sometimes a little bit of hairspray helps to keep everything in place and looking a bit more uniform.
And that’s pretty much my routine. It’s not super quick the first few times, but you get faster. The main things are good placement, a bit of teasing for grip, and then styling to really marry your hair with the extensions. It made all the difference for me, going from “ouch, that’s obviously fake hair” to “wow, your hair looks amazing!” Well, sometimes I get that. Ha!
