
Alright, so I decided I wanted a gold chain charm bracelet. Been seeing them around, you know? But the prices in the stores? Forget about it. I figured, hey, I can probably make one myself. How tough could it really be?

Getting the Supplies
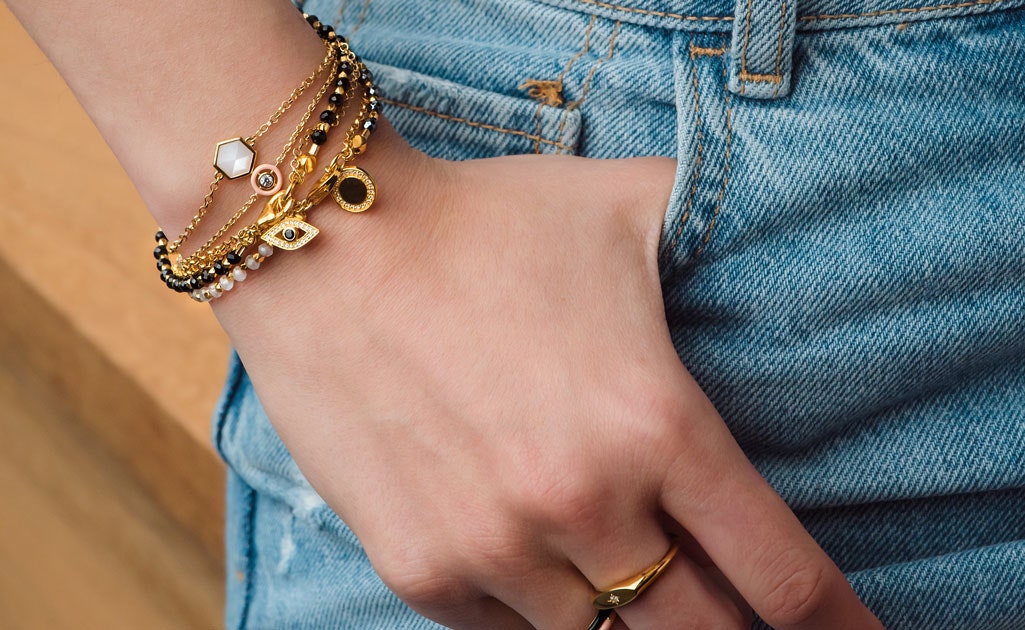
First thing was tracking down a decent gold chain. I didn’t want anything that looked like it came out of a gumball machine, but also wasn’t trying to break the bank. I went to a couple of those craft places. Most of the chains felt a bit flimsy, or the color was off. Then I looked online. That’s always a bit of a gamble, not knowing exactly what you’re gonna get until it shows up at your door. I spent a good while just scrolling and comparing.
Then, the charms. Oh boy, the charms. So many options! I wanted ones that sort of went together, had a bit of a theme, but weren’t too kiddy or too over the top. I found myself going down a rabbit hole, looking at tiny little things for hours. I probably wasted more time picking charms than actually making the bracelet later on.
- Found a chain I liked the look of eventually. Not too chunky, not too thin.
- Picked out about five or six charms. Little things, a star, a moon, that kind of stuff.
- Remembered I had some small pliers from an old jewelry kit. Those would do the trick. And jump rings, definitely needed jump rings. I made sure to get a few extra because I just knew I’d drop some.
The Actual Making Process
Okay, so I laid everything out on my table. Got my chain, my little pile of charms, and the pliers. The first step was figuring out where I wanted the charms to go. I didn’t want them all bunched up. So I played around with the spacing for a bit, laying them out along the chain.
Then came the fiddly bit: opening those tiny jump rings. You gotta get the pliers in just right to gently twist them open. Not pull them apart, twist them. I fumbled with the first one for sure. Then I threaded the charm onto the open jump ring, and then hooked the jump ring onto a link in the chain. Closing it back up neatly, that’s another test of patience. You want it closed tight so nothing falls off.
I attached each charm, one by one. Open ring, add charm, attach to chain, close ring. Repeat. It got a bit repetitive, but I just put on some music and got into a rhythm. I did drop a jump ring, just like I thought. It bounced under the table, gone forever. Good thing I bought spares!
My Little Rant About How Things Are Made
You know, it’s kinda funny when you make something yourself. You see these things in fancy shops, and they charge an arm and a leg. And sure, some of it is, like, super high-quality materials, expert craftsmanship, all that. But a lot of stuff, especially fashion jewelry, it’s just assembled components. Someone, somewhere, is doing exactly what I was doing – attaching charms to a chain. It really makes you think about what you’re paying for. I once bought a necklace, not super cheap either, and the clasp broke after just a few weeks. So frustrating! That’s partly why I like trying to make things. If it breaks, at least I know who to blame, and I might even be able to fix it myself.
Finishing Up the Bracelet
Anyway, back to my bracelet. After I got all the charms on, I held it up. Looked pretty good! The last thing was the clasp. I made sure to attach that securely. You don’t want your brand-new bracelet falling off your wrist the first time you wear it.
I tried it on. And you know what? I was pretty pleased with myself. It actually looked like a real, proper charm bracelet. The one I’d pictured in my head. It jingled a bit when I moved my arm, which I liked.
So yeah, that was my little project. It took a bit of time, mainly finding the right bits and then the careful attaching. But it wasn’t super complicated. And now I have a charm bracelet that’s exactly what I wanted, and I made it myself. Plus, it was definitely cheaper than buying one ready-made. Can’t complain about that!
