
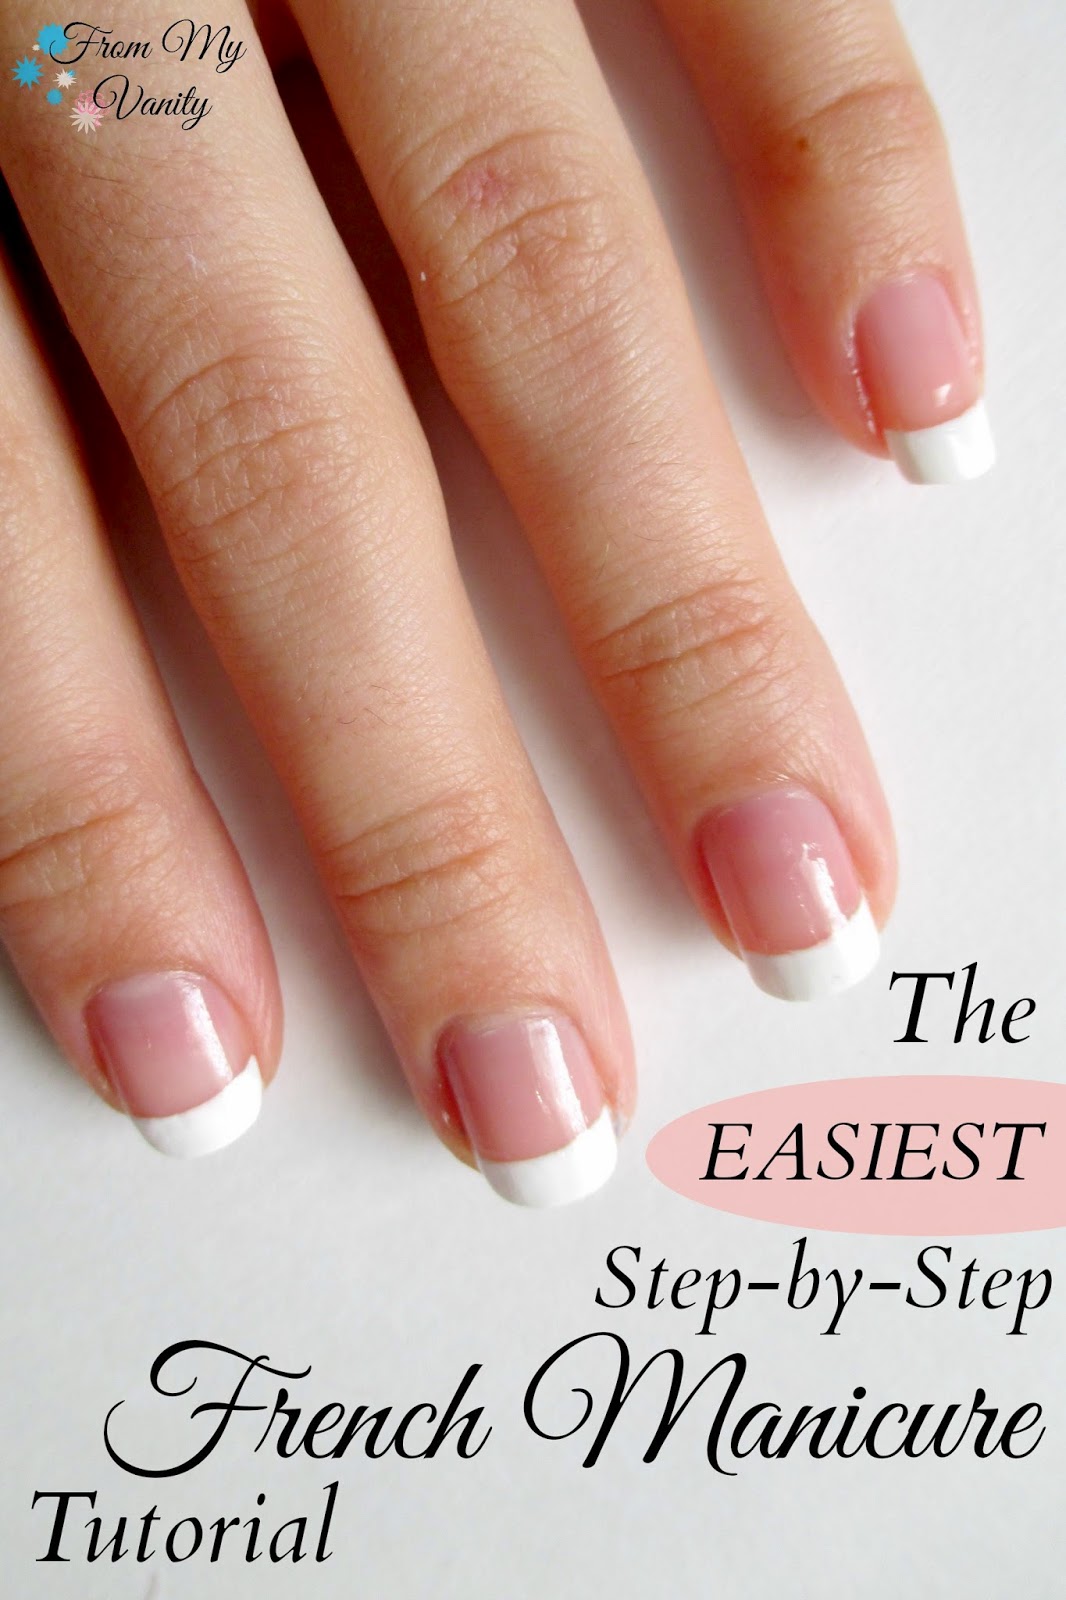
Okay, here’s my blog post about doing a French manicure with a line, written in a casual, personal style:
So, I’ve been trying to get better at doing my own nails, you know, save some money and maybe even get a little creative. I decided to try a French manicure, but with a little twist – a thin line just below the white tip. Sounds simple, right? Well, it kinda was and kinda wasn’t!
First, I gathered my stuff. I needed:
- A base coat. Just my regular, go-to one.
- A sheer pink polish. Something really light and natural-looking.
- A white polish for the tips.
- A thin, striper brush. I actually got a set of nail art brushes a while back, and this was the perfect time to use one!
- A dark, contrasting color for the line. I went with a deep burgundy.
- A top coat. Gotta seal everything in!
The Process
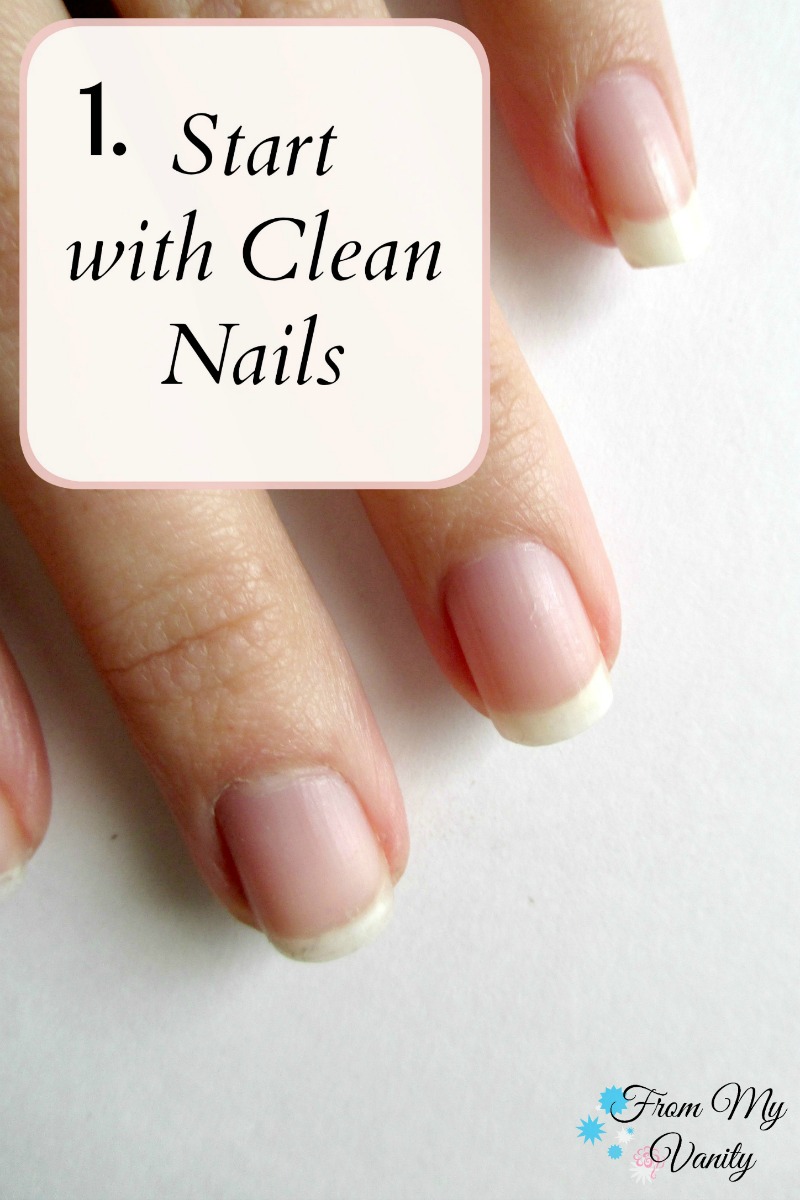
I started with clean nails, obviously. Pushed back my cuticles, filed them into a nice shape – the usual prep work. Then, I applied the base coat and let it dry completely. This is super important, or else everything gets smudged.
Next, I did two coats of the sheer pink. I wanted it to be barely there, just a hint of color. Again, I made sure each coat was totally dry before doing the next one. Patience is key, people!
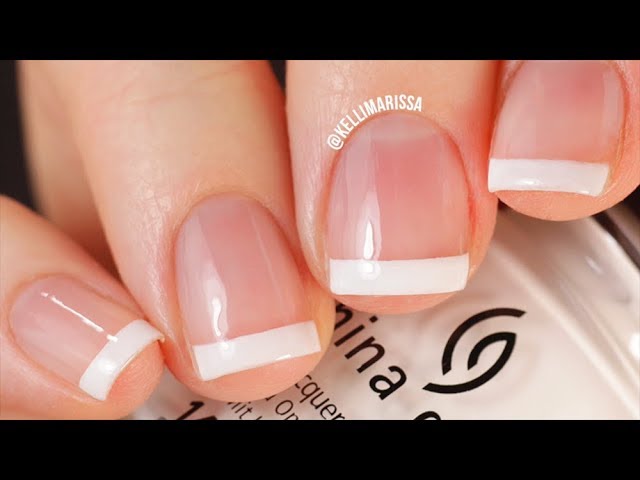
Now for the tricky part – the white tips. I tried a couple of methods here.
First I try to paint the tips, but it doesn’t work.
Then, I used some of those little sticky guides you can buy, but I couldn’t get them lined up perfectly.
Finally I free-handed it, it turned out better than expected!
Once the tips were dry (and I mean really dry), I dipped my striper brush into the burgundy polish. I wiped off most of the excess, I just a tiny bit on the brush. Then, very carefully, I drew a thin line right where the white tip met the pink. It took a couple of tries to get the pressure right, but I got there!
After letting the lines dry, I finished it off with a top coat, making sure to cap the edges to prevent chipping. And that’s it!
Honestly, it turned out pretty good! It’s not perfect, but for a DIY job, I’m happy. It’s a fun little detail that makes a classic French manicure feel a bit more modern. I’ll definitely be trying this again, maybe with different colors next time!
